4 – recording – Teac DR-40 User Manual
Page 63
TASCAM DR-40
63
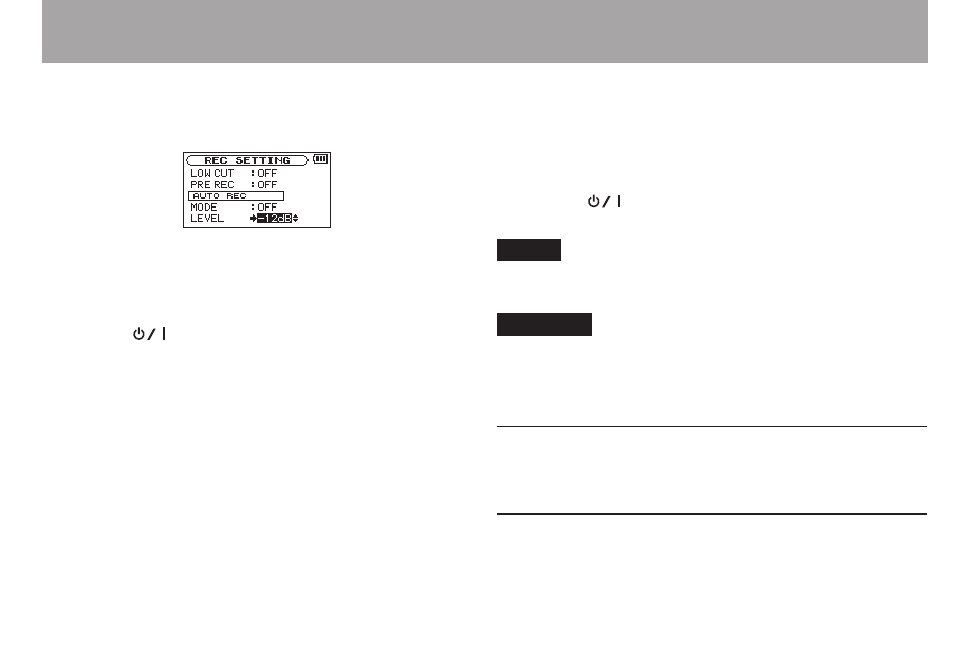
5 Press the . button to select the other item.
6 Use the + or – button to select
LEVEL
and press the
ENTER/MARK button or / button.
7 Use the + or – button to select the level that signal is
judged to have been input when it exceeds this level.
Set the value to one of the following selection.
-6dB
/
-12dB
(default)/
-24dB
/
-48dB
8 Press the
(HOME) [8] button to return to the
Home Screen.
9 Press the RECORD [0] button to put the unit into
recording standby.
Recording starts automatically when the input signal
exceeds the
LEVEL
.
10 The recording mode changes according to the setting
of the
MODE
.
REC
:
If the input signal level falls below the standard level for
more than five seconds, which is set on
LEVEL
, the unit
goes into in recording standby. When the input signal level
becomes higher than the standard level, the unit restarts
recording on a new file.
MARK
:
If the input signal level falls below the standard level for
more than five seconds, which is set on
LEVEL
, the unit
adds marks when the input signal level becomes higher
than the standard level again.
11 Press the
(HOME) [8] button to stop automatic
recording.
TIP
By using this in combination with the
PRE REC
function, you
can record events without losing the beginnings of sounds.
CAUTION
Auto-recording does not work in OVERDUB mode.
•
When the auto-recording function is on, unless overridden
•
by overdubbing mode, the self-timer cannot be used.
Creating and changeover to a new file
during continued recording (Track
increment)
You can manually or automatically split a recording by
creating a new file. (Track increment)
4 – Recording