Allmand Brothers MB 6200 User Manual
Page 43
43
6. With two hands, seat the first BRICK over the rail assembly, making sure there is no gap between the
BRICK and the SBC.
7. To fully engage, push the BRICK firmly in its center until it has been seated go.
8. Mount the remaining BRICKs on the bottom row in the same manner.
Rules for installing Jumper BRICKs and TRIM BRICK:
•
Install Jumper BRICK(s) whenever there is more than
one row of BRICKs--right Jumper BRICK when going
from odd to even numbered rows; left Jumper BRICK
when going from even to odd numbered rows
•
Install the Trim BRICK at the end of a row when no
additional rows will be added. The Trim BRICK can be on
the right or left side of the sign--depending on whether
there is an even or odd number of rows.
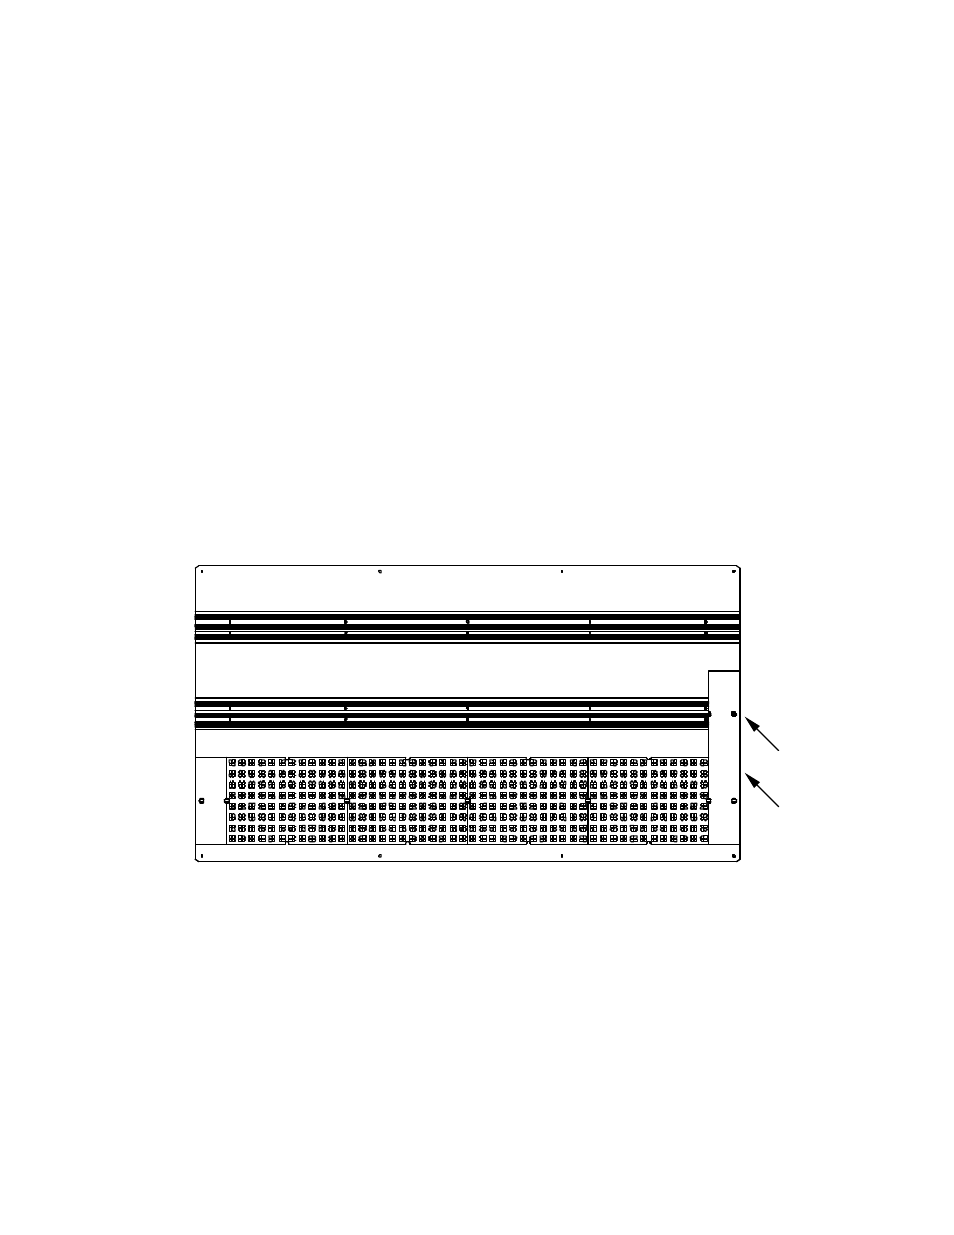
9. When all of the BRICKs for the bottom row have been installed, install the right Jumper BRICK
(see figure 16). This provides the electrical power and signals between the conductors in the rail
assemblies, while creating a clean border around a portion of the sign. Install the lower portion of the
Jumper BRICK on the lower rail assembly in the same way you installed the BRICKs. Be sure the
full hole circle on the cover is placed on the outside edge of the sign. Then install the upper portion
of the Jumper BRICK to the next row.
Figure 16. Full Matrix Sign Assembly—Right Jumper BRICK
10. Now begin installing the second row of BRICKs, beginning next to the right Jumper BRICK and
proceeding right to left (see figures 17 and 18).
11. When all of BRICKs for the second row have been installed, you next install the left Jumper
BRICK (see figure 19). Install in a similar manner to the right Jumper BRICK. Be sure the full hole
circle on the cover is placed on the outside edge of the sign.
12. Repeat the above steps, alternating for Odd and Even rows.
13. When all the BRICKs are installed, a space similar to that of the SBC will remain on the top row.
Install the Trim BRICK in this location to complete the border of the sign.
14. After all components have been attached to the rail assemblies, begin installing the hold-down locks.
You may begin anywhere on the sign.
Right
Jumper
BRICK
Full hole