HEIDENHAIN MANUALplus 4110 Pilot User Manual
Page 6
6
Setup
Setting the protection zone
The protection zone can be defined in two different ways:
• Move the tool until it reaches the “protection zone“ and confirm with
“Take over position”.
• Enter the coordinates at the position of the “protection zone“ (dis-
tance: workpiece datum to protection zone); confirm with “Save”.
• The graphic support window shows the distance
between machine datum and protection zone.
• “–99999.000“ means: Protection zone monitoring is
not active
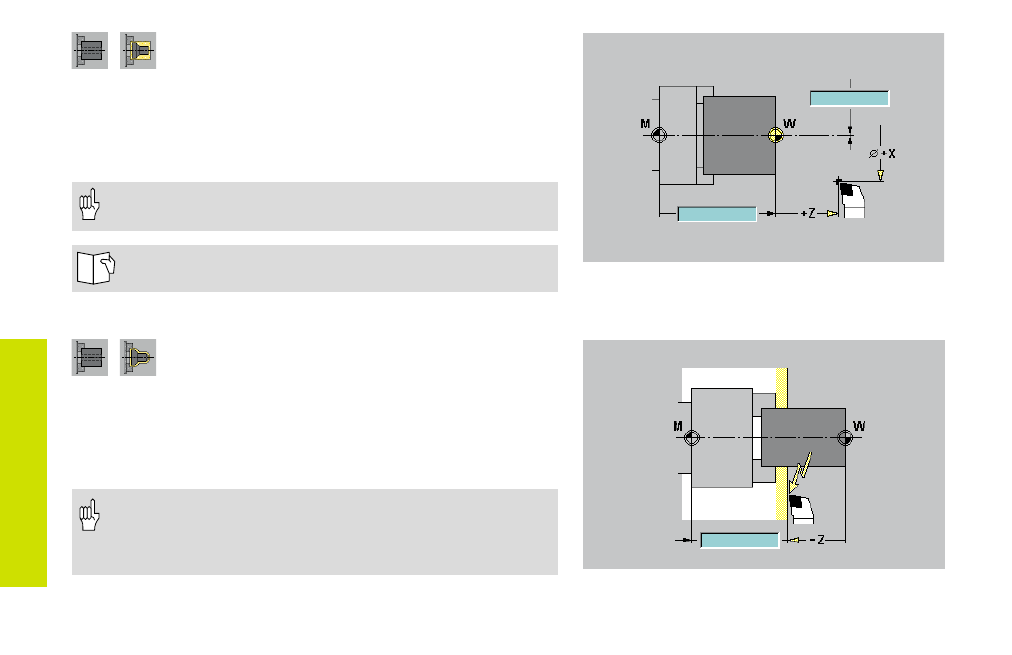
Setting the axis values (defining workpiece datum)
The workpiece datum can be defined in two different ways:
• “Touch“ the end face of the workpiece and use “Z=0” to define this
position as the “workpiece zero point Z“.
• Enter the position of the tool (distance between tool and workpiece
zero points) and confirm with “Save”.
The graphic support window shows the distance between ma-
chine datum and workpiece datum (aka “displacement“).
See “3.4 Machine Setup“.