Using the projector – Optoma ZU725T 7800-Lumen WUXGA Laser DLP Projector User Manual
Page 65
English 65
USING THE PROJECTOR
Accessing the web control panel
When network is available, connect the projector and the computer to the same network. Use the projector
address as the web URL to open the web control panel in a browser.
1.
Check the projector address using the OSD menu.
On a wired network, select
Communication > Network Setup > IP Address
.
Note:
Make sure DHCP is enabled.
2.
Open a web browser and type the projector address in the address bar.
3.
The web page redirects to the web control panel.
4.
In the Username field, type the username: admin (default) In the Password field, type the password.:
Device serial number (default). Path: Menu -> Information -> Device -> Serial Number.
Note:
It is needed to change the username and password once you have logged in. It is also advised
to use a strong password.
When network is not available, refer to “Directly connect the projector to a computer” section.
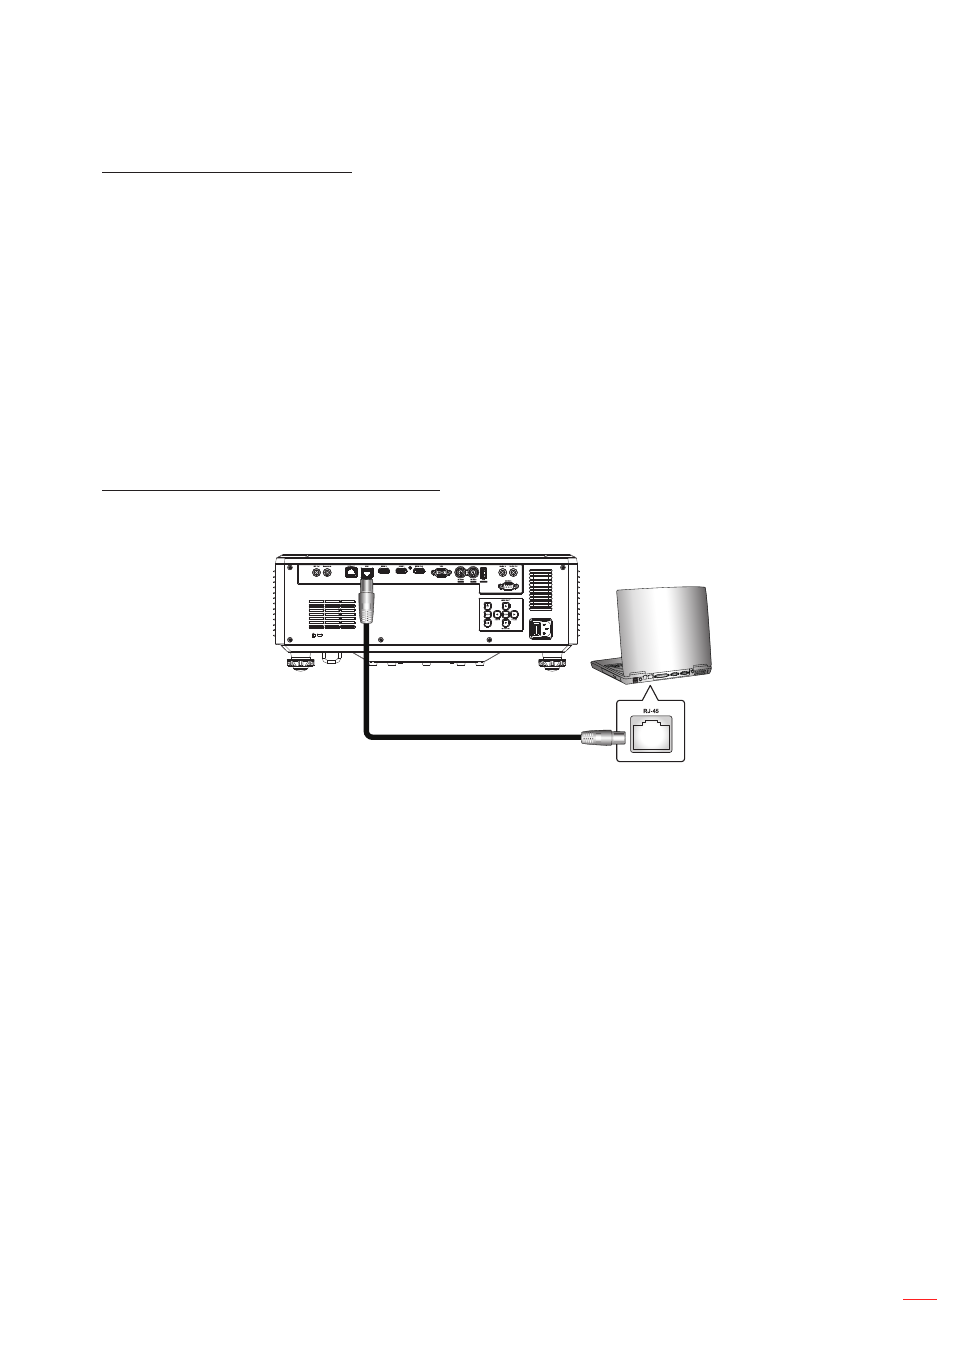
Directly connect the projector to a computer
When network is not available, connect the projector to the computer directly using a RJ-45 cable, and
configure the network settings manually.
RJ-45 Cable
1.
Assign IP address to the projector
From the OSD menu, select
Network Setup > DHCP
.
Turn off DHCP, and manually set the projector’s IP Address, Subnet Mask, and Gateway.
Press
Enter
to confirm the settings.
2.
Assign IP address to the computer
Set the Default Gateway and Subnet Mask of the computer to match the projector.
Set the IP address of the computer to match the first three numbers of the projector.
For example, if the projector IP address is 192.168.000.100, set the computer IP address to
192.168.000.xxx, where xxx is not 100.
3.
Open a web browser and type the projector address in the address bar.
4.
The web page redirects to the web control panel.