Working with setup screens (menus), P. 11, Displaying/quitting setup screens – Roland VR-4HD HD AV Mixer User Manual
Page 11: Selecting a setting item, Changing setting values, Basic operations, Touch panel operation, Value] knob operation
11
Basic Operations
Working with Setup Screens (Menus)
Display for the various setup screens on the built-in monitor. In these menus change settings for video, audio and for general VR-4HD settings.
Displaying/Quitting Setup Screens
The VR-4HD has a number of different setup screens. There are
different buttons for each setup screen that will bring up the
parameters for that button onto the display screen.
1.
Press one of the buttons shown below to display the
respective setup screen.
The selected button lights up.
Button
Displayed setup screen
USER [SETUP]
USER button settings
HDMI [SETUP]
Settings for HDMI input audio
USB [SETUP]
Settings for USB input/output audio
Audio channel 1–7/8 [SETUP] Settings for input audio
MAIN [SETUP]
Settings for main output audio
[IN/OUT SETUP]
Assignments to video input/output
connectors
[SYSTEM SETUP]
Settings for the system (video, audio, and
the unit)
2.
Press the button you selected in step 1 once or several times
to quit the setup screen.
MEMO
5
Settings made at the setup screen are saved in the unit at the
time when you quit the screen.
5
You can adjust the contrast of the setup screen. Use the [SYSTEM
SETUP] button
g
<SYSTEM>
g
<MENU DISPLAY LEVEL> to
adjust it.
5
The setup screen is displayed superimposed on the video on the
built-in monitor. You can hide the video on the built-in monitor
by pressing the lighted [INPUT] or [OUTPUT] button to make the
button go dark.
5
For more information about setting items, refer to the Reference
Manual (PDF) available for download from the Roland website.
http://proav.roland.com/
Selecting a Setting Item
Two methods are available for selecting setting items: by operating
the touch panel and by operating the [VALUE] knob.
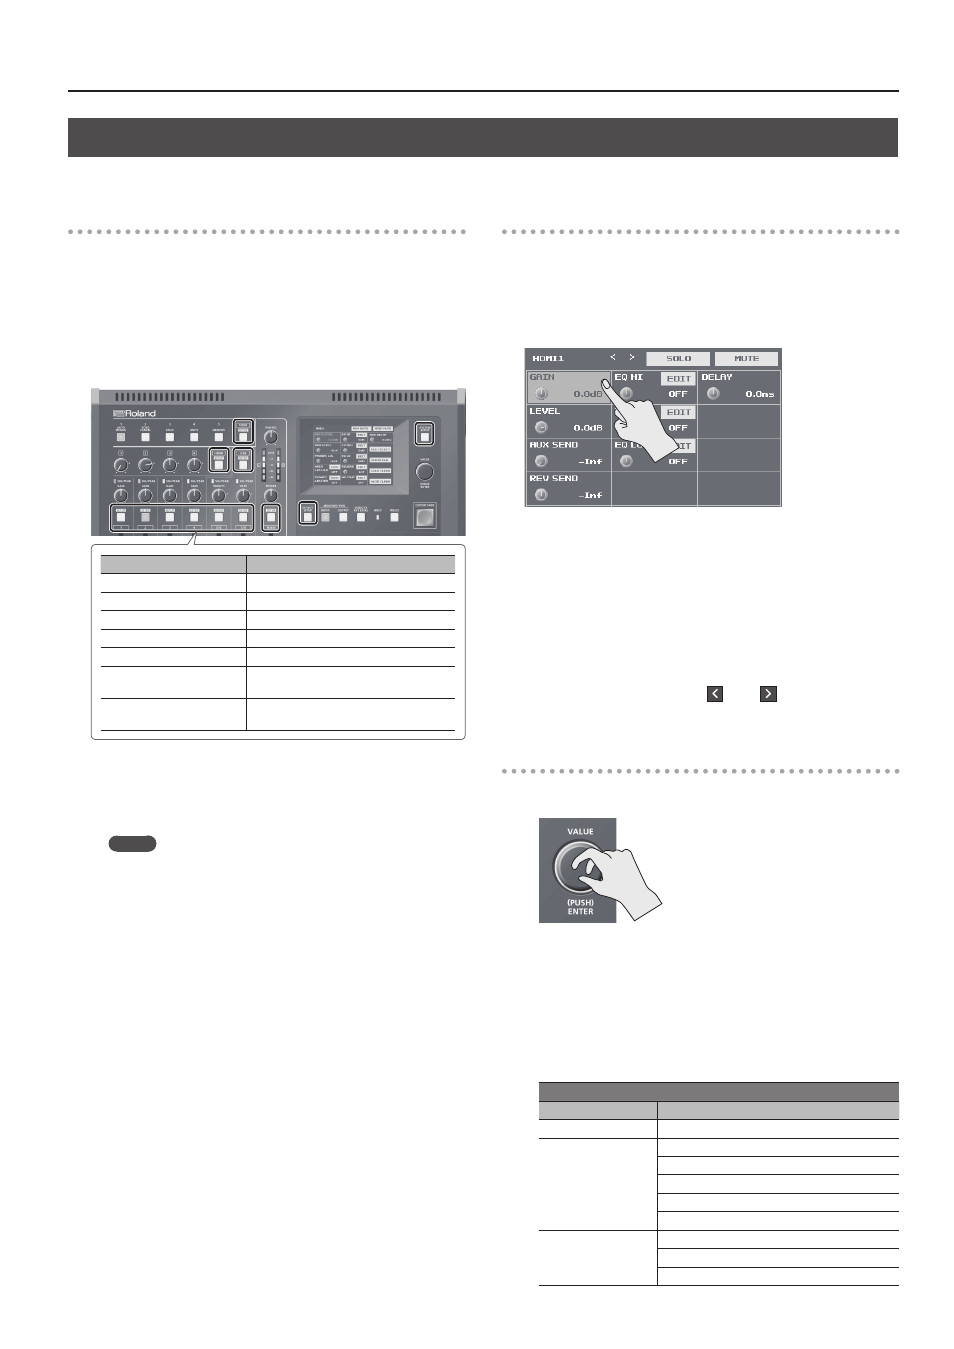
Touch Panel Operation
1.
Tap the setting item.
[VALUE] Knob Operation
1.
Turn the [VALUE] knob to move the cursor to the setting
item, then press the [VALUE] knob.
5
The selected setting item is displayed with a red background.
5
At the setup screen for the system, you first go to the bottom area
of the screen and select the category, then select the setting item.
5
The setup screens are composed of two or more pages. You can
change the page by selecting <
> or <
> at the top of the
screen.
Changing Setting Values
1.
Turn the [VALUE] knob to change the setting value.
* You can change the setting value
in larger steps by holding down the
[VALUE] knob as you turn it.
5
Pressing the [VALUE] knob returns you to the cursor view.
5
You can turn on-screen on/off switches on and off by pressing the
[VALUE] knob or by tapping the switch on the screen.
5
When a setup screen is displayed, pressing and holding the [VALUE]
knob (for 2 seconds or longer) returns the selected setting item to
its default value.
5
For the following setting items, changes are not applied until you
press the [VALUE] knob to accept the setting.
Setup screen for the system ([SYSTEM SETUP] Button)
Category
Setting item
VIDEO CH4
RESOLUTION (EDID)
VIDEO OUT
OUTPUT RESOLUTION
OUTPUT COLOR SPACE
OUTPUT DVI-D/HDMI
PREVIEW COLOR SPACE
PREVIEW DVI-D/HDMI
SYSTEM
HDCP
FRAME RATE
SYSTEM FORMAT