Installing the projector – Sony BRAVIA XR A95K 55" 4K HDR Smart QD-OLED TV User Manual
Page 31
Data Projector
VPL-GTZ380
Installing the Projector
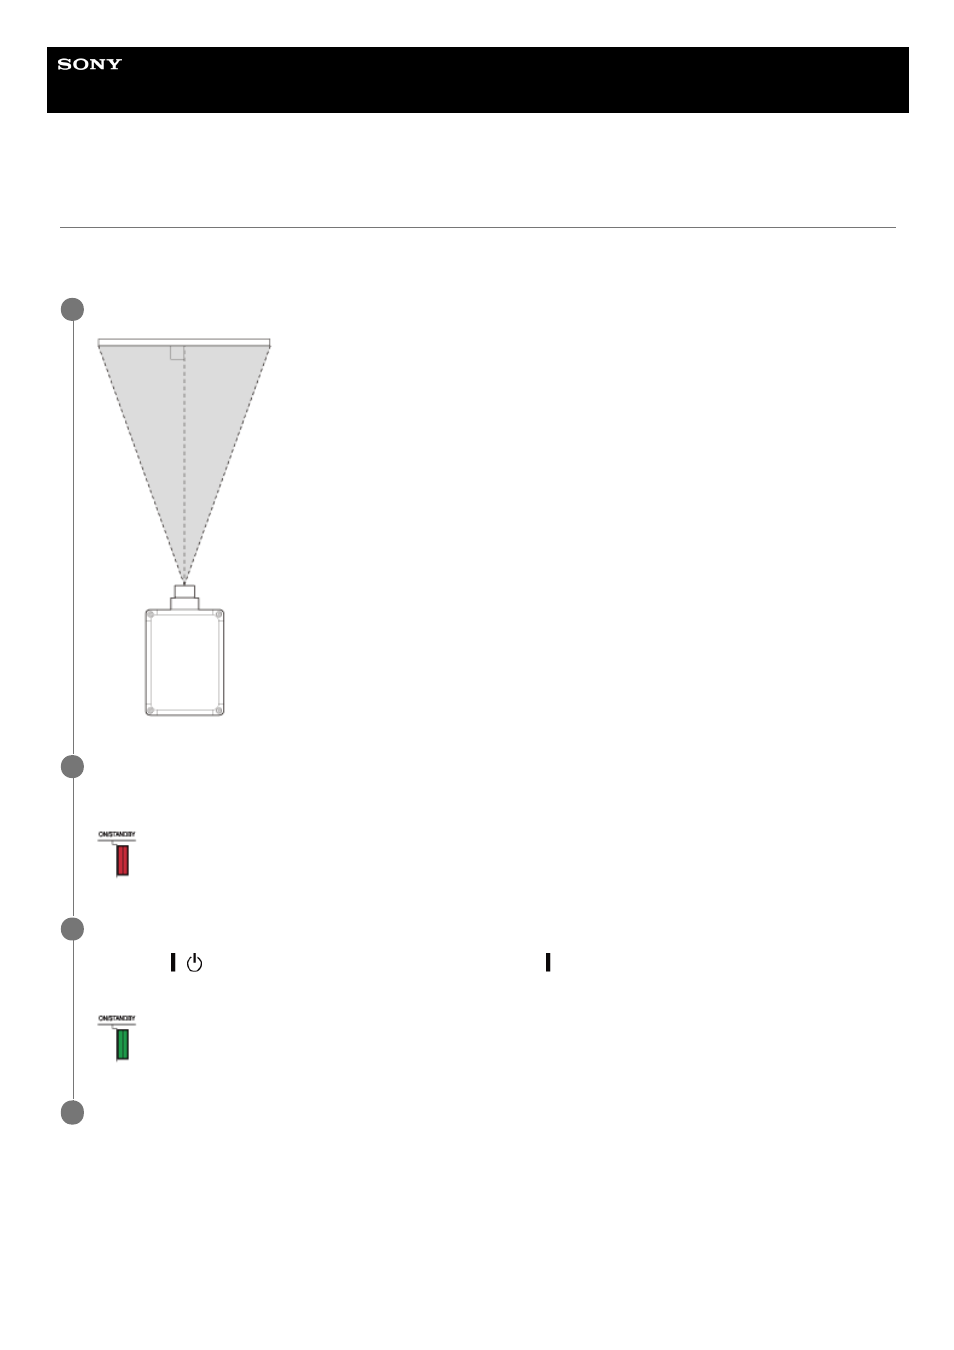
The installation distance between the projector and a screen varies depending on the screen size (projection size) and
whether or not you use the lens shift feature. Install the projector according to the screen size.
To adjust the projector placed on an uneven surface
If the projector is placed on an uneven surface, adjust the tilt angle by rotating the feet (adjustable).
Place the projector so that the lens is parallel to the screen.
1
Connect the AC power cord to the projector before plugging into a wall outlet.
The ON/STANDBY indicator lights in red and the projector goes into standby.
2
Turn on the projector.
Press the /
(On/Standby) button on the control panel or the (On) button on the remote control.
The ON/STANDBY indicator flashes in green, then it lights in green.
3
Project an image on the screen to adjust the image position so that it fits the screen.
4
31