Setting the audio [audio – Marantz NA-11S1 User Manual
Page 21
18
Setting the audio [Audio]
This unit is equipped with a sound quality adjusting function
which allows users to enjoy the desired playback sound quality.
• This setting remains effective even if the power is turned off.
Noise Shaper
Digital feedback is used to improve the low-sound linearity and
the noise characteristics of the audible band.
Although no difference is observed in the measured values,
the sound quality is changed, allowing users to specify a
favorite sound quality.
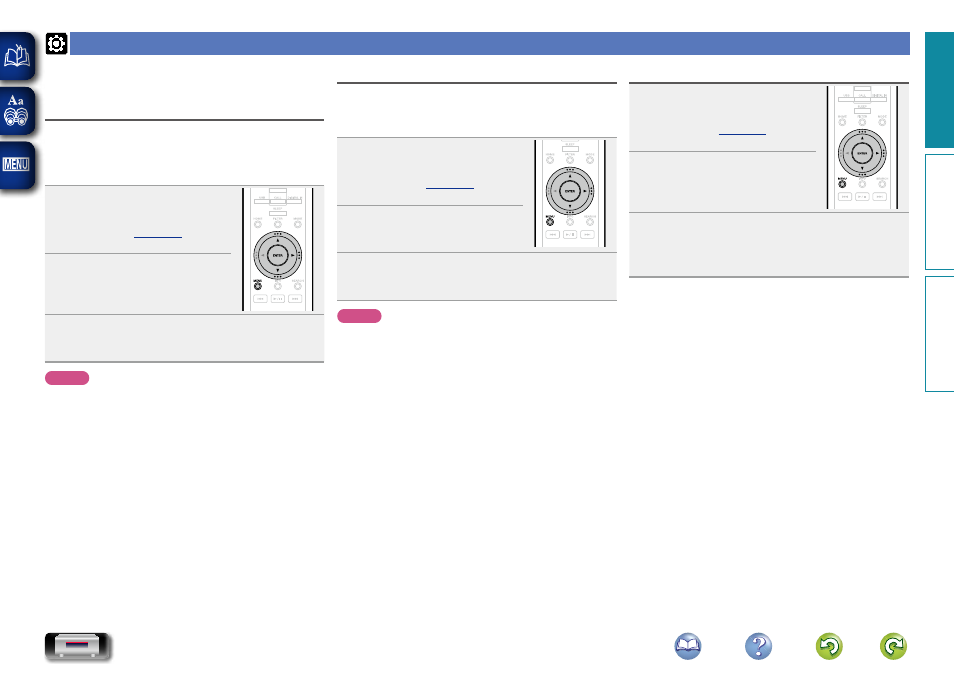
1
Press
MENU
.
Turns on the Menu settings mode
and the Menu appears on the
display (
2
Use
ui
to select “Audio” –
“Noise Shaper”, then press
ENTER
or
p
.
“Noise Shaper” menu appears.
3
Use
ui
to select “On” or “Off”, then press
ENTER
or
p
.
The setting is entered.
NOTE
The Noise Shaper function is disabled during playback of a 32
kHz sampling frequency source and DSD.
DC Filter
This filter is effective in preventing excessive speaker vibration
when playing music source where audio with extremely low
noise characteristics has been recorded. (The cut frequency is
set at 1.7 Hz.)
1
Press
MENU
.
Turns on the Menu settings mode
and the Menu appears on the
display (
2
Use
ui
to select “Audio” – “DC
Filter”, then press
ENTER
or
p
.
“DC Filter” menu appears.
3
Use
ui
to select “On” or “Off”, then press
ENTER
or
p
.
The setting is entered.
NOTE
• The DC Filter function is disabled during playback of a 32 kHz
sampling frequency source and DSD.
• The “Noise Shaper”, “DC Filter” and filter characteristics
have a last memory function. These settings remain in
memory even if the power is turned off.
Digital Out (Setting for the digital output)
1
Press
MENU
.
Turns on the Menu settings mode
and the Menu appears on the
display (
2
Use
ui
to select “Audio” –
“Digital Out”, then press
ENTER
or
p
.
“Digital Out” menu appears.
3
Use
ui
to select “On” or “Off”, then press
ENTER
or
p
.
• When “Digital Out” is set to “Off”, the digital out off
indicator lights on the display.
Preparation
Operation
Information
Preparation