Navigating through the screens, Connect to a different routing server, Navigating through the screens -9 – Quintum Technologies Call Routing Server User Manual
Page 35: Connect to a different routing server -9
P/N 480-0028-00-00
4-9
Chapter 4: Getting Started via Quintum Routing Server Manager
Navigating through the screens
There are several ways to navigate through the screens: Menu Tree, Tool Bar, and Tabbed Panels. See below
for a description of each:
•
Menu Tree. To reach any screen, click on the desired menu item from the menu tree and the applicable
configuration window will be displayed.
•
Navigation Buttons. Two navigation buttons on the tool bar enable you to navigate from one screen to
the next, from the previous screen to the next and vice versa.
•
Tabbed Panel. If the screen has more than one layer, it is arranged as tabbed panels, each panel has a
label that indicates its contents. Click on the desired panel in which you can configure.
Connect to a different Routing Server
NOTE:
The configuration instructions in this chapter assume the Tenor Intelligent Router Manager soft-
ware is installed and it is connected to an IP (via LCD panel, see Chapter 3: Using the LCD front
panel/Setting IP address).
If you are not connected to an IP address, or would like to change the IP address to which you are connected,
using the following instructions:
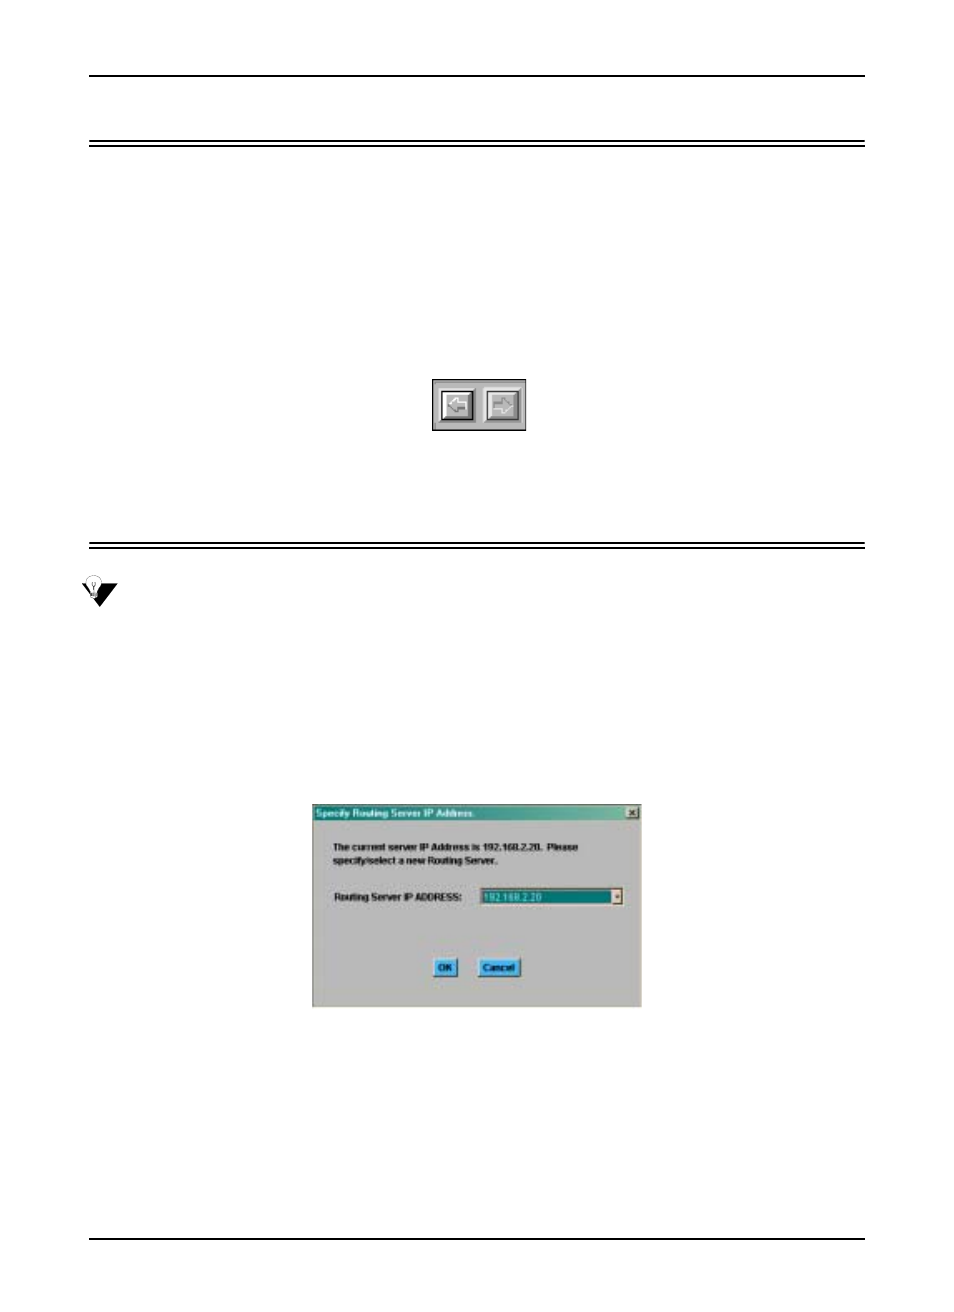
1. Click on File> Connect. The Specify Routing Server IP Address screen will be displayed.
Figure 4-8 Specify Routing Server IP Address screen
2. Click on the down arrow to choose Routing Server IP Address. Enter the desired IP address and click Ok.
The Confirm Login and Password screen will be displayed.
3. Enter the login ID (default login: admin).
4. Enter the login password (default password: admin).