3 electrical installation – Yaskawa A1000 6-Phase/12-Pulse Input User Manual
Page 25
No.
Item
Page(s)
5
The voltage from the power supply should be within the input voltage specification range of the drive.
–
6
The voltage rating for the motor should match the drive output specifications.
7
Verify that the drive is properly sized to run the motor.
Main Circuit Wiring
8
Confirm proper branch circuit protection as specified by national and local codes.
9
Properly wire the power supply to drive terminals R/L1, S/L2, T/L3, R1/L11, S1/L21, and T1/L31.
Note:
Confirm that a 6-Phase/12-Pulse isolation transformer with each of the output windings phase-shifted
by 30 electrical degrees or a Hybrid 6-Phase topology is installed on the power supply.
10
Properly wire the drive and motor together.
The motor lines and drive output terminals U/T1, V/T2, and W/T3 should match in order to produce the desired phase
order. If the phase order is incorrect, the drive will rotate in the opposite direction.
–
11
Use 600 Vac vinyl-sheathed wire for the power supply and motor lines.
12
Use the correct wire gauges for the main circuit.
• Consider the amount of voltage drop when selecting wire gauges. Increase the wire gauge when the voltage drop is
greater than 2% of motor rated voltage. Ensure the wire gauge is suitable for the terminal block. Use the following
formula to calculate the amount of voltage drop:
Line drop voltage (V) = 3 × wire resistance (Ω/km) × wire length (m) × current (A) × 10
-3
• If the cable between the drive and motor exceeds 50 m, adjust the carrier frequency set to C6-02 accordingly.
13
Properly ground the drive.
–
14
Tighten control circuit and grounding terminal screws.
15
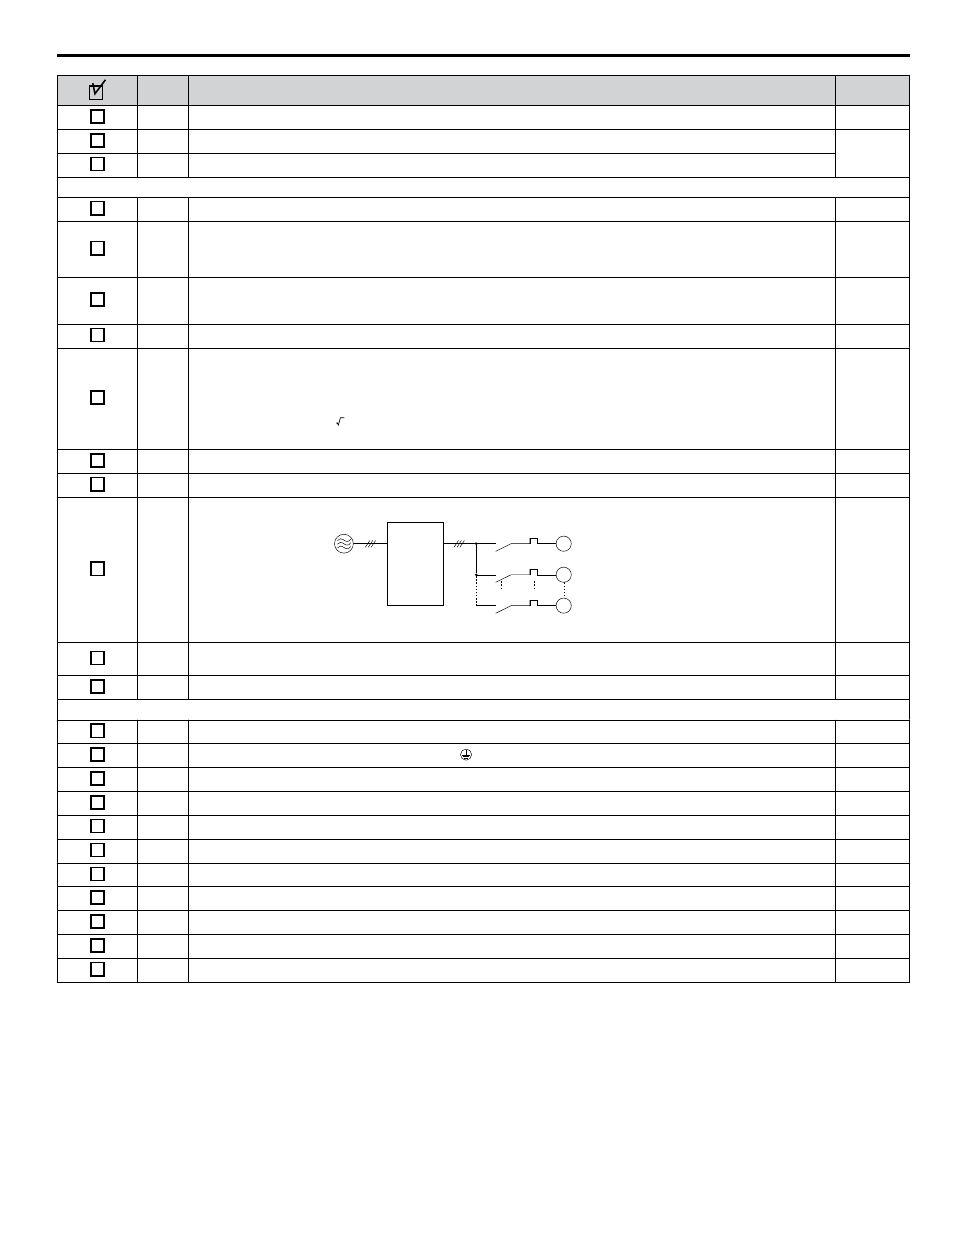
Set up overload protection circuits when running multiple motors from a single drive.
M1
OL1
OL2
OLn
MC1
MC2
MCn
M2
Mn
Drive
MC1 - MCn
OL 1 - OL n
... magnetic contactor
... thermal relay
Power supply
Note:
Close MC1 – MCn before operating the drive. MC1 – MCn cannot be switched off during run.
–
16
Install a magnetic contactor when using a dynamic braking option. Properly install the resistor and ensure that overload
protection shuts off the power supply using the magnetic contactor.
–
17
Verify phase advancing capacitors, input noise filters, or GFCIs are NOT installed on the output side of the drive.
–
Control Circuit Wiring
18
Use twisted-pair line for all drive control circuit wiring.
–
19
Ground the shields of shielded wiring to the GND terminal.
–
20
For 3-Wire sequence, set parameters for multi-function contact input terminals S1 – S8, and wire control circuits.
–
21
Properly wire any option cards.
–
22
Check for any other wiring mistakes. Only use a multimeter to check wiring.
–
23
Properly fasten drive control circuit terminal screws.
24
Pick up all wire clippings.
–
25
Ensure that no frayed wires on the terminal block are touching other terminals or connections.
–
26
Properly separate control circuit wiring and main circuit wiring.
–
27
Analog signal line wiring should not exceed 50 m.
–
28
Safe Disable input wiring should not exceed 30 m.
–
3 Electrical Installation
YASKAWA TOEP YAIA1U 02A YASKAWA AC Drive – A1000 6-Phase/12-Pulse Input Installation Manual
25