Unit configuration – Rose Electronics UltraConsole Remote 2 User Manual
Page 13
UNIT CONFIGURATION
ULTRACONSOLE REMOTE 2 INSTALLATION AND OPERATIONS MANUAL
7
Configuring the UltraConsole Remote 2 IP Input module
When you locally connect to the UltraConsole Remote 2 unit for the first time the Unit must be configured to
be compatible with your network.
Follow the recommended procedure below to configure all models
Make all cable connections to the KVM station and computers, connect to the network after the assigned unit
IP address has been entered and saved.
Make sure power is applied to all devices (Computer, UltraConsole Remote 2, and Monitor)
Make sure a computer is connected to CPU port #1 and that computer is powered on
If no computer is connected to port #1, the OSD menu screens may not sync
With power applied, a standard login screen will display on the KVM monitor
Login on to the unit using the default user ID, admin and no password
After a successful login, the remote computer’s video will display on the KVM monitor
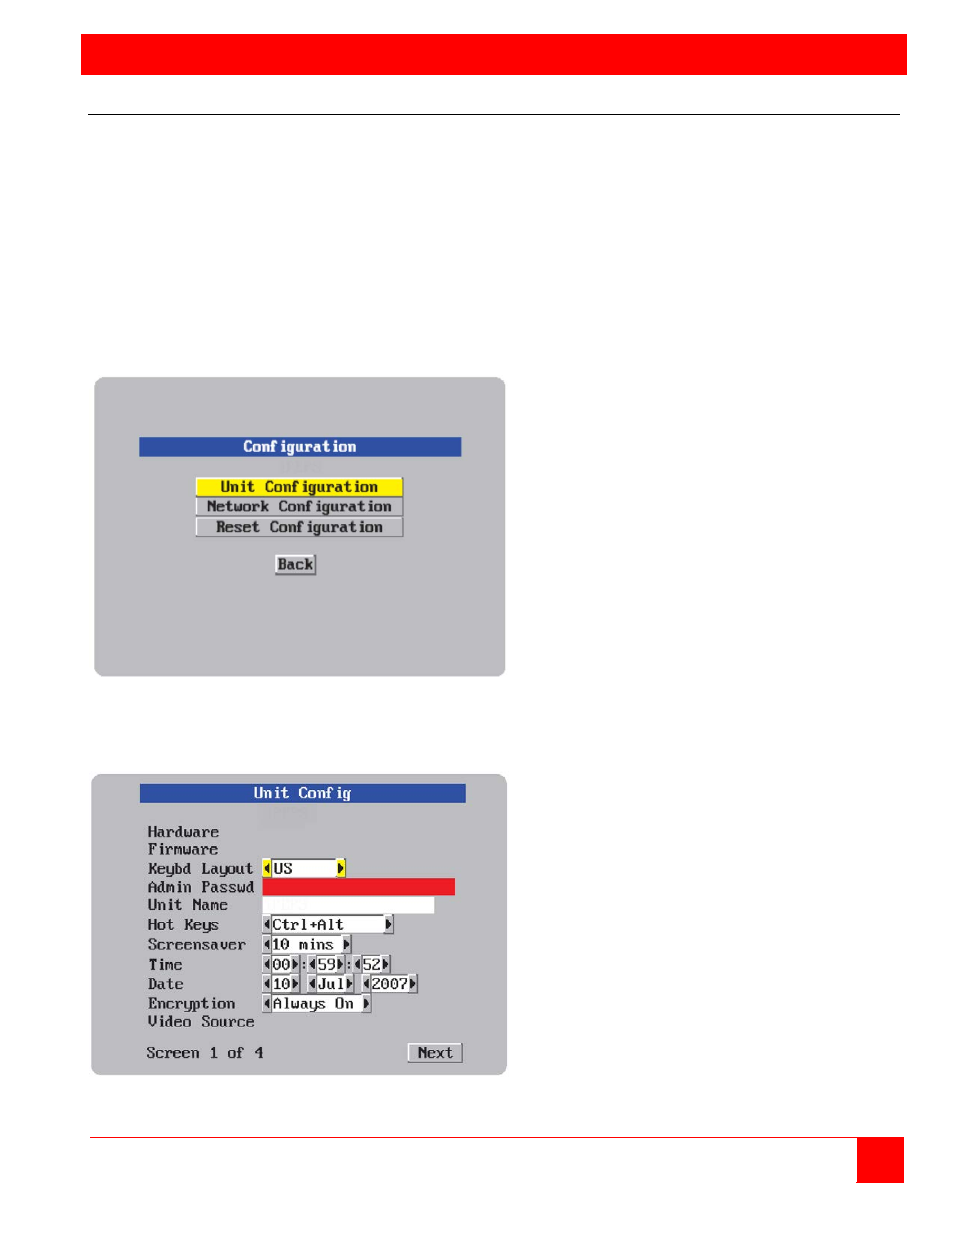
Press the CTRL + ALT + C keys simultaneously to display the configuration menu options
as shown below:
Figure 2. Configuration Menu
Select “Unit Configuration” and the below screen will display
Figure 3. Unit Configuration Menu