Casella CEL Microdust Pro real time dust monitor User Manual
Page 24
MicroDust Pro Aerosol Monitoring System
24
Casella CEL
Step 5 of Figure 13 shows how to purge the probe with clean air.
Slide the collar over the probe inlet, leaving only a small hole from which the air
can escape. Attach the purge bellows to the probe, and rapidly squeeze the bulb
five or six times.
This action injects clean air into the chamber and removes possible
contamination that may have settled on the optical components inside the
probe. When you perform this operation, you may see the indicated
concentration increase, and then decrease towards zero.
Allow a few seconds for automatic ranging and for the reading to stabilise. If the
reading does not stabilise, squeeze the bulb five or six times and try again.
Press the Enter key
when the reading is stable. This sets the reading to zero,
± one digit. If the reading is not zero, wait a few seconds and then press the
Enter key again until it is zero.
IMPORTANT
If the instrument cannot zero itself in the range 0 to 2.5 mg/m³, it displays a
‘Contamination Warning’ message and selects the 0 to 25 mg/m³ range. This becomes
the lowest usable range that the instrument makes available until the probe is cleaned.
For accuracy and stability, you should arrange for cleaning to be done by Casella CEL.
After you have set the zero, make sure you fit the rubber cap on the probe’
purge inlet.
Span adjustment
The basic settings for span (or sensitivity) for the MicroDust Pro instrument are
set at the factory using ISO (Fine 12103-1 A2) calibration dust.
Each probe is supplied with its own calibration filter, which creates a fixed
optical scattering effect in the sampling space. This fixed reference can be used
to confirm the factory calibration point for the instrument and probe.
It is important to use only the optical filter supplied for use with the specific
probe.
IMPORTANT
It is important to use only the optical filter supplied for use with the specific probe.
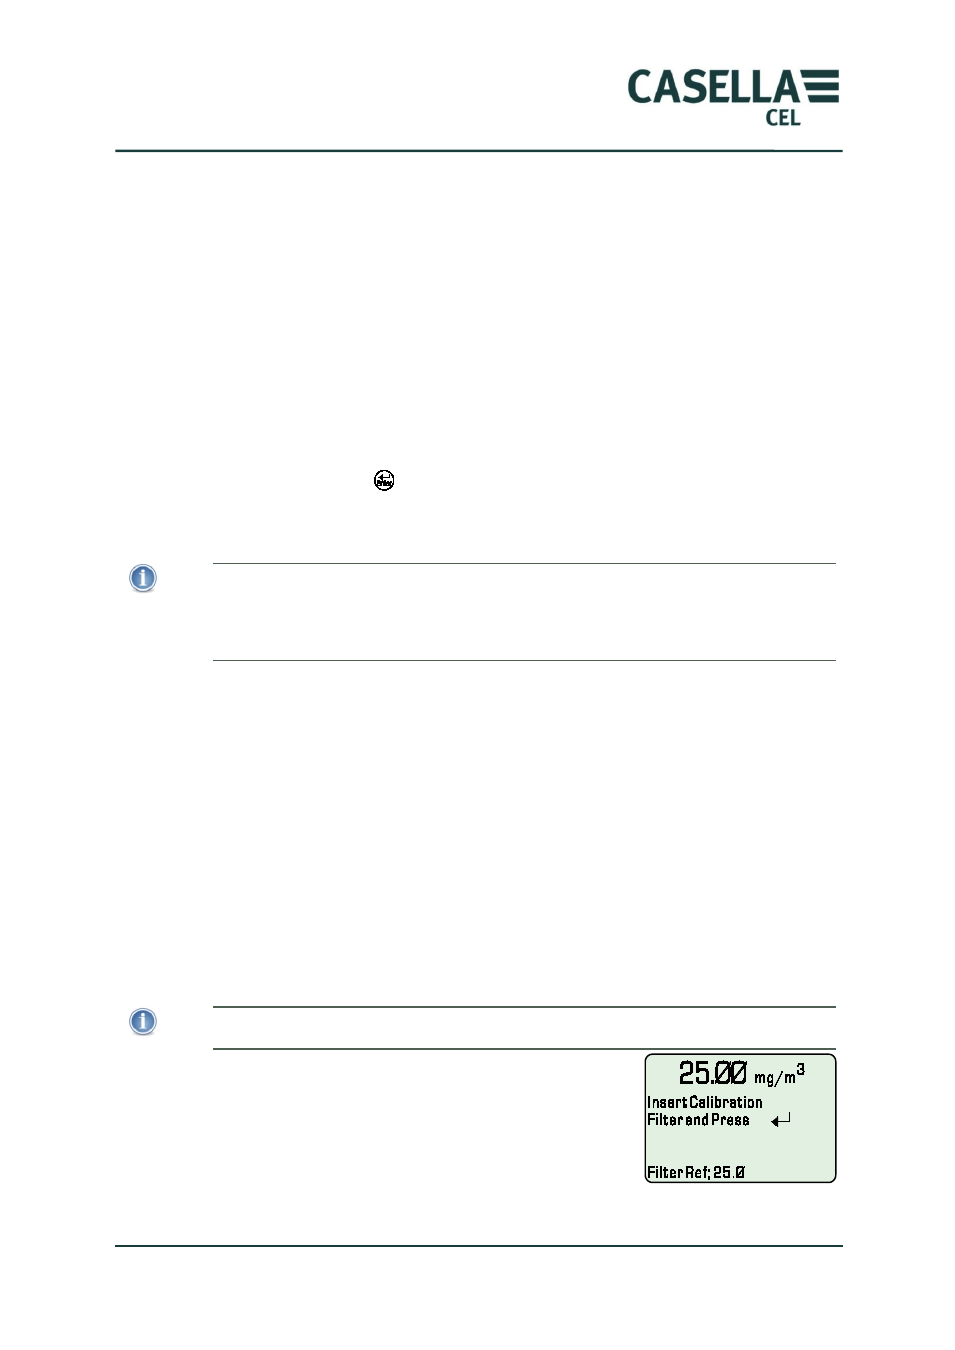
The reference value for the calibration filter supplied
for the probe is shown on the filter, and is displayed
at the bottom of the Set Span screen.
Insert the calibration filter into the measurement
chamber with the arrow pointing towards the
probe’s handle.