3 general operation, Switching on/off, Input device operation – Audioscan Axiom User Manual
Page 16
Axiom
®
User's Guide Version 1.8
May 2015
3 General Operation
This section describes the use of a mouse or QWERTY keyboard to control the Axiom and to enter data, and the
use of the (optional) barcode scanner to enter data from printouts produced by Audioscan analyzers. It also
provides instructions for updating the Axiom operating software.
Switching ON/OFF
See Getting Started for instructions on connecting the Axiom to its external power supply module, the module to
an electrical outlet and the location of the standby switch.
To start the Axiom, set the standby switch to its "ON" position. The green light on the right rear corner will
light and the instrument will begin its start-up sequence which will take a few seconds.
To shut down the Axiom, switch the standby switch to its "OFF" position.
Note that the Axiom receives low voltage electrical power from the external power supply module. The standby
switch on the rear of the Axiom disconnects this electrical supply but the power supply module is always on
as long as it is connected to a live electrical outlet. The green light on the power supply module indicates that it
is receiving electrical power from the outlet.
Input device operation
The Axiom is operated by using a USB mouse (included) or a QWERTY keyboard (not included) to select icons
and menu items, operate on-screen buttons and to enter audiometric data.
To activate an on-screen icon or button, or to select an item from a menu, use the mouse to place the screen
pointer over the icon, button or menu item and left click. To enter a data point on a chart, such as an audiogram,
place the screen pointer over the desired point on the chart and left click. To move the data point, place the
screen pointer near the new location and left click. To delete a data point, place the screen pointer on the data
point and left click. To summon a cursor on a graph, place the screen pointer on the graph and left click, then
navigate to the point you want to identify; left click again to hide the cursor. The scroll wheel may be used to
traverse the Help contents, multiple Help pages or long menu lists. Note that mouse speed can be changed by
clicking
and [Display].
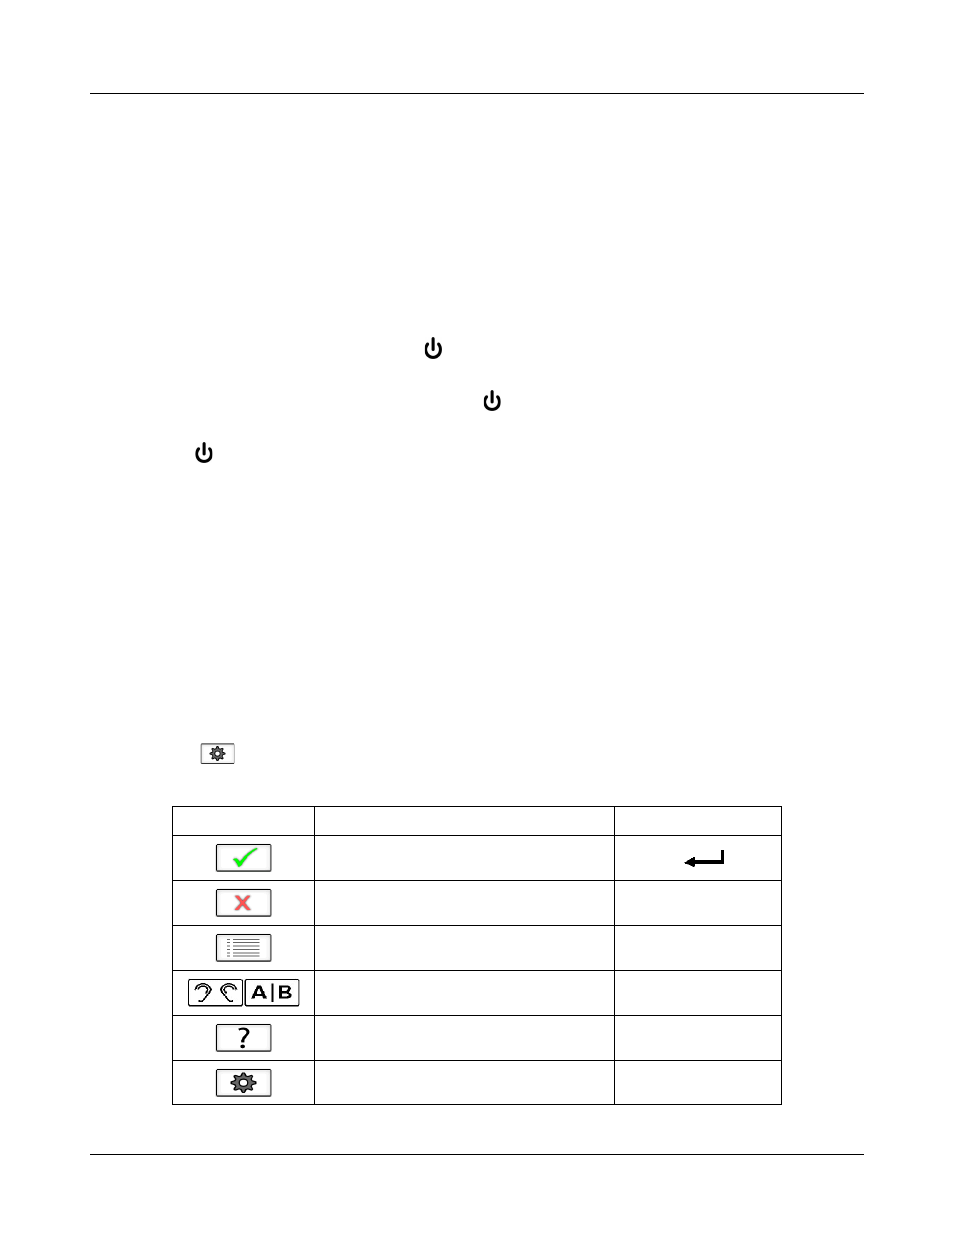
The functions of the screen icons and QWERTY keyboard keys are explained in the following table:
Screen icon
Function
QWERTY Key
Continue. Proceed from current state
Cancel. Revert to previous state
[Esc]
Show menu of available tests
[F3]
Switch between Left/Right on-ear data or
switch between A/B test box data
[F5]
Show on-line help
[F1]
Show the setup menu
[F2]
16