Creating wav files for speechmap – Audioscan Axiom User Manual
Page 85
Axiom
®
User's Guide Version 1.8
May 2015
4. Copy the WAV files from the PC to the top level directory (i.e. not in any folder) of the USB stick.
5. Disconnect the USB stick from the PC and connect it to the USB port on the Axiom.
6. Run a test in Speechmap (see Using Speechmap).
7. Click on the [Stimulus] list button. Compatible WAV files will appear as selectable options in the stimulus
list below the default stimuli. You may need to scroll down to see all the stimuli.
8. Select your custom stimulus. After a short delay, your stimulus will begin playing.
9. Use your new stimulus with all the features of Speechmap.
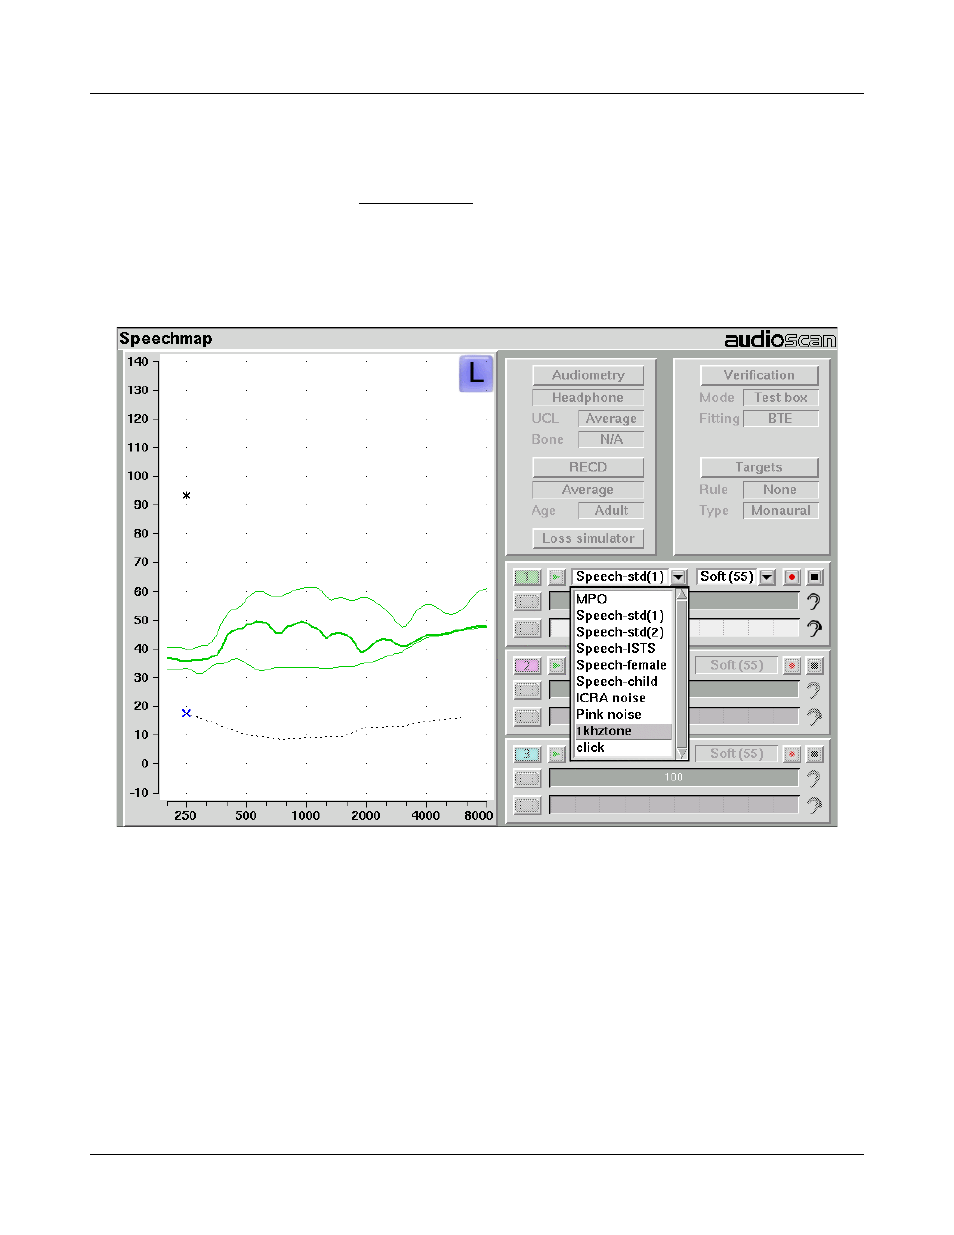
Example of two custom files, “click.wav” and “1khztone.wav”, in the stimulus list.
To remove custom stimuli from Speechmap: close any Test prompts and disconnect the USB stick from the
Axiom.
Notes:
•
Files that are greater than 20 seconds in duration will be truncated to 20 seconds.
•
Speechmap will show up to 10 compatible WAV files. If you have more than 10, we recommend that you
use multiple USB sticks or organize your files into folders, moving them into the top level directory of the
USB stick as needed.
•
Removing the USB stick while a test is running may cause unexpected behavior. Stop the test before
removing the USB stick from the Axiom.
Creating WAV Files for Speechmap
WAV is a commonly used format for digital audio and can be created/edited by nearly all audio editing and
85