Eneo PNR-5304/4TB User Manual
Page 76
Part 5 - WebGuard
76
6
Zoom in or out on the video.
7
Adjust image brightness.
8
Use the playback controls to play back video.
Go to First
Fast Forward
Play by Frame (backwards)
Play by Frame (forwards)
Rewind
Go to Last
Play/Pause
9
Select the desired mode.
0
Use the calendar to search for video recordings by specific dates.
Dates containing video recordings are highlighted in black. Selecting a date containing video recording
data loads the earliest recording from that date(paused state). Selected date is highlighted in red.
!
Click to designate recent recordings you wish to search and then jump to a specific point in the
recording.
@
Select to enable time lapse search mode and search/play back video recordings in chronological order.
In Time Lapse Search mode, search is conducted by selecting days on the calendar. The time table at the
bottom displays recording data information for the selected date. Select a point in time to display video
from that moment. If multiple recordings are available for the selected point in time, you can select the
desired segment.
#
Select to enable event search mode and search for events matching user-designated parameters.
$
Click to configure rendering mode and OSD settings. Select rendering mode to adjust the video
output rate or select which OSD elements to display on the screen from the OSD list.
%
Click to save the video recording as an executable file.
^
Click to save the current video screen as an image file.
&
Click
to print the current video screen using a printer connected to the computer.
*
Click to reload recent video recordings from remote locales.
(
Indicates the selected camera's recording data on a time bar. If the camera's system clock has been
changed to a point in the past and more than one recording exists at the same point in time as a result,
you will be able to choose which segment to search from the segment menu on the upper right portion
of the time table.
)
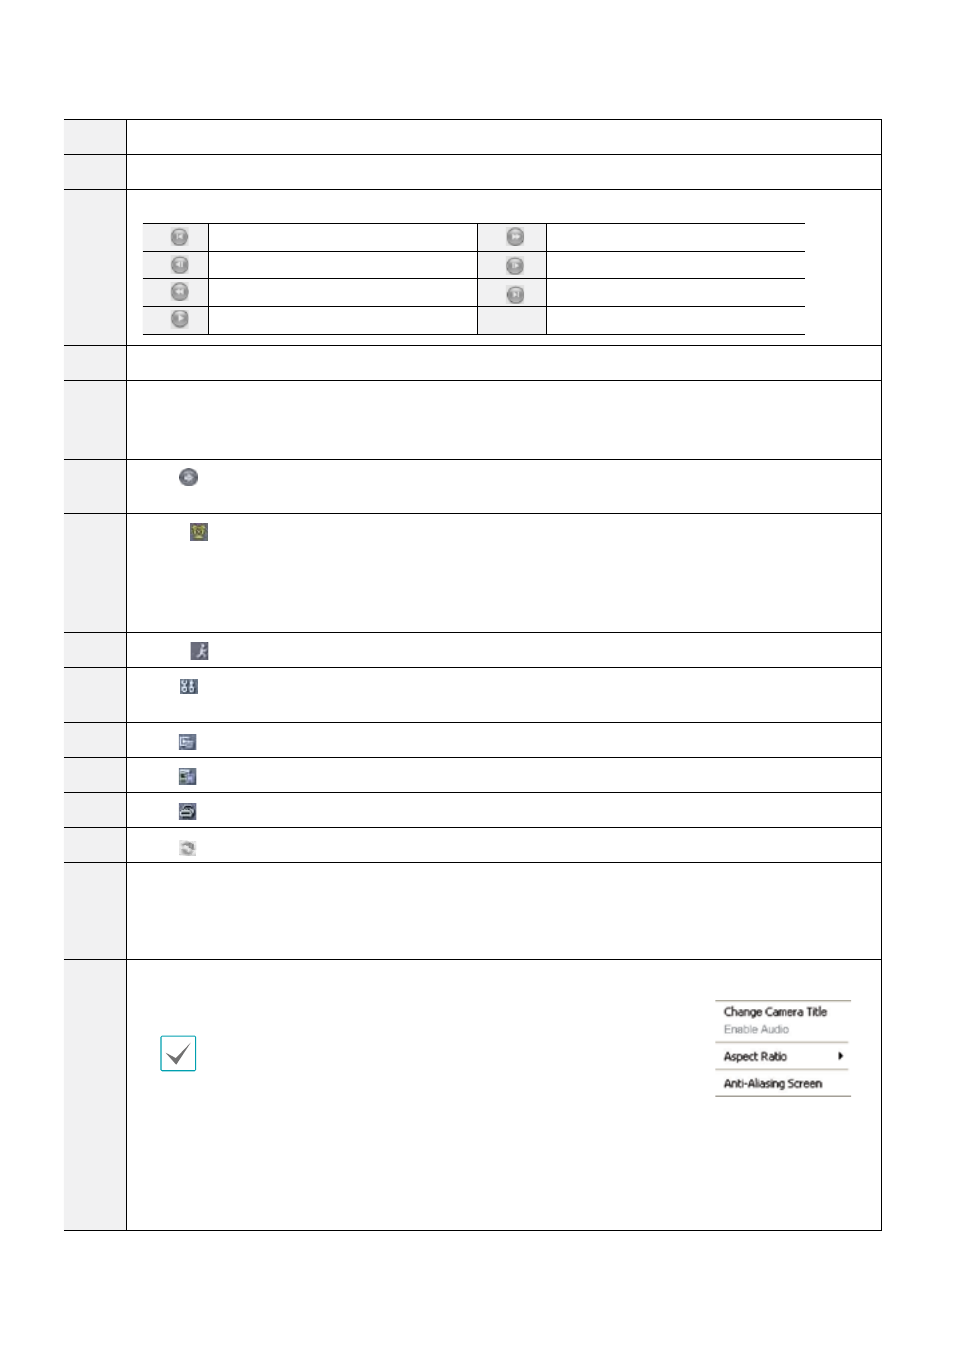
Select a camera from the screen and right-click to bring up the pop-up menu.
• Change Camera Title: Used to change the camera's name.
Renaming the camera in Web Search mode does not affect the camera's name
on the remote system. If no name is entered for the camera, the name used at
the remote locale is shown on the screen.
• Enable Audio: If audio was recorded with the video, enabling this option plays audio upon playback
(limited to single-screen playback).
• Aspect Ratio: Changes the aspect ratio of the video displayed on the screen.
• Anti-Aliasing Screen: Removes stair step effect (blocks) that is caused when zooming a video to
improve overall quality of video output.