Switching the view mode of preview output, Inputting copyright-protected (hdcp) video, P. 15 – Roland V-1HD+ Compact 4 x HDMI Video Switcher & UVC-01 USB Capture Device Kit User Manual
Page 15: Tup (p. 15), Video input/output settings, Operation of the hdcp indicator, What’s hdcp
15
Video Input/Output Settings
Switching the View Mode of
Preview Output
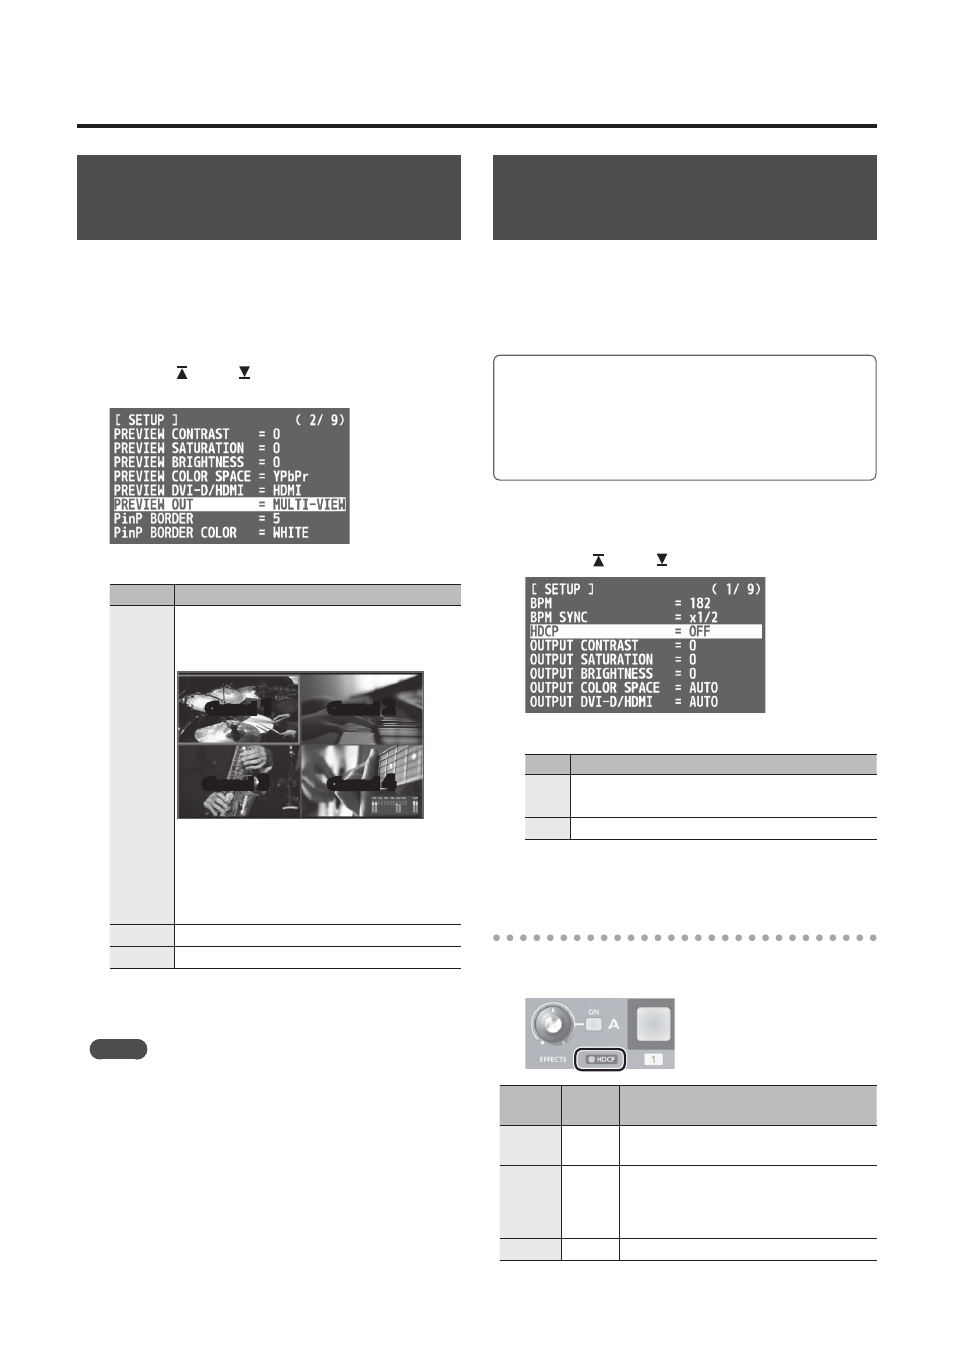
Three types of view modes are available for the
V-1HD’s preview output.
1.
Press and hold the [(TAP) BPM] button (for 2
seconds or longer) to display the SETUP menu.
2.
Use the [ ] and [ ] buttons to select “PREVIEW
OUT.”
3.
Use the A/B fader to set the view mode.
Value
Explanation
MULTI-
VIEW
Displays the incoming video on channels 1
through 4 as a four-way split screen.
The input video is arranged as shown below.
Channel
1
Channel
2
Channel
3
Channel
4
The video is displayed with a colored border
that is interlinked with the selected [A-1]
through [A-4] or [B-1] through [B-4] button.
Red border: Video currently being output
Green border: Video to be output next
OUTPUT
Displays the video currently being output.
PREVIEW
Displays the video to be output next.
4.
Press the [(TAP) BPM] button to quit the menu.
MEMO
5
Audio level meter indication
With the factory settings, an audio level meter is shown
at the lower right of the preview monitor. You can
change the position at which the level meter is shown,
or hide it. Press and hold the [(TAP) BPM] button
g
use
“AUDIO LEVEL METER” at the SETUP menu to make the
setting.
Inputting Copyright-protected
(HDCP) Video
To input copyright-protected (HDCP) video from a
Blu-ray Disc player or the like, you make the setting for
enabling HDCP input.
* The V-1HD must be connected to an HDCP compatible
display for HDCP protected video to be connected.
What’s HDCP?
HDCP is copyright-protection technology that prevents
unlawful copying of content by encoding the path when
sending digital signals from a video playback device to a
display monitor or other display equipment.
1.
Press and hold the [(TAP) BPM] button (for 2
seconds or longer) to display the SETUP menu.
2.
Use the [ ] and [ ] buttons to select “HDCP.”
3.
Use the A/B fader to set this to “ON.”
Value Explanation
ON
Copyright-protected (HDCP) video can be input.
HDCP is also added to the video that is output.
OFF
Copyright-protected (HDCP) video cannot be input.
4.
Press the [(TAP) BPM] button to quit the menu.
Operation of the HDCP indicator
The HDCP indicator on the top panel operates as
follows, regardless of input.
Indicator “HDCP”
setting Connection status
Lit
ON
An HDCP-compatible device is connected
to the OUTPUT or PREVIEW connector.
Flashing
ON
No HDCP-compatible device is connected
to the OUTPUT or PREVIEW connector.
Alternatively, a device that does not
support HDCP is connected.
Dark
OFF
—