Switching automatically (auto scan), Using a different transition pattern – Roland V-1HD+ Compact 4 x HDMI Video Switcher & UVC-01 USB Capture Device Kit User Manual
Page 19
19
Video Operations
Switching Automatically (Auto Scan)
The video on channels 1 through 4 is switched
automatically in sequence.
MEMO
5
Any channels carrying no video input are skipped.
5
Switching the video manually is not possible while an
automatic switch is in progress.
1.
Press and hold the [(TAP) BPM] button (for 2
seconds or longer) to display the SETUP menu.
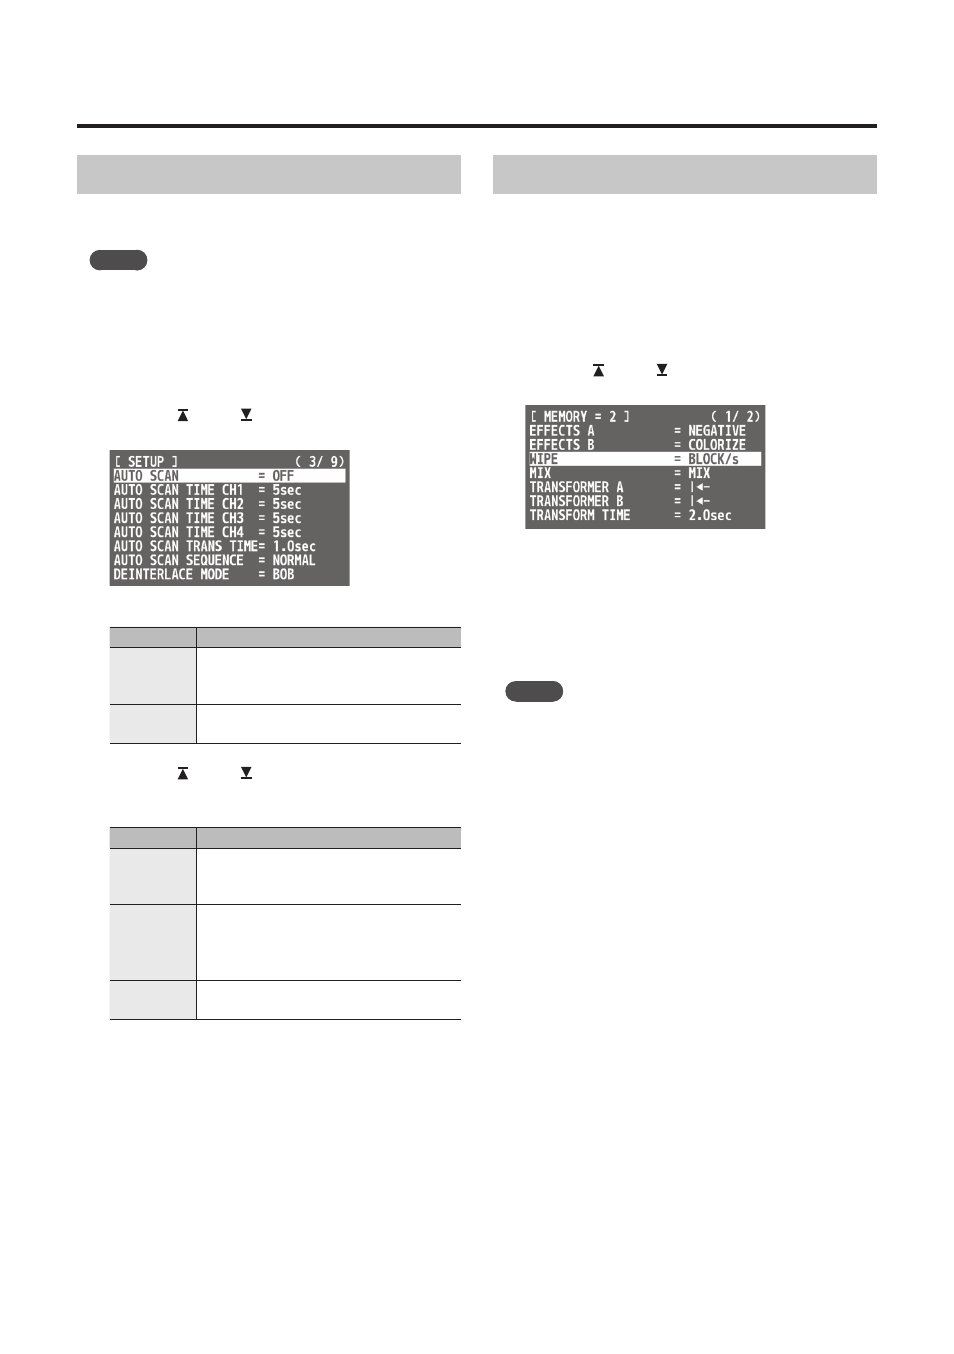
2.
Use the [ ] and [ ] buttons to select “AUTO
SCAN.”
3.
Use the A/B fader to set this to “ON.”
Value
Explanation
ON
Video automatic switching is turned on.
The video on channels 1 through 4 is
switched automatically.
OFF
The video automatic switching feature is
turned off.
4.
Use the [ ] and [ ] buttons to select an item.
The following items are detailed settings for auto
scan.
Menu item
Explanation
AUTO SCAN
TIME CH1–4
For each channel, specify the interval
during which the video is shown, in a
range of 1–120 seconds.
AUTO SCAN
TRANS TIME
Specifies the time the video transition
takes, within a range of 0.0 to 4.0 seconds.
These are effective when a mix or wipe is
selected as the transition effect.
SEQUENCE
Specifies the order in which video signals
are shown.
* If the time the video transition takes is longer than
the video display interval, the next transition starts
before the current transition is complete.
5.
Use the A/B fader to change the setting value.
6.
Press the [(TAP) BPM] button to quit the menu.
Using a Different Transition Pattern
A variety of transition patterns are available for mix
and wipe transition effects.
To use a different pattern, change the transition
pattern assigned to the [MIX] or [WIPE] button.
1.
Press the [MEMORY] button to display the
MEMORY menu.
2.
Use the [ ] and [ ] buttons to select “WIPE”
or “MIX.”
3.
Use the A/B fader to change the transition
pattern.
* For a list of transition-pattern types, refer to “Transition
4.
Press the [MEMORY] button to quit the menu.
MEMO
5
When the [WIPE] button is selected, you can change the
transition pattern with each press of the [WIPE] button.
Press and hold the [(TAP) BPM] button
g
set “WIPE TYPE
CHANGE” at the SETUP menu to “ON.”
The procedure is similar for the [MIX] button. Set “MIX
TYPE CHANGE” at the SETUP menu to “ON.”