Compositing using chroma key, Compositing using split – Roland V-1HD+ Compact 4 x HDMI Video Switcher & UVC-01 USB Capture Device Kit User Manual
Page 23
23
Video Effect Operations
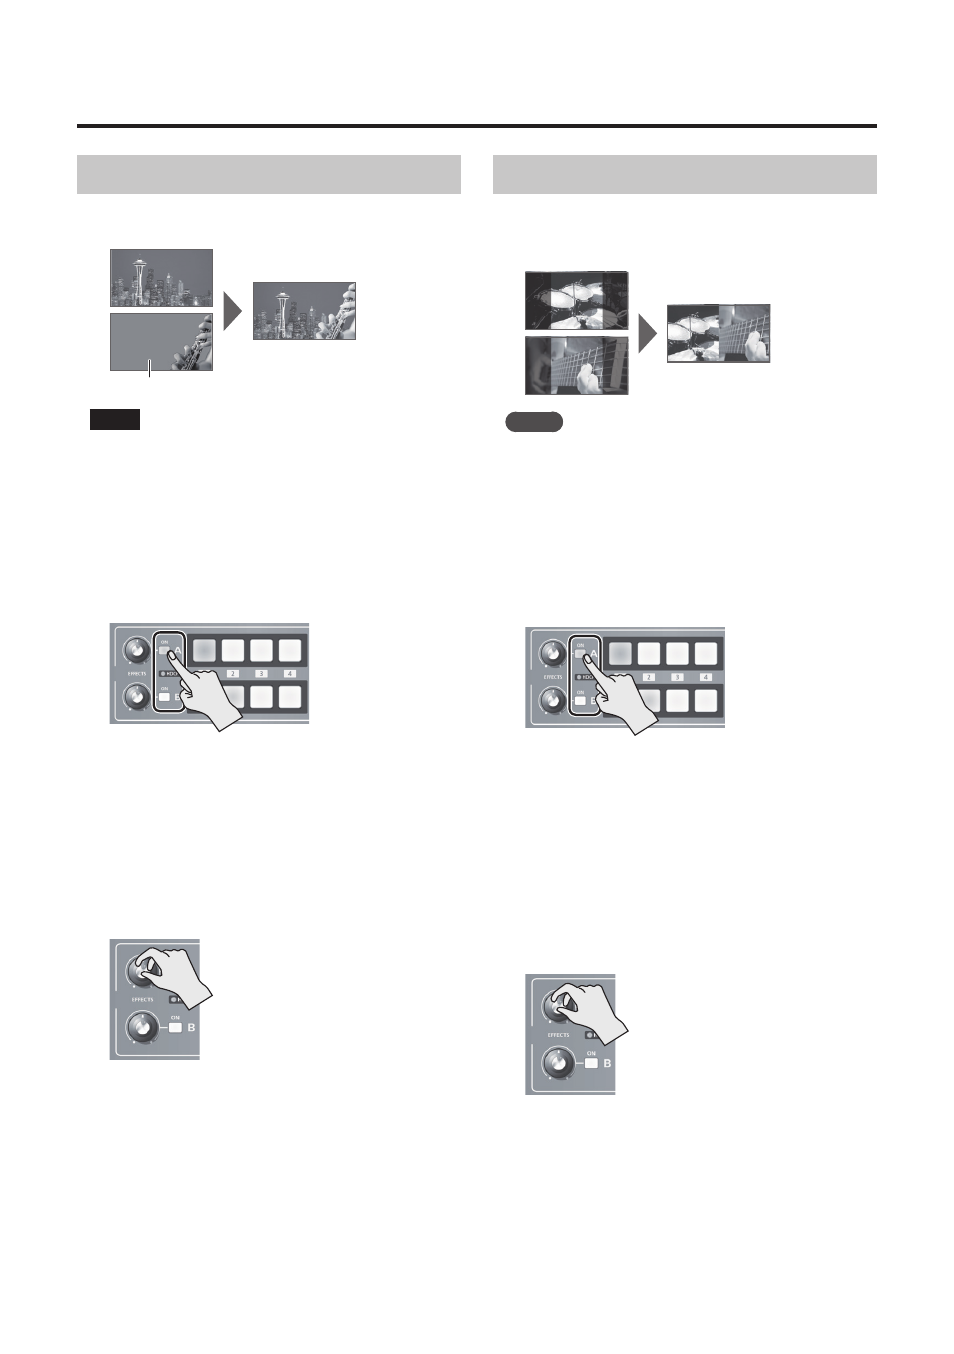
Compositing Using Chroma Key
This composites video shot against a blue or green
background against a different background video.
Blue or green
NOTE
5
Chroma-key composition sometimes leaves color or
small artifacts at the edges of the extracted video, but
this is not a malfunction.
1.
Follow the procedure in “Selecting a
Compositing Effect” (p. 22) to select “GRN-C.
KEY” or “BLU-C.KEY.”
2.
Press the EFFECTS A (or B) [ON] button to turn
on the effect (lighted).
3.
Press the [A-1] through [A-4] and [B-1]
through [B-4] buttons to separately select
the background and the picture you want to
display in the foreground.
The video on the bus at the position where you
turned on the effect in step 2 is displayed in the
foreground.
4.
Turn the [EFFECTS A] and [EFFECTS B] knobs to
adjust the amount of effect applied.
[EFFECTS A] knob
This adjusts the amount of keying for
the foreground video.
[EFFECTS B] knob
This adjusts the degree of edge blur for
the foreground video.
5.
To turn off an effect, press the EFFECTS A (or B)
[ON] button a second time.
Compositing Using Split
This composites two video streams in a split screen.
The bus A video is displayed above or on the left, and
the bus B video is displayed below or on the right.
MEMO
5
While compositing of the video is in progress, the video
switches with cuts regardless of the selected transition
effect.
1.
Follow the procedure in “Selecting a
Compositing Effect” (p. 22) to select “SPLIT-VS,”
“SPLIT-VC,” “SPLIT-HS,” or “SPLIT-HC.”
2.
Press the EFFECTS A (or B) [ON] button to turn
on the effect (lighted).
3.
Press one of the [A-1] through [A-4] buttons to
select the video you want to display above or
on the left.
4.
Press one of the [B-1] through [B-4] buttons to
select the video you want to display below or
on the right.
5.
Turn the [EFFECTS A] and [EFFECTS B] knobs to
adjust the center position.
* You can adjust this when you selected “SPLIT-HC” or
“SPLIT-VC” in step 1.
When Set to SPLIT-HC
This adjusts the vertical position of the
video displayed above or below.
[EFFECTS A] knob: Upper video
[EFFECTS B] knob: Lower video
When Set to SPLIT-VC
This adjusts the horizontal position of
the video displayed on the left or right.
[EFFECTS A] knob: Video on the left
[EFFECTS B] knob: Video on the right
6.
To turn off an effect, press the EFFECTS A (or B)
[ON] button a second time.