Audio operations, Adjusting the volume level, Audio level meter – Roland V-1HD+ Compact 4 x HDMI Video Switcher & UVC-01 USB Capture Device Kit User Manual
Page 25
25
Audio Operations
Adjusting the Volume Level
This adjusts the volume level of input audio and output audio.
1.
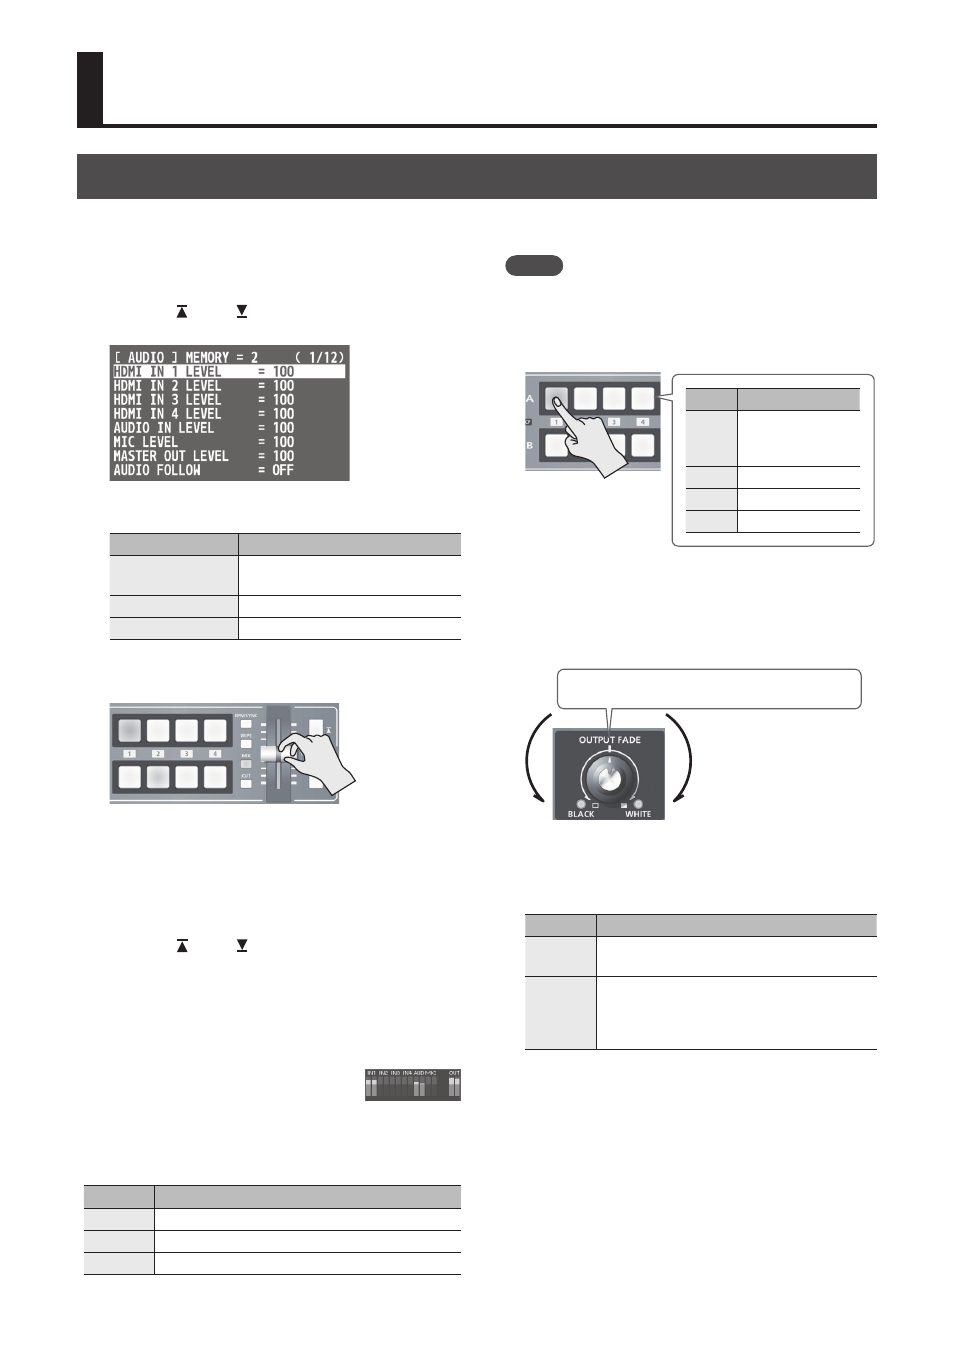
Press the [AUDIO] button to display the AUDIO
menu.
2.
Use the [ ] and [ ] buttons to select the input
audio whose volume level you want to adjust.
You use the following items to adjust the volume
level of input audio.
Menu item
Explanation
HDMI IN 1–4 LEVEL
Input audio from respective HDMI
sources
AUDIO IN LEVEL
Input audio from AUDIO IN
MIC LEVEL
Input audio from MIC
3.
Use the A/B fader to adjust the volume level for
the respective input audio.
Raise the volume level of audio you want to
make more prominent, such as, for example,
a - microphone, and lower the volume level for
other audio.
When no audio is input, and for audio that is
unused, set the volume level to “0” (zero).
4.
Use the [ ] and [ ] buttons to select “MASTER
OUT LEVEL.”
5.
Use the A/B fader to adjust the volume level of
output audio.
6.
Press the [AUDIO] button to quit the menu.
Audio level meter
With the factory settings, an audio level meter is
shown at the lower right of the preview monitor. The
level meter illumination lets you check whether the
volume is adjusted appropriately.
Indicator Status
Red
Excessive. Lights up at 0 dB or higher.
Yellow
Appropriate. Lights up at -20 to -1 dB.
Green
Insufficient. Lights up at -50 to -21 dB.
MEMO
5
When the [AUDIO] button is illuminated, the [A-1]
through [A-4] and [B-1] through [B-3] buttons function
as shortcuts for AUDIO menu selection. You can select
audio whose volume level you want to adjust by pressing
a shortcut button.
Button AUDIO menu
[A-1]
:
[A-4]
HDMI IN 1 LEVEL
:
HDMI IN 4 LEVEL
[B-1]
AUDIO IN LEVEL
[B-2]
MIC LEVEL
[B-3]
MASTER OUT LEVEL
5
By changing the function that’s assigned to the [OUTPUT
FADE] knob, you can make it adjust only the output
volume or fade-in/out the output video and volume
simultaneously. Press and hold the [(TAP) BPM] button
g
use “OUTPUT FADE LEFT” or “OUTPUT FADE RIGHT” at the
SETUP menu to make the setting.
0
0
Center: MASTER OUTPUT LEVEL setting value
5
To adjust MIC input sensitivity, you use the [MIC] knob on
the side panel.
5
The AUDIO indicator above the [AUDIO] knob lights up
as follows according to audio input and output.
Indicator Status
Lit green
This lights up in green when audio input is
detected.
Lit red
This lights up in red when the volume level
exceeds the maximum input/output level.
Audio output from the V-1HD might be
distorted in such cases.
* By factory default, the display of the AUDIO indicator is
set to “MASTER OUT” (output audio signal level).
If you want to use the AUDIO indicator to monitor other
audio signal, press and hold the [(TAP) BPM] button
g
make the setting using “AUDIO LED” at the SETUP menu.
5
You can output a test tone, which is useful for adjusting
the volume level. Press and hold the [(TAP) BPM] button
g
set “TEST TONE OUTPUT” at the SETUP menu to “ON.”