Switching using the transformer buttons, Changing the operation of the transformer buttons – Roland V-1HD+ Compact 4 x HDMI Video Switcher & UVC-01 USB Capture Device Kit User Manual
Page 17
17
Video Operations
Switching Using the TRANSFORMER Buttons
You can switch video using the TRANSFORMER buttons, without using the A/B fader. This section describes the
operations, using the factory-default memory number 1 settings as an example.
1.
Use the [A-1] through [A-4] and [B-1] through
[B-4] buttons to select the video to input on bus
A and bus B.
Bus A
Bus B
Lit red: Video currently being output
Lit green: Video to be output next
Lit white: Channel with video input
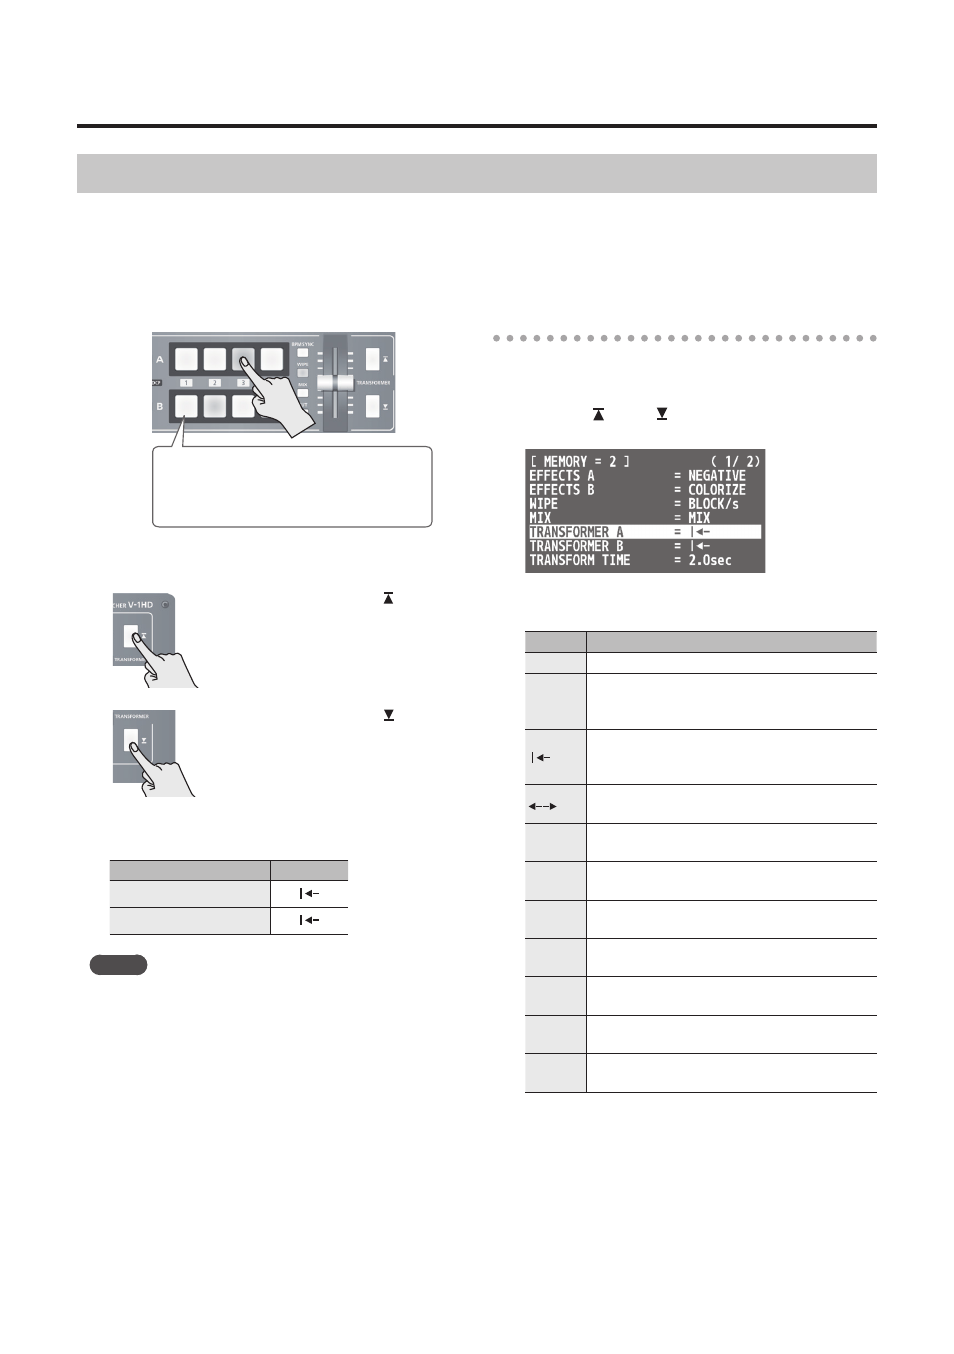
2.
Press a TRANSFORMER button to switch the
video on bus A and bus B.
Pressing the TRANSFORMER [ ] button
switches to the video on bus A.
Pressing the TRANSFORMER [ ] button
switches to the video on bus B.
* By factory default, the operation of the TRANSFORMER
buttons is set as follows in memory number 1.
MEMORY menu item
Value
TRANSFORMER A
TRANSFORMER B
MEMO
5
You can change the operations performed when
TRANSFORMER buttons are pressed. For details, refer to
“Changing the operation of the TRANSFORMER buttons”
on this page.
5
When you use the TRANSFORMER buttons to switch
video, the actual output might come to differ from the
position of the A/B fader.
Operating the A/B fader while in this state yields no
change in output until the position of the A/B fader
matches the actual output.
5
You can make the TRANSFORMER buttons dark. Press
and hold the [(TAP) BPM] button
g
set “TRANSFORMER
LED” on the SETUP menu to “OFF.”
Changing the operation of the
TRANSFORMER buttons
1.
Press the [MEMORY] button to display the
MEMORY menu.
2.
Use the [ ] and [ ] buttons to select
“TRANSFORMER A” or “TRANSFORMER B”
3.
Use the A/B fader to specify the operation of
the TRANSFORMER buttons.
Value
Explanation
NONE
Button operation is disabled. (*1)
TRANS-
FORM
The video is switched to the video for the
bus position of the pressed button until you
release the button.
Pressing a button switches the video to the
video for the bus position of the pressed
button. (*2)
Each press of a button switches the bus A and
bus B video. (*2)
WHITE
A white picture is output until the button is
released.
BLACK
A black picture is output until the button is
released.
BPM
SYNC
The [BPM SYNC] button is selected until the
pressed button is released.
WIPE
The [WIPE] button is selected until the pressed
button is released.
MIX
The [MIX] button is selected until the pressed
button is released.
CUT
The [CUT] button is selected until the pressed
button is released.
EFFECTS
The effect for the bus position of the pressed
button is turned on until you release the button.
(*1) The TRANSFORMER buttons are dark when this is set
to “NONE.”
(*2) When a mix or wipe has been selected as the
transition effect, the value set for “TRANSFORM TIME”
at the MEMORY menu is used for the video transition
time.
4.
Press the [MEMORY] button to quit the menu.