QNAP Security VioStor NVR (Version: 3.3.2) User Manual
Page 203
203
For example, when you turn on the NVR with 5 hard drives installed, the LCD panel shows:
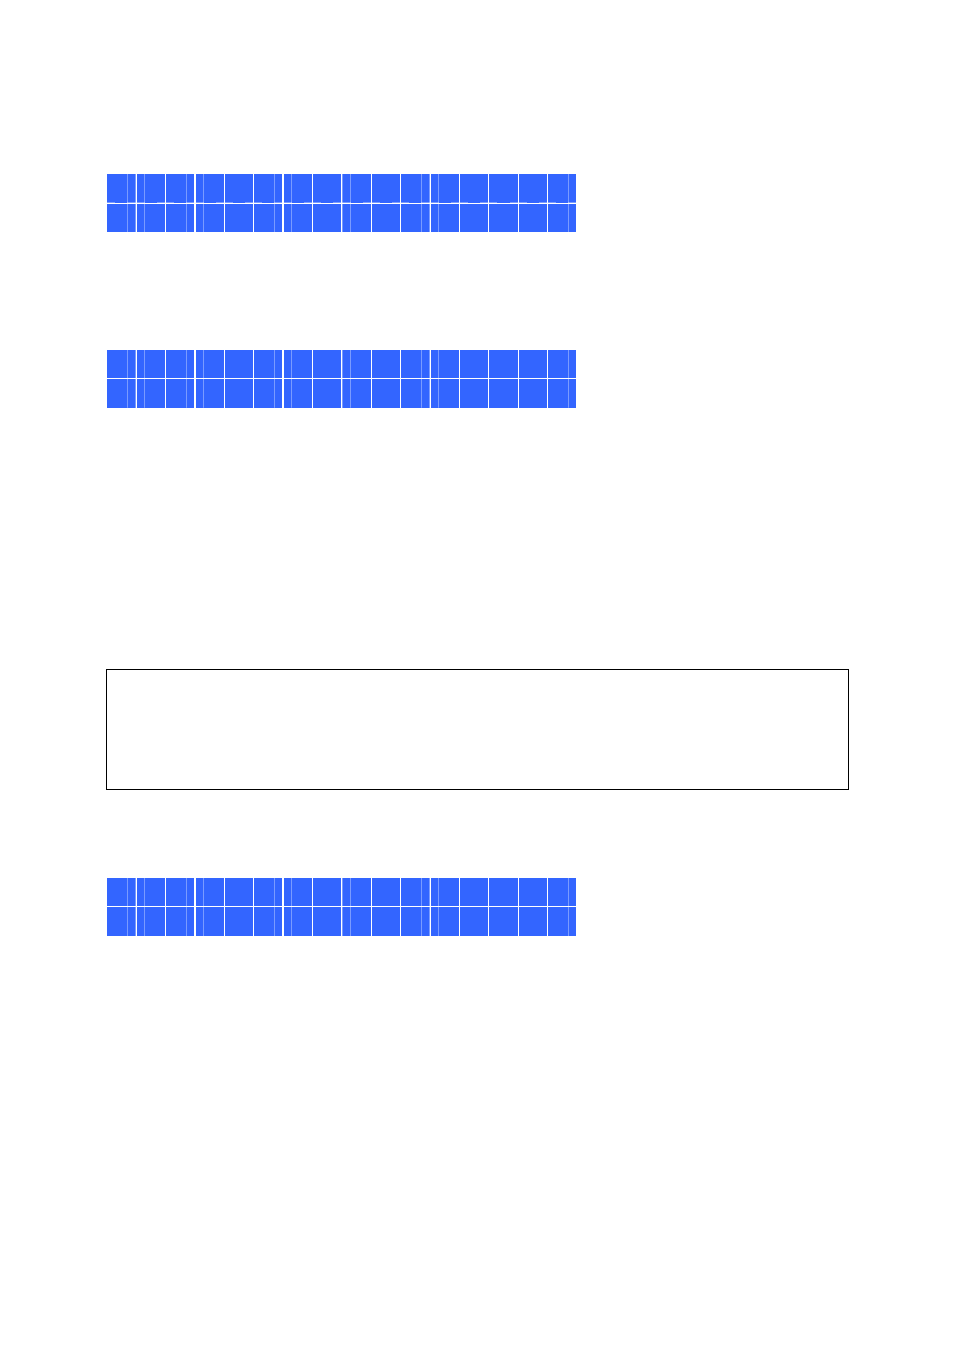
C o n f i g . D i s k s ?
R A I D 5
You can press the ‘Select’ button to browse more options, e.g. RAID 6.
Press the ‘Enter’ button and the following message shows. Press the ‘Select’ button to
select ‘Yes’ to confirm.
C h o o s e R A I D 5 ?
Y e s N o
When you execute RAID 1, RAID 5, or RAID 6 configuration, the system will initialize the
hard drives, create the RAID configuration, format the RAID configuration, and mount it as
a volume on the NVR. The progress will be shown on the LCD panel. When it reaches
100%, you can access the RAID volume, e.g. create share folders and upload files to the
folders on the NVR. In the meantime, to make sure the stripes and blocks in the RAID
configuration are ready, the NVR will execute RAID synchronization and the progress will be
shown on the ‘Disk Management’ > ‘Volume Management’ page. The synchronization rate
is around 30-60 MB/s (varied by hard disk drive models, system resource usage, etc.).
Note:
If a member drive of the RAID configuration was lost during the synchronization, the
RAID volume will enter degraded mode. The volume data is still accessible. If you add a
new member drive to the volume, the volume will start to rebuild. You can view the status
on the ‘Volume Management’ page.
When the configuration has finished, the server name and the IP address will be shown. If
the NVR fails to create the disk volume, the following message will be shown.
C r e a t i n g . . .
R A I D 5 F a i l e d