5 hard disk, 1 installing the hard disk, Figure 2-5 – Artesyn ATCA-7350 Installation and Use (September 2014) User Manual
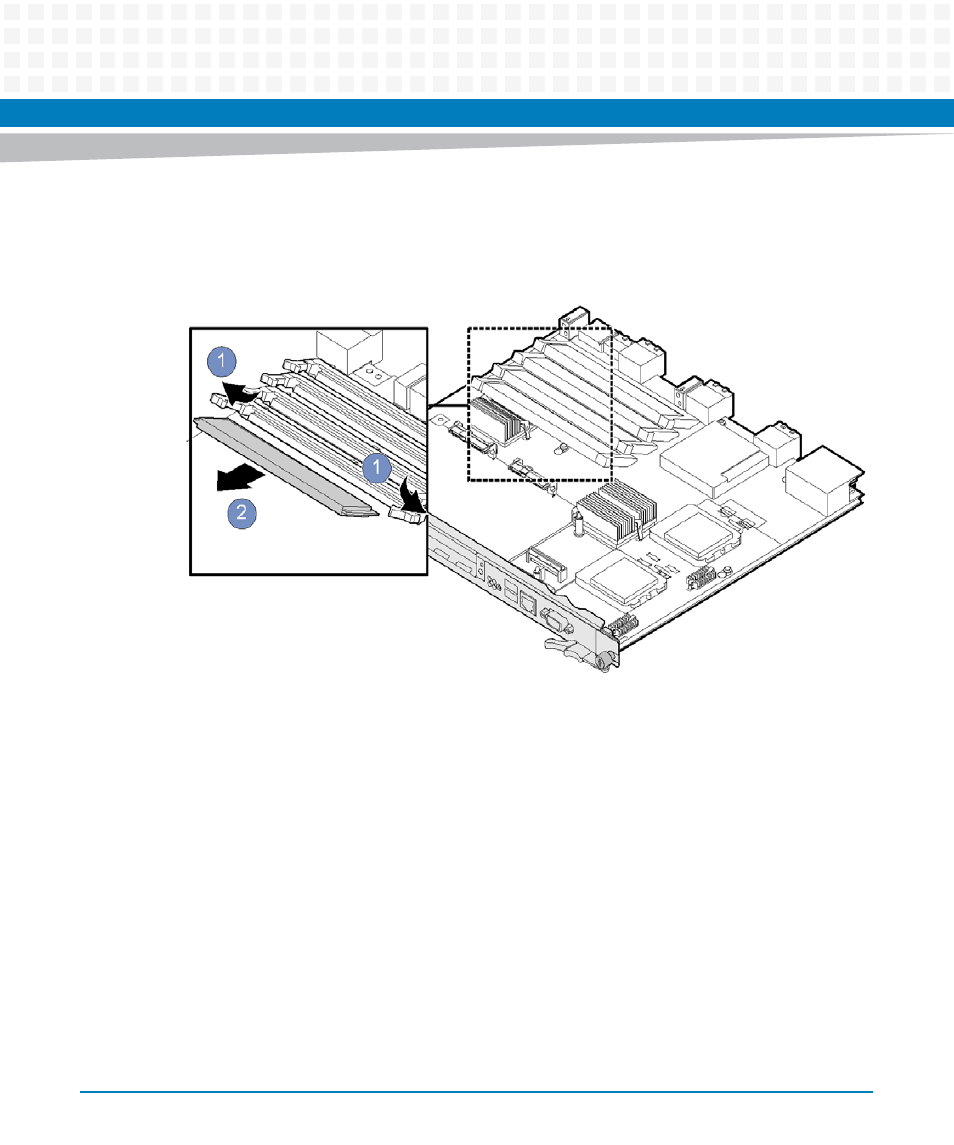
Page 46: Removing the dimm
Hardware Preparation and Installation
ATCA-7350 Installation and Use (6806800G59G)
46
8. Install the ATCA-7350 with the DIMM replaced.
For details, see
Installing the ATCA-7350 in a Powered Shelf
.
After replacement, check whether the OS can be loaded properly. If it can be, in the OS, check
whether the displayed memory capacity is consistent with the actual one.
2.6.5
Hard Disk
This section describes how to install and replace the hard disk on the ATCA-7350.
2.6.5.1
Installing the Hard Disk
For more information on the installation of the hard disk, refer to the HDD Installation Sheet.
To install the hard disk, proceed as follows:
1. Wear the ESD-preventive wrist strap.
For details, see
Wearing the ESD-Preventive Wrist Strap
.
2. Take the hard disk to be installed out of the antistatic package.
Figure 2-5
Removing the DIMM