ATEIS UAPg2 User Manual
Page 60
UAPG2 MANUAL
Version EN.24
60
1) Prepare your new project
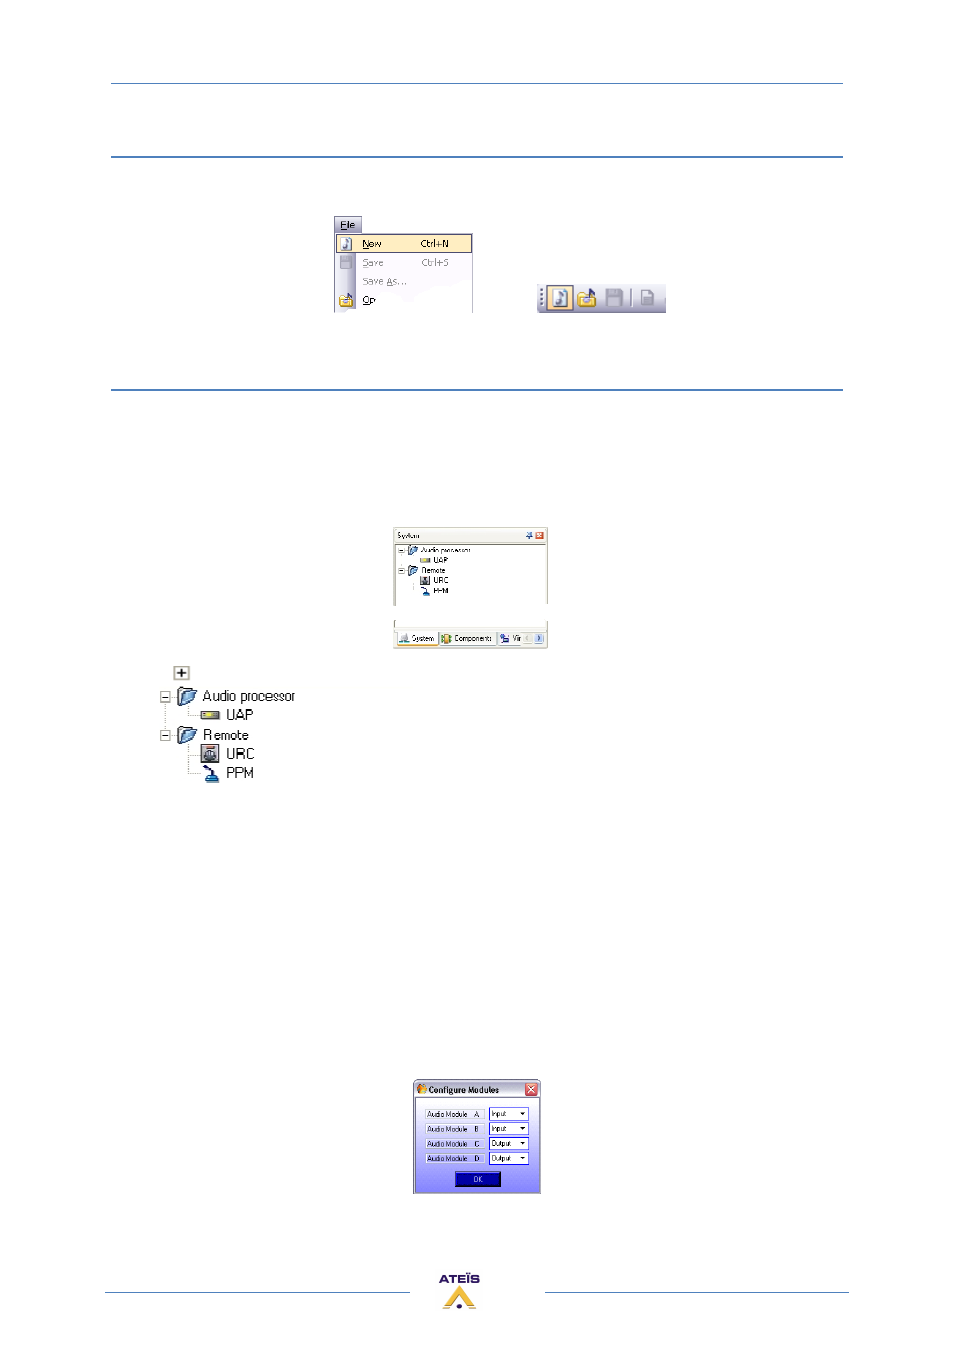
To start a new project file choose:
> File > New
from the main menu. You can also type: [Ctrl]+[N], or
click the 'New' icon in the toolbar.
< or >
2) Define which hardware is used in your project
The term 'System' in UAPG2's terminology refers to one or up to 12 UAPG2 machines linked via
digilink cards, with the 'System' window in the 'Design View Area' providing the canvas to build it up
in an icon based way using drag and drop technique.
At the left side of the main window you can see the 'System' control window holding the system
elements.
Clicking
-item next to the folders will show their content:
'Audio Processor' folder:
o
UAPG2
Drag and drop this icon into the 'System' window to add a UAPG2 processor to your
system (according to the number of UAPG2 you will physically use).
'Remote' folder:
o
URC
Adds an URC 'Universal Remote Controller' to your system.
o
PPM
Adds a PPM 'Programmable Paging Microphone' to your system.
Grab the UAPG2 icon from the 'Audio Processor' folder and drop it anywhere into the 'System'
window (working area).
Note: Notice the cursor changing to a ‘Paste Cursor’ as you move it over the ‘System’ window.
Note: A modal type dialog window titled 'Configure Modules' pops up asking you to put in the audio
board slot configuration of the UAPG2 you are about to add to the system.