Fluke Biomedical ESA612 User Manual
Page 80

ESA612
Users Manual
66
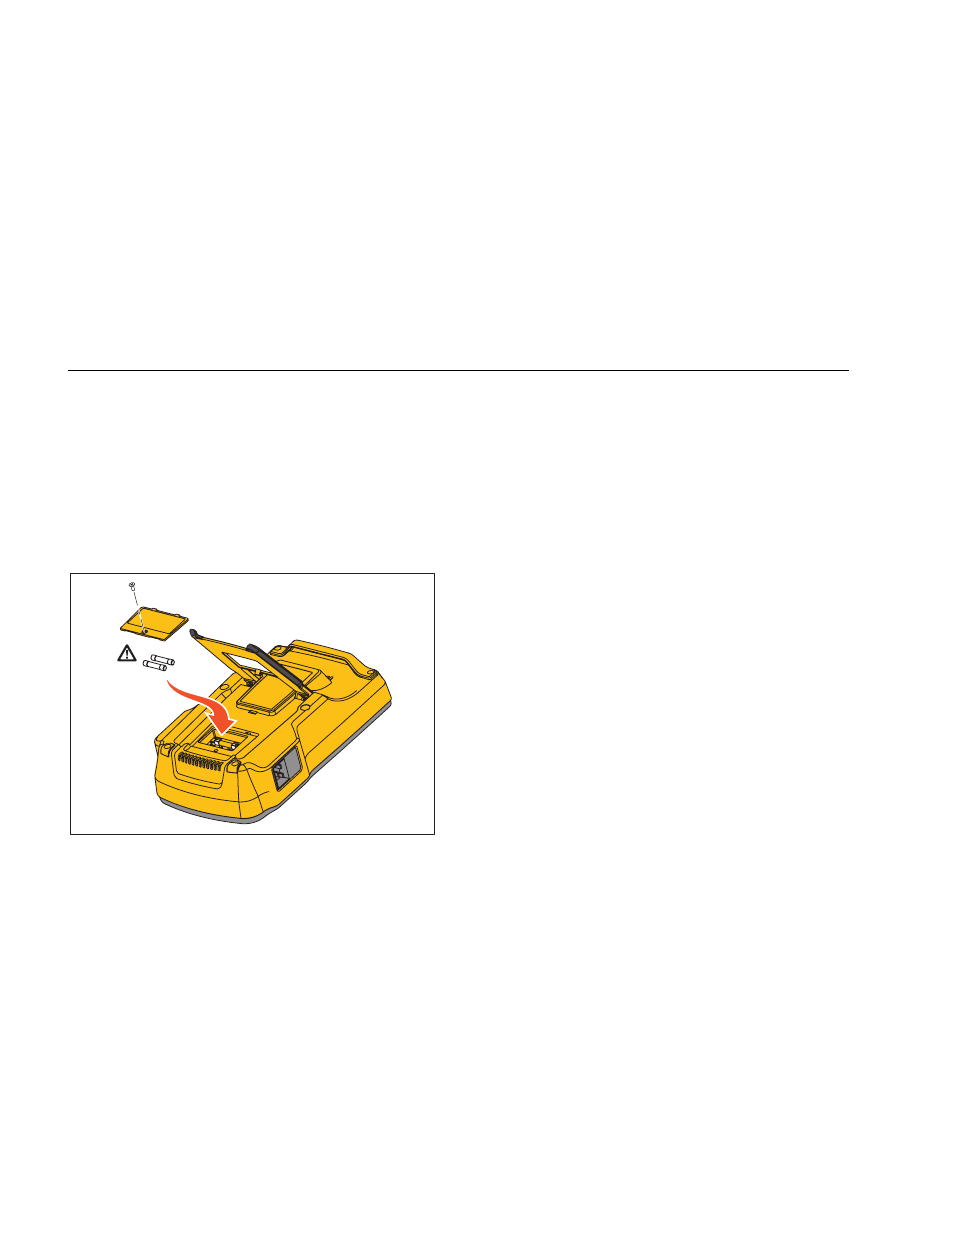
To test the fuses, do the following while referring to
Figure 36:
1. Turn the Analyzer so the case bottom is facing up.
2. Flip up the tilt stand.
3. Remove the fuse door from the Analyzer by removing
the screw holding the fuse door with a #2 Phillips
head screwdriver and lifting the fuse door from the
Analyzer.
4. Remove the fuses from the Analyzer.
F1 - F2
fis111.eps
Figure 36. Fuse Access
5. Using a multimeter, measure the continuity of each
fuse.
If one or both fuses do not show continuity, replace
the fuse(s) with fuses that have the same current and
voltage rating. Appropriate fuse ratings are posted on
the case bottom label of the Analyzer. Table 6 lists
available fuses with Fluke Biomedical part numbers.
6. Reinstall the fuse door and secure it with the screw.