7 periodic actions, 1 inserting the cables, 2 mounting and disassembly work – SMA SC 500CP XT Installation User Manual
Page 40: 1 disassembling and mounting the panels, Periodic actions, Inserting the cables, Mounting and disassembly work, Disassembling and mounting the panels, 7periodic actions
7
Periodic Actions
7.1
Inserting the Cables
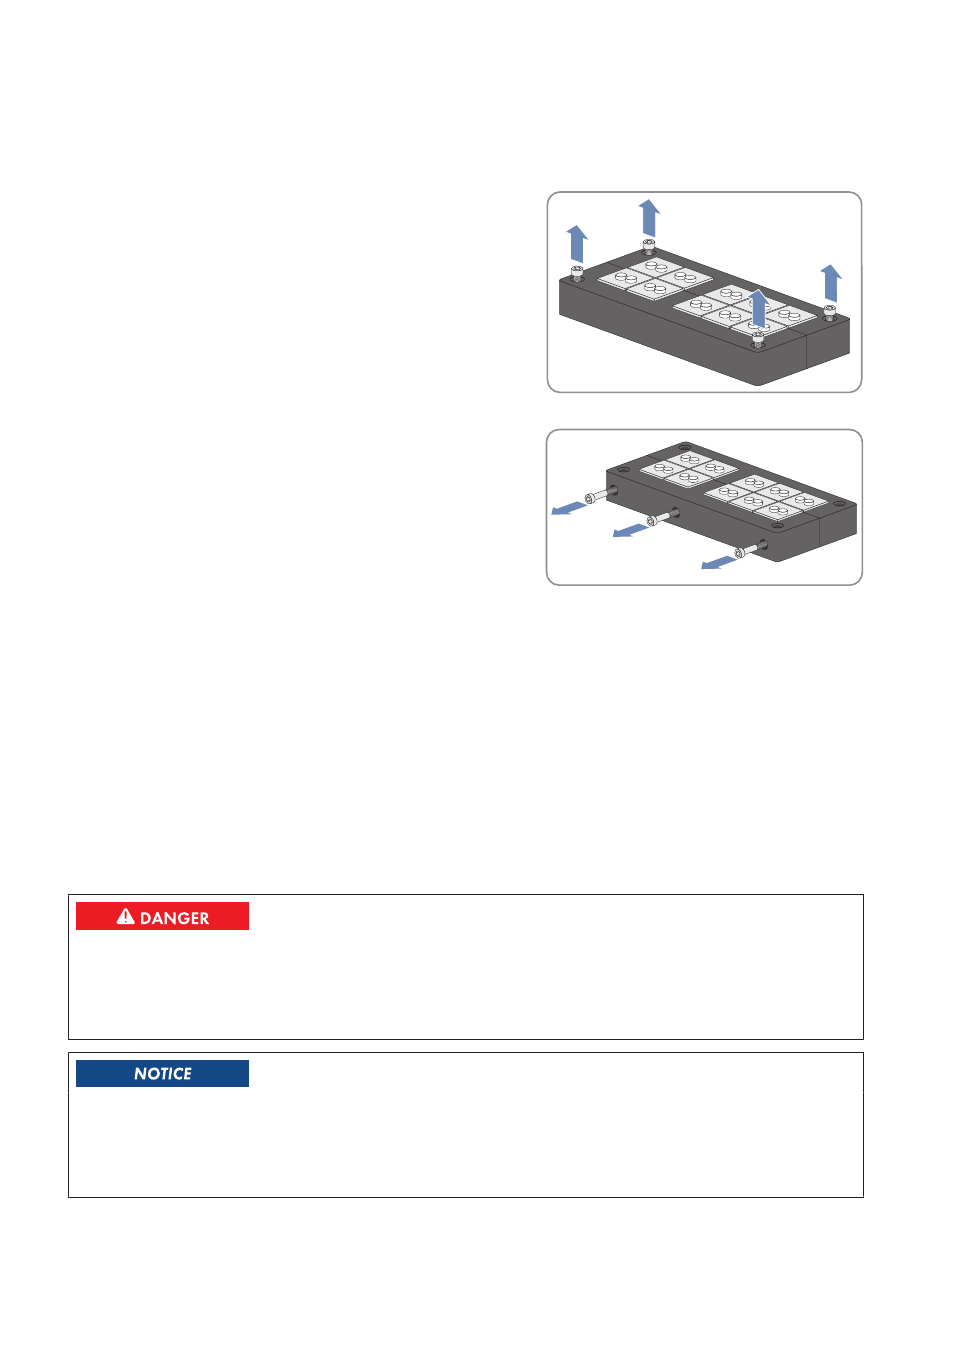
1. Remove the screws at the top of the sealing plate.
2. Remove the sealing plate.
3. Loosen the screws at the side of the sealing plate.
4. Remove the required number of rubber seals from the sealing plate. Make sure that the diameter of the rubber
seals corresponds to the diameter of the cables to be inserted. Use the additional rubber seals included in the
scope of delivery, if necessary.
5. Remove the sealing plugs from those rubber seals through which the cables are to be led.
6. Lead the cables through the rubber seals.
7. Insert the rubber seals in the sealing plate avoiding any distortion. This will ensure the tightness of the seal.
8. Tighten the screws at the side of the sealing plate.
9. Screw the sealing plate to the floor of the interface cabinet.
7.2
Mounting and Disassembly Work
7.2.1
Disassembling and Mounting the Panels
Danger to life due to electric shock or electric arc if live components are touched
• Switch off the inverter and wait at least 15 minutes before opening it to allow the capacitors to discharge
completely.
• Disconnect the inverter (see Section 6, page 36).
Property damage due to rupture of grounding conductors
The components are connected to the inverter via the grounding conductor. If the roof is not disassembled correctly,
the grounding conductors may be pulled out.
• Take care not to damage the grounding conductors during disassembly.
7 Periodic Actions
SMA Solar Technology AG
Operating Manual
SCCPXT-IA-E4-en-44
40