Connecting the camera to a computer and a printer, Custom printing, 143 en – Olympus OM-D E-M1 Mark II User Manual
Page 143: Follow the operation guide to set a print option
143
EN
Connecting the camera to a computer and a printer
6
Custom printing
1
Connect the camera to the printer using the supplied USB cable and turn the
camera on.
• When the camera is turned on, a dialog should be displayed in the monitor prompting
you to choose a host. If it is not, select [Auto] for [USB Mode] (P. 117) in the camera
custom menus.
2
Follow the operation guide to set a print option.
Selecting the print mode
Select the type of printing (print mode). The available print modes are as shown below.
Prints selected pictures.
All Print
Prints all the pictures stored in the card and makes one print for
each picture.
Multi Print
Prints multiple copies of one image in separate frames on a single
sheet.
All Index
Prints an index of all the pictures stored in the card.
Print Order
Prints according to the print reservation you made. If there is no
picture with print reservation, this is not available.
Setting the print paper items
This setting varies with the type of printer. If only the printer’s STANDARD setting is
available, you cannot change the setting.
Size
Sets the paper size that the printer supports.
Borderless
Selects whether the picture is printed on the entire page or inside a
blank frame.
Pics/Sheet
Selects the number of pictures per sheet. Displayed when you have
selected [Multi Print].
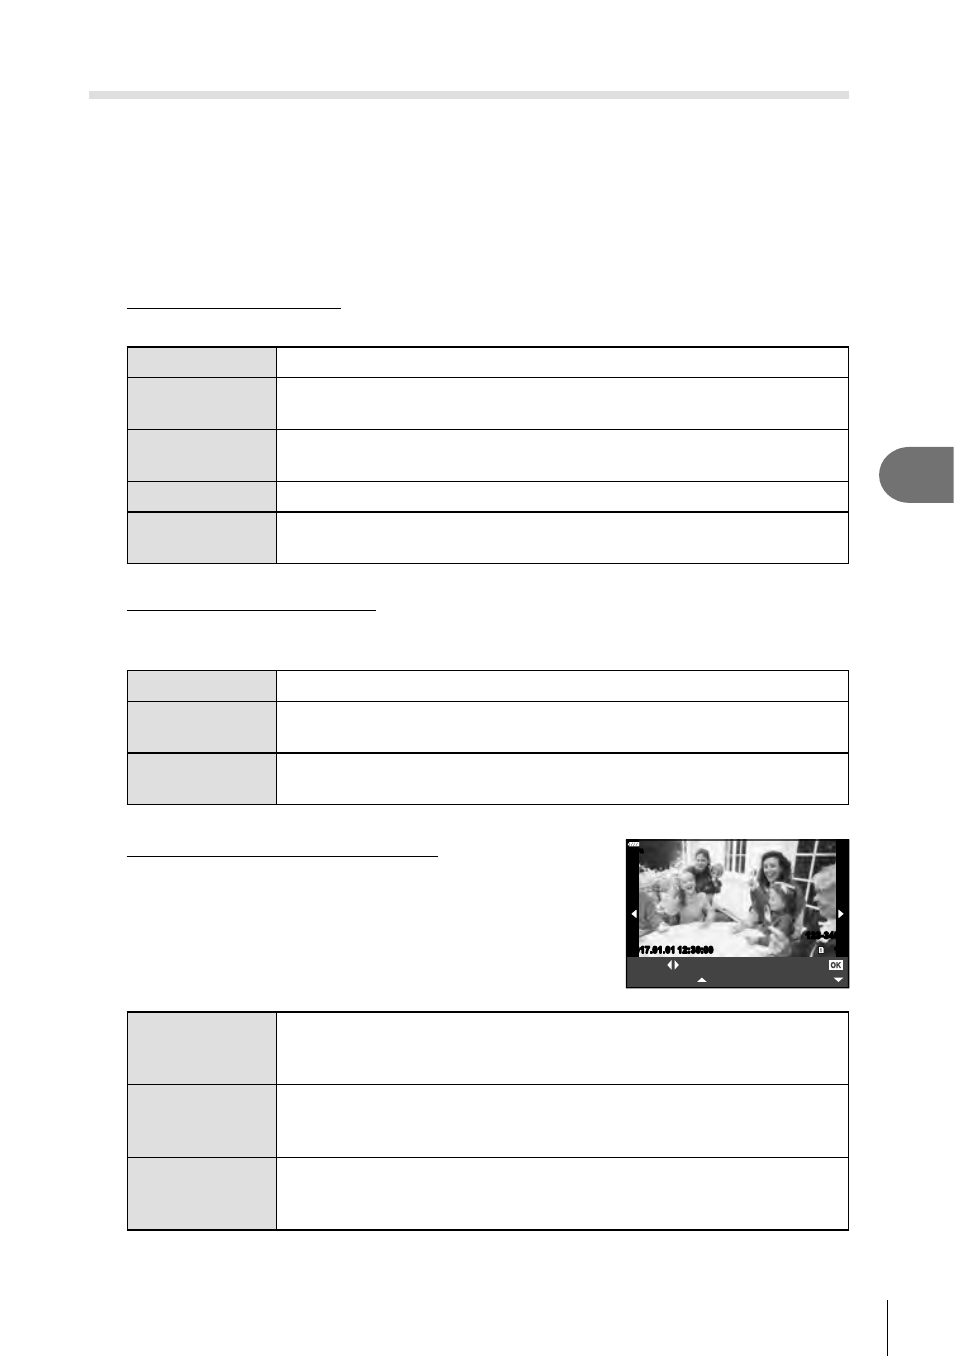
Selecting pictures you want to print
Select pictures you want to print. The selected pictures can
be printed later (single-frame reservation) or the picture
you are displaying can be printed right away.
100
%
123-3456
15
2017.01.01 12:30:00
2017.01.01
Single Print
More
Select
f
Prints the currently displayed picture. If there is a picture that [Single
Print C] reservation has already been applied to, only that reserved
picture will be printed.
Single Print C
Applies print reservation to the currently displayed picture. If you
want to apply reservation to other pictures after applying [Single
Print C], use
HI to select them.
More E
Sets the number of prints and other items for the currently displayed
picture, and whether or not to print it. For operation, refer to “Setting
printing data” in the next section.