Shooting, Performing the sequential/ self-timer shooting, Setting the image aspect – Olympus OM-D E-M1 Mark II User Manual
Page 54: 54 en, Use the front dial to select an option, Use fghi to select [image aspect, Use fghi to select [k save settings, Select an item using the front dial
54 EN
Shooting
2
Performing the sequential/ self-timer shooting
You can take a series of pictures by keeping the shutter button pressed all the way
down. Alternatively, you can take pictures using the self-timer.
g “Performing the sequential/self-timer shooting” (P. 46 – 48).
1
Press the
Q button to display the LV super control
panel.
2
Use
FGHI to select the sequential shooting/
self-timer.
3
Use the front dial to select an option.
H
F + RAW
FullHD
sRGB
+0.8
A + 1
Natural
G + 1
S-AF
F
250
250 F5.6
1:02:03
1:02:03
1023
1023
0.0
0.0
100
%
+1
+1
S
Normal
S-IS Auto
M-IS Auto
WB
Auto
ISO
Auto
Sequential High
Sequential shooting/self-timer
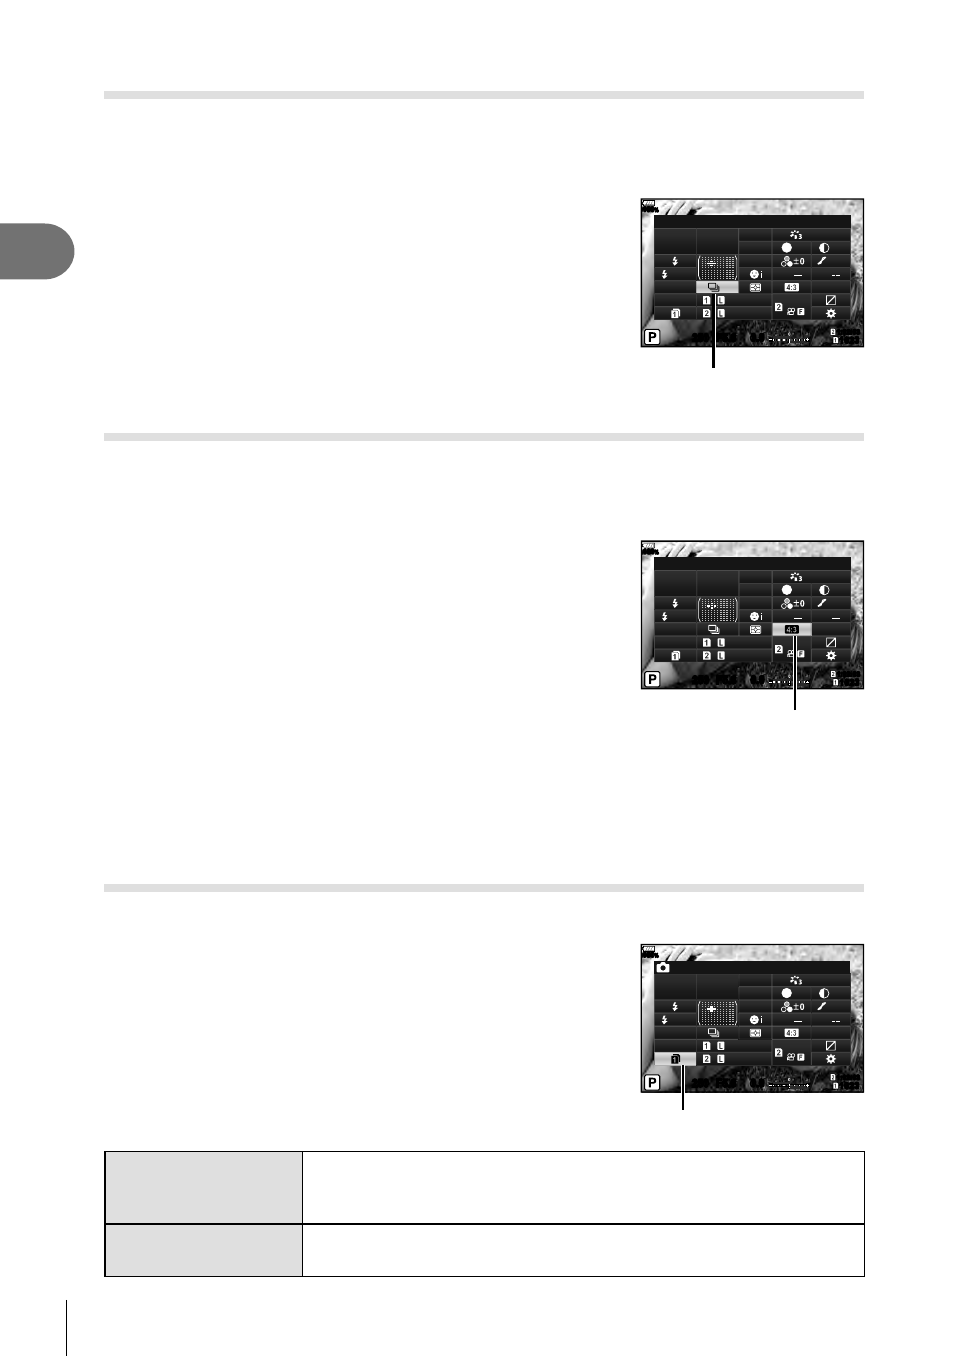
Setting the image aspect
You can change the aspect ratio (horizontal-to-vertical ratio) when taking pictures.
Depending on your preference, you can set the aspect ratio to [4:3] (standard), [16:9],
[3:2], [1:1], or [3:4].
1
Press the
Q button to display the LV super control
panel.
2
Use
FGHI to select [Image Aspect].
3
Use the front dial to select an option.
H
F + RAW
FullHD
sRGB
+0.8
A + 1
Natural
G + 1
S-AF
F
250
250 F5.6
1:02:03
1:02:03
1023
1023
0.0
0.0
100
%
+1
+1
S
Normal
S-IS Auto
M-IS Auto
WB
Auto
ISO
Auto
Image Aspect
Image Aspect
• Image aspect can only be set for still images.
• JPEG images cropped to the selected aspect ratio are saved. RAW images are not
cropped and are saved with the selected aspect ratio information.
• When RAW images are played back, the selected aspect ratio is shown by a frame.
Setting the saving method for shooting data (
K Save Settings)
You can set how to record the shooting data to cards.
1
Press the
Q button to display the LV super control
panel.
2
Use
FGHI to select [K Save Settings].
3
Select an item using the front dial.
H
F + RAW
FullHD
sRGB
+0.8
A + 1
Natural
G + 1
S-AF
F
250
250 F5.6
1:02:03
1:02:03
1023
1023
0.0
0.0
100
%
+1
+1
S
Normal
S-IS Auto
M-IS Auto
WB
Auto
ISO
Auto
Save Settings
K Save Settings
y (Standard)
This setting is applied if only one card with available space is in
the camera. If two cards with available space are in the camera,
images are recorded to the card specifi ed in [
K Save Slot] (P. 132).
z (Auto Switch)
When the card specifi ed in [
K Save Slot] is full, recording
switches to the other card (P. 132).