Playback, Watching movies, Protecting images – Olympus OM-D E-M1 Mark II User Manual
Page 81: Copying an image ( copy), 81 en
81
EN
Playback
3
Watching movies
Select a movie and press the
Q button to display the
playback menu. Select [Play Movie] and press the
Q
button to begin playback. Fast-forward and rewind using
H/I. Press the
Q button again to pause playback. While
playback is paused, use
F to view the fi rst frame and G
to view the last frame. Use
HI or the front dial (
r) to
view previous or next frame. Press the
MENU button to
end playback.
100
%
Movie
Back
Set
Share Order
Movie Edit
Play Movie
0
Copy
For movies of 4 GB or larger
If the movie was automatically split into multiple fi les, pressing
Q will display a menu
containing the following options:
[Play from Beginning]: Plays back a split movie all the way through
[Play Movie]:
Plays back fi les separately
[Delete entire
n]:
Deletes all parts of a split movie
[Erase]: Deletes
fi
les separately
• We recommend using the latest version of OLYMPUS Viewer 3 to play back movies on
a computer. Before launching the software for the fi rst time, connect the camera to the
computer.
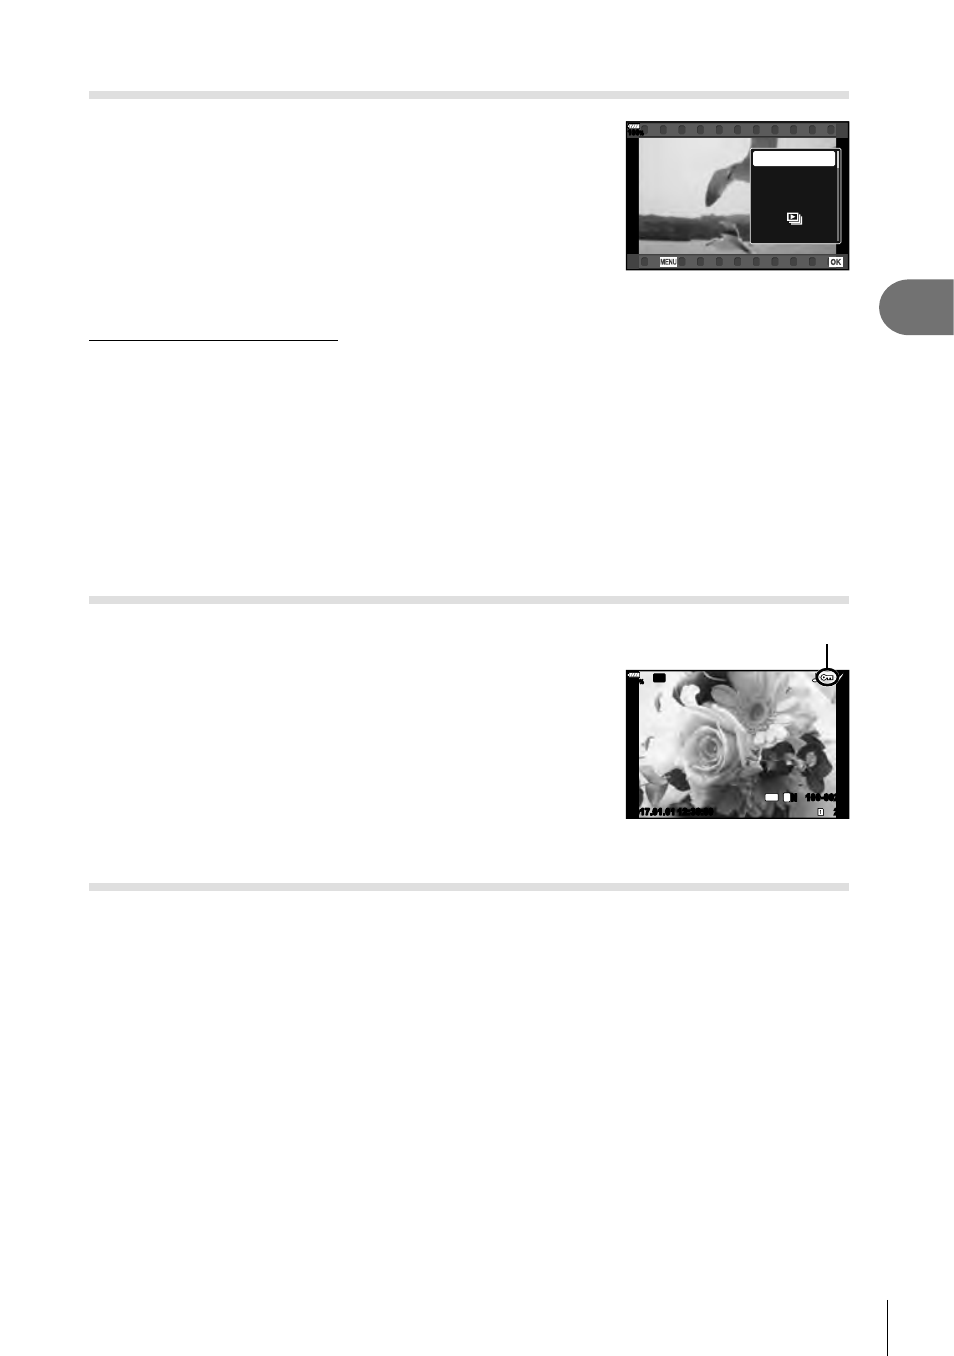
Protecting images
Protect images from accidental deletion.
Display the image you want to protect and press the
AEL/
AFL button to add 0 to the image (protection icon).
Press the
AEL/AFL button again to cancel protection. You
can also protect multiple selected images.
g “Selecting
images (
0, Copy Select, Erase Selected, Share Order
Selected)” (P. 82)
0 (protect) icon
20
100-0020
L
N
4:3
Wi-Fi
2017.01.01
2017.01.01
100
%
12:30:00
• Formatting the card erases all data including protected images.
Copying an image ( Copy)
When there are cards with available space in both slots 1 and 2, you can copy an
image to the other card. When playing back an image you want to copy, press the
Q
button to display the playback menu. After selecting [Copy] and pressing the
Q button,
select whether or not to specify a folder to save to. Select [Yes], then press the
Q
button to copy the image to the other card.
• You can also copy all images on a card to the other card at a time.
g “Copy All” (P. 108)