Olympus OM-D E-M1 Mark II User Manual
Page 145
145
EN
Connecting the camera to a computer and a printer
6
3
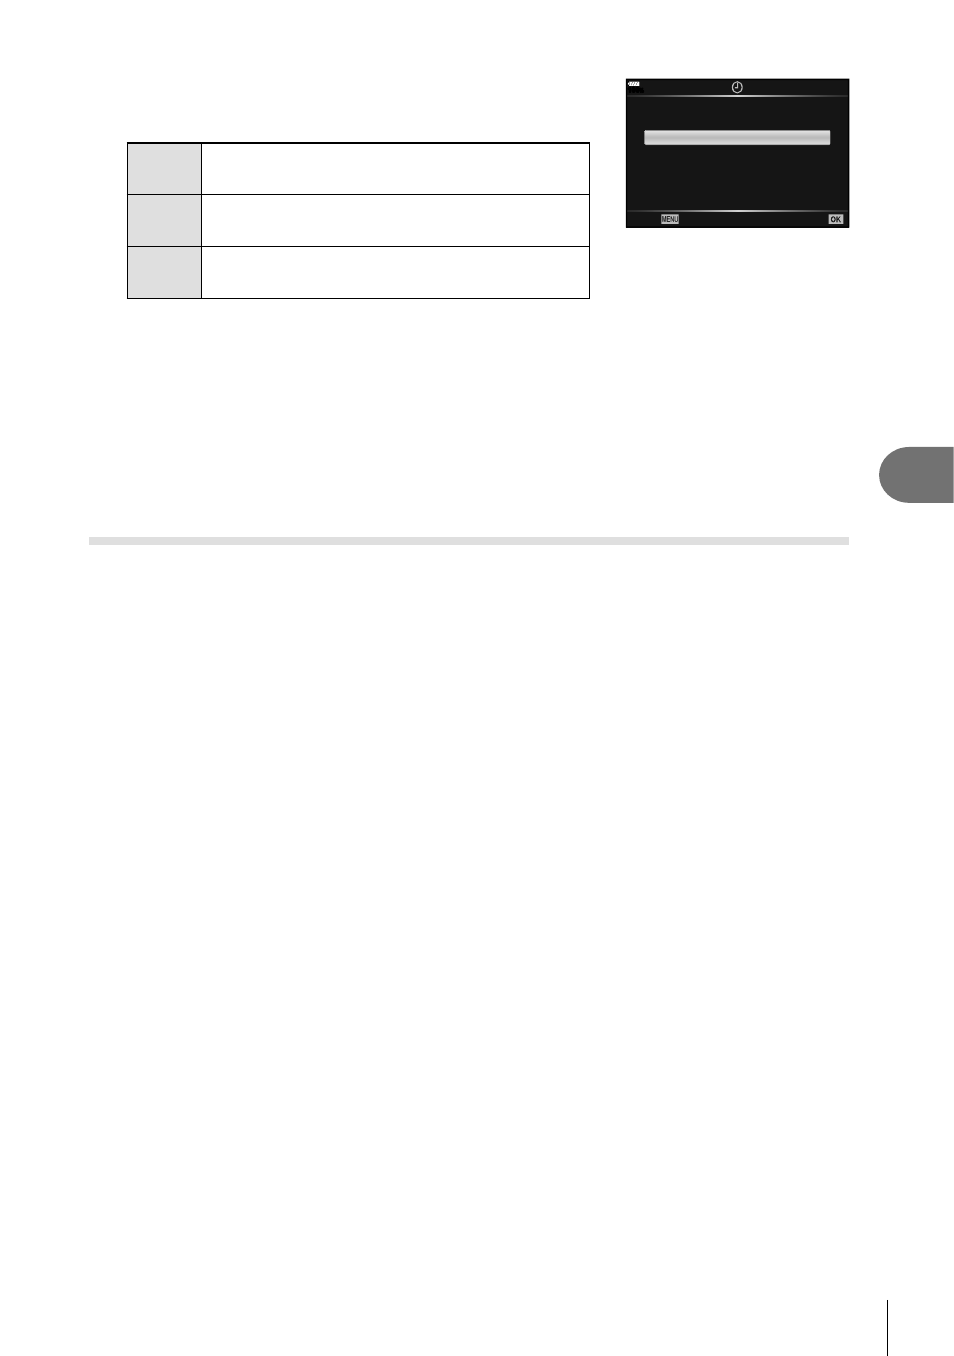
Select the date and time format and press the
Q
button.
No
The pictures are printed without the date and
time.
Date
The pictures are printed with the shooting
date.
Time
The pictures are printed with the shooting
time.
• When printing images, the setting cannot be changed
between the images.
100
%
No
Date
Time
Back
Set
4
Select [Set] and press the
Q button.
• The setting will be applied to the images saved on the card being used for playback.
• The camera cannot be used to modify print orders created with other devices. Creating a
new print order deletes any existing print orders created with other devices.
• Print orders cannot include RAW images or movies.
Removing all or selected pictures from the print order
You can reset all print reservation data or just the data for selected pictures.
1
Press the
Q button during playback and select [Print Order].
2
Select [
<] and press the Q button.
• To remove all pictures from the print order, select [Reset] and press the
Q button. To
exit without removing all pictures, select [Keep] and press the
Q button.
3
Press
HI to select images you wish to remove from the print order.
•
Use
G to set the number of prints to 0. Press the
Q button once you have removed
all the desired pictures from the print order.
4
Select the date and time format and press the
Q button.
• This setting is applied to all frames with print reservation data.
• The setting will be applied to the images saved on the card being used for playback.
5
Select [Set] and press the
Q button.