Setting up simulation from the windows gui, Figure 12-1. copy qsys-exa – Altera Mentor Verification IP Altera Edition AMBA AXI4-Stream User Manual
Page 191
Getting Started with Qsys and the BFMs
Setting Up Simulation from the Windows GUI
Mentor Verification IP AE AMBA AXI4-Stream User Guide, V10.3
191
April 2014
Setting Up Simulation from the Windows GUI
The following steps outline how to set up the simulation environment from a Windows GUI.
This example uses the Windows7 platform.
1. Create a work folder into which you copy the contents of the qsys-examples folder,
which includes the ex1_back_to_back_sv folder from the Installation.
a. Using the GUI, select a location for your work folder, then click the New folder
option on the window’s menu bar to create and name a work folder. For this example
name the work folder axi4stream-qsys-examples. Refer to figures
and
below.
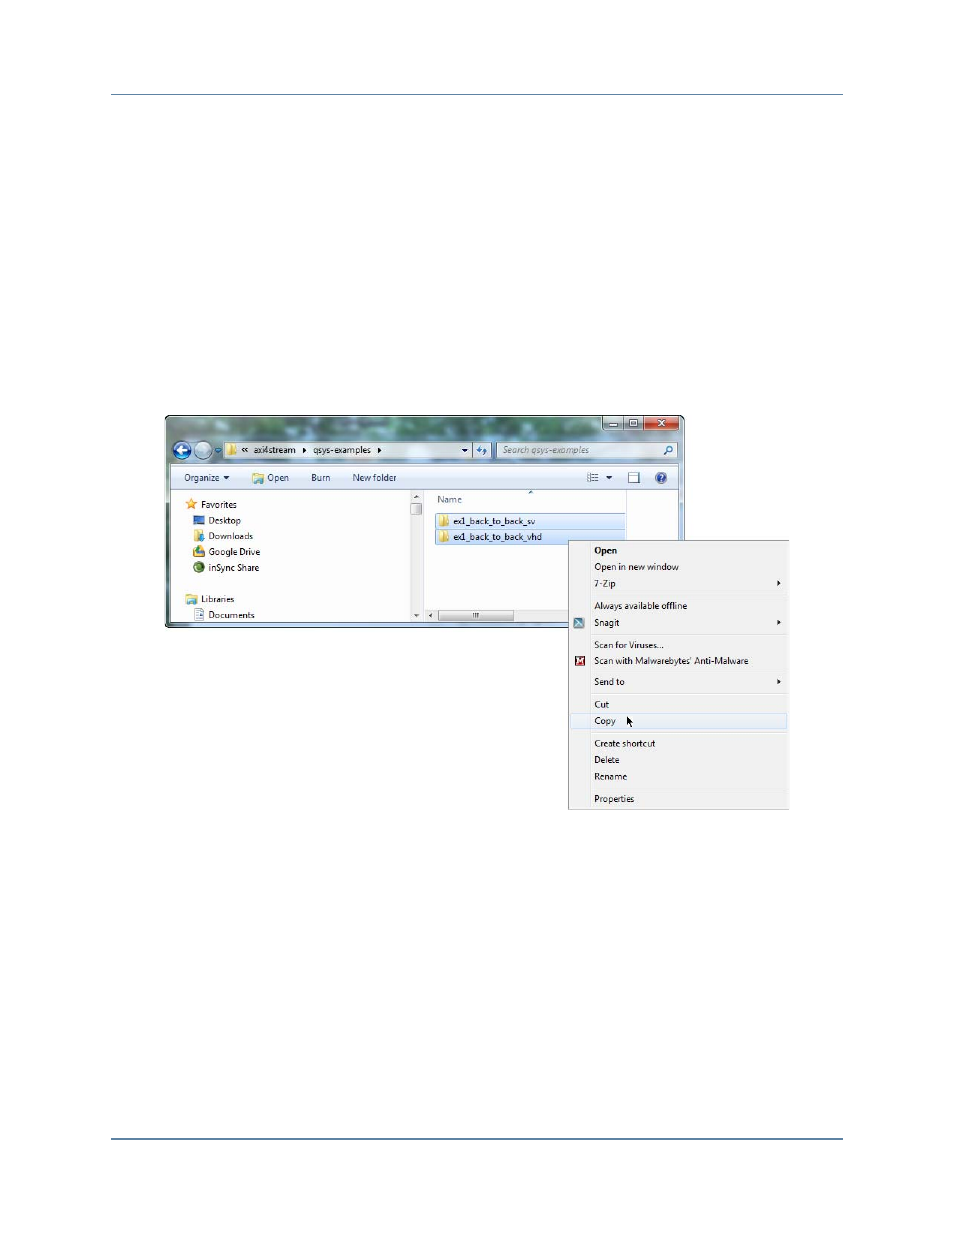
Figure 12-1. Copy qsys-examples from the Installation Folder
b. Copy the contents of the qsys-examples folder from the Installation folder to your
work folder.
Open the Installation and work folders. In the Installation folder, double-click the
qsys-examples folder to select and open it. When the folder opens, type CRTL/A to
select the contents of the directory, then right-click to display the drop-down menu
and select Copy from the drop-down menu.
Go to the open work folder. Double-click on the folder.
When the folder opens, right-click inside the work folder and select Paste from the
drop-down menu to copy the contents of the qsys-examples folder to the new
axi4stream-qsys-examples work folder.