Step 2: job-site set-up, Network configuration and alarm notification, Prism 2 technical guide 12 – Auto-Zone Control Systems Prism 2 Graphical Interface Technical Guide (Version 01J) User Manual
Page 12
STEP 2: JOB-SITE SET-UP
Prism 2 Technical Guide
12
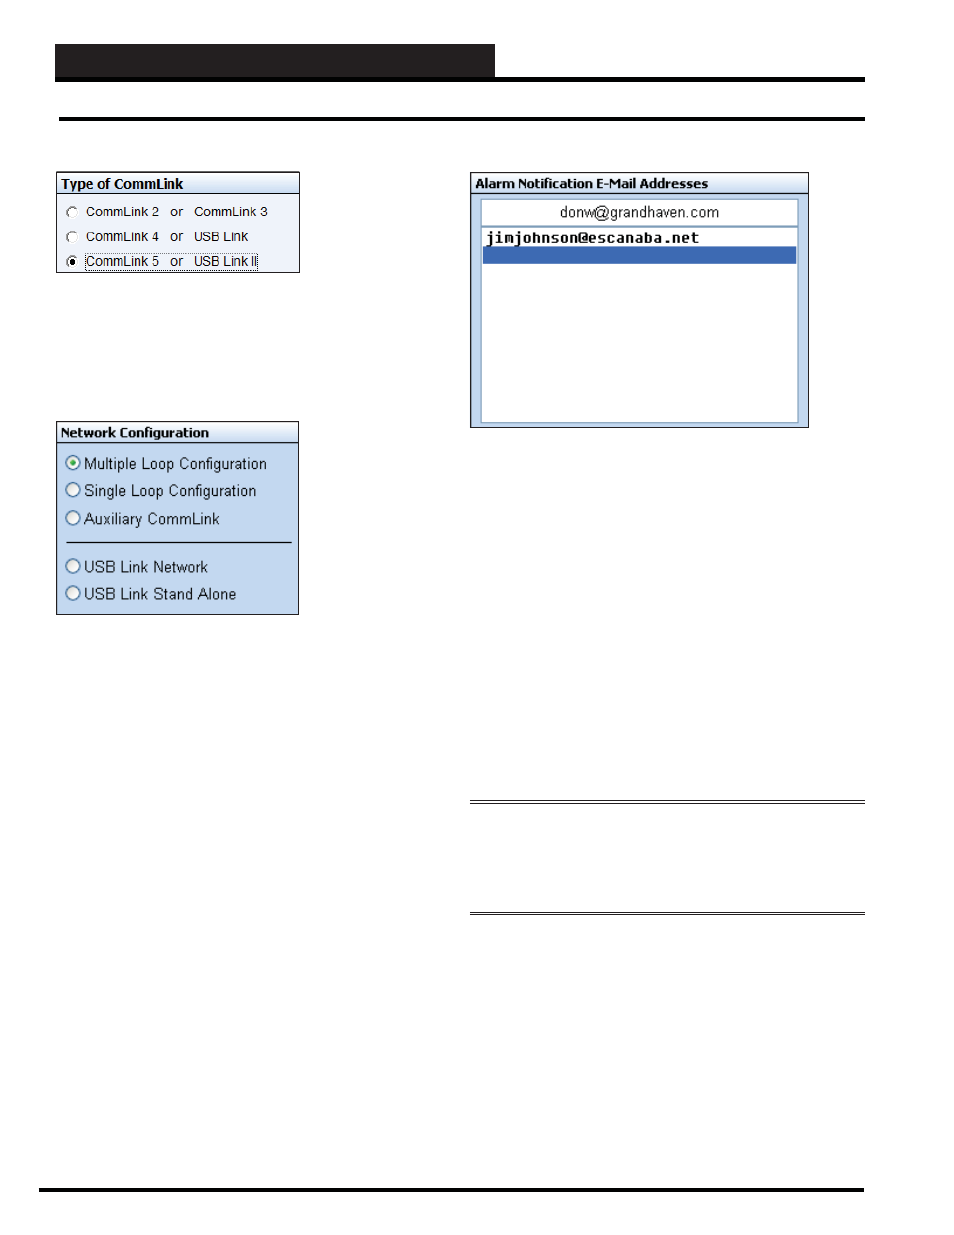
Type of CommLink
In the
Type of CommLink Selection Box, select the type of
CommLink or USB-Link that you are using. If you are setting up a
node, the only type of CommLink you can use is a CommLink IV
w/IP or CommLink 5 w/IP.
Network Confi guration
You must select the confi guration of the CommLink or USB-Link
you have connected to your computer as this affects setting up the
CommLink and polling for alarms.
Multiple Loop
System contains MiniLinks that divide up
Confi guration
the units across logical boundaries or contains
large quantities of similar units that exceed
the number of units allowed on a Single
version CommLink. CommLink must be set
to Multi.
Single Loop
System contains 60 or fewer units that can
Confi guration
exist on a single communications loop.
CommLink must be set to Single.
Auxiliary
This is only applicable on older existing
CommLink
systems. System contains a CommLink set
to Multi and MiniLinks and the user needs to
add a second computer to monitor the system.
The second computer cannot be used for
alarm monitoring.
USB Link
System contains a standard CommLink.
Network
USB-Link must be set to Network.
USB Link
System does not have a CommLink or
Stand-Alone
you are connected to a single controller and
have disconnected the communication loop
from the board. Set the USB-Link to Stand
Alone.
Alarm E-Mail / Text Message Notifi cation
If you require e-mail or text message alarm notifi cation, you may
enter up to 10 e-mail addresses in this list box. Prism 2 must be
enabled for Alarm Polling and must be running continuously to
monitor for new alarms and generate e-mails containing the alarm
information. See how to set up text messaging in the Text Message
section below.
Type an e-mail address and press
<ENTER>
. The e-mail address
will appear in the box below the entry fi eld. Click on an empty line
below the e-mail address you just typed and then place your cursor
back in the fi eld to type an additional e-mail address. To delete
an e-mail address, click on it so that it appears in the entry fi eld,
highlight it, and press the
<BACKSPACE>
key or
<SPACEBAR>
and then press
<ENTER>
.
Whenever an alarm is detected, each individual on the list will
receive e-mail or text message notifi cation of the site location, the
unit address and description, and a brief text message identifying
the alarm condition.
WARNING:
Your computer must be set up with a standard
e-mail account using any of the standard e-mail programs such
as Outlook Express or Mozilla Thunderbird for this option to
operate correctly! Failure to set up a standard e-mail account will
result in unreliable alarm notifi cations!
Network Configuration and Alarm Notification
Revised 9/27/13
Text Message
— Most cell phone providers have as a free* option
(charges may apply in some instances) an E-mail to TEXT service
for their cell phone plans. Any alarm type level that is generated
would be sent to that cell phone number as a text message. *Usually
the cell phone providers will have an unlimited text messaging
option.
When using Verizon cellular service, the text messaging e-mail
address is your 10-digit phone number followed by @VTEXT.
com. For example, if your phone number is 1-555-555-5555, your
e-mail address (for TEXT MESSAGING) would be 5555555555@
VTEXT.com.