Vav/cav controller configuration, Vav/cav confi guration screens, Vav/cav/mua operator interface sd – Orion System VAV II Controller v.1 User Manual
Page 25: 25 confi guration screens
VAV/CAV/MUA Operator Interface SD
VAV/CAV CONTROLLER CONFIGURATION
25
Confi guration Screens
In order to correctly set up the Unit Controller, you must fi rst confi gure
several parameters in regard to the type of HVAC unit and system you
have installed. Most of these values and operating parameters are only
set once at the initial system setup and are never changed.
Modular Service Tool Instructions
No matter what screen or menu you’re in, press
<CONFIGURATION>
.
The Unit Selection Screen will appear, shown below, requesting that you
enter the unit ID number.
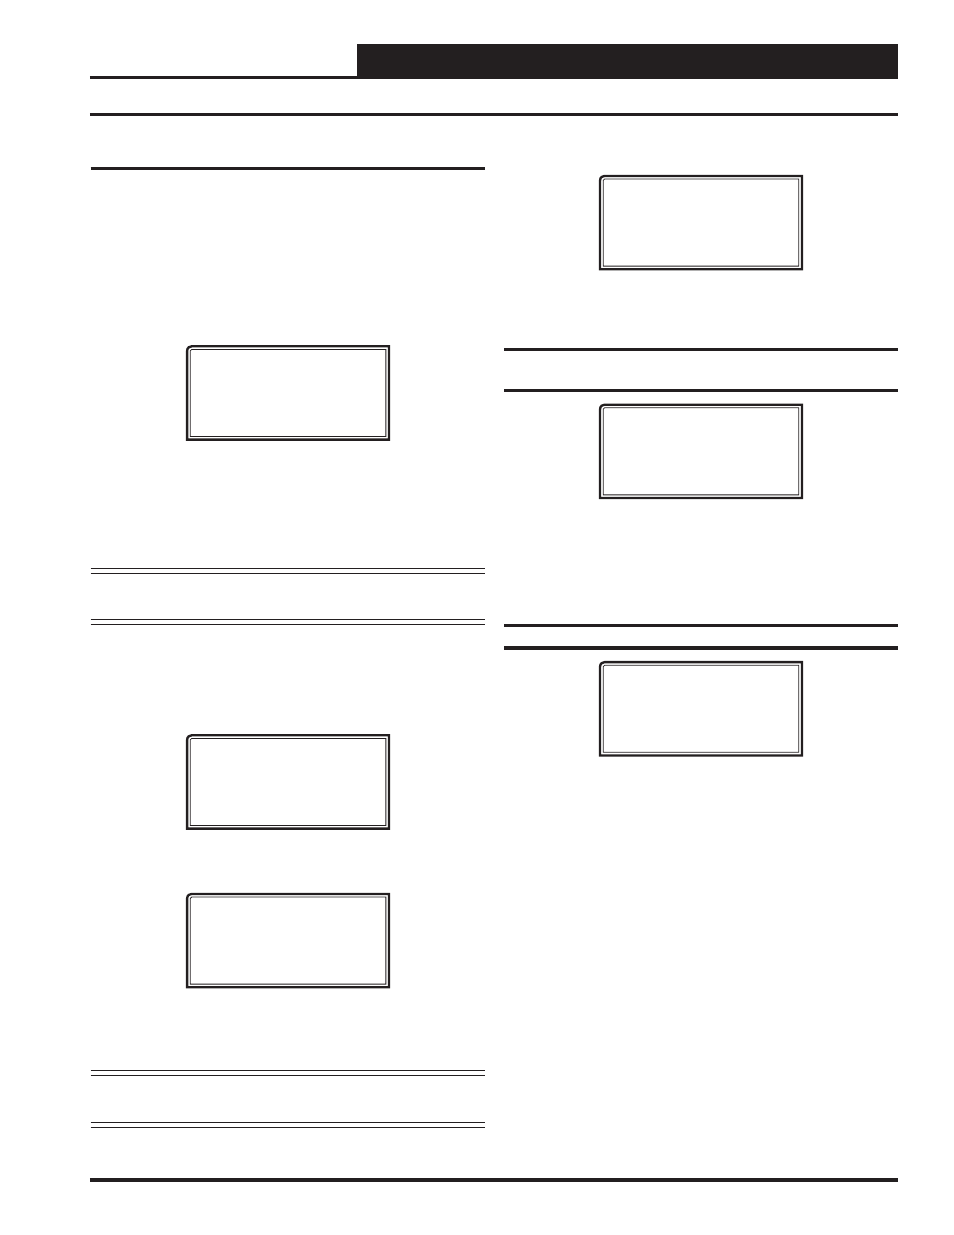
Unit Selection*00*
Enter Unit ID#
Selected ID#: XXXX
Enter the correct unit ID number of the Unit Controller you want to
confi gure and then press
<ENTER>
. Once communication is established,
the *00* message will go away. Then
press
<
>
. You will then see
Unit Confi guration Screen #1. Press
<ENTER>
to save entered data
and
press
<
>
to scroll through the screens.
NOTE:
If the *00* remains, it indicates a communication failure
to the controller.
System Manager SD Instructions
From any Main screen, press
<SETPOINTS>
. The screen below will
appear because this option requires passcode clearance. Only a Level 2
passcode can change setpoints.
THIS ACTION REQUIRES
PASSCODE CLEARANCE
Enter Passcode: XXXX
If the correct passcode was entered, the Unit Selection Screen will be
displayed.
Unit Selection*00*
Enter Unit ID#
Selected ID#: XXXX
Enter the Unit ID of the controller you wish to change schedules for and
press
<ENTER>
. Once communication is established, the *00* message
will go away. Then
press
<
>
.
NOTE:
If the *00* remains, it indicates a communication
failure to the controller.
The following screen will be displayed:
Change Setpoints
Configure Unit
Save/Copy/Restore
Scroll down to the ‘Confi gure Unit’ option and press
<ENTER>
. This
will take you to the fi rst Confi guration Screen shown below.
Confi guration Screen #1 - Constant Volume
Mode Active
VAV/CAV Cnfg ID 0001
Constant Volume Mode
Active: No
Use < Or > To Change
This HVAC unit can be confi gured to operate as a Constant Volume or
VAV unit. The Constant Volume Mode does not provide Static Pressure
Control. You can install a Duct Pressure Sensor on a Constant Volume
unit and only monitor the Static Pressure. This is the only mode that
supports dehumidifi cation. Default is No.
Confi guration Screen #2 - Controlling Sensor
VAV/CAV Cnfg ID 0001
Controlling Sensor
SUPPLY AIR
Use < Or > To Change
The third line displays which sensor has been selected as the Controlling
Temperature for the VAV/CAV Controller. Default is SUPPLY AIR.
Available selections are as follows:
SUPPLY AIR
Supply Air Sensor
(Occupied Cooling with
Morning
Warmup)
OUTDOOR AIR
Outdoor
Air
Temperature
Sensor
(Occupied Cool, Heat & Vent)
SPACE TEMPERATURE
Space
Temperature
Sensor
(Occupied & Unoccupied
Cool, Heat & Vent)
RETURN AIR
Return Air Sensor (Occupied Cool,
Heat
&
Vent)
LOCAL ANALOG VALUE
Local
Analog
Value
VAV/CAV Confi guration Screens