Moving the display range – Grass Valley EDIUS Pro v.7.20 User Manual
Page 231
209
Timeline Settings
EDIUS - Reference Manual
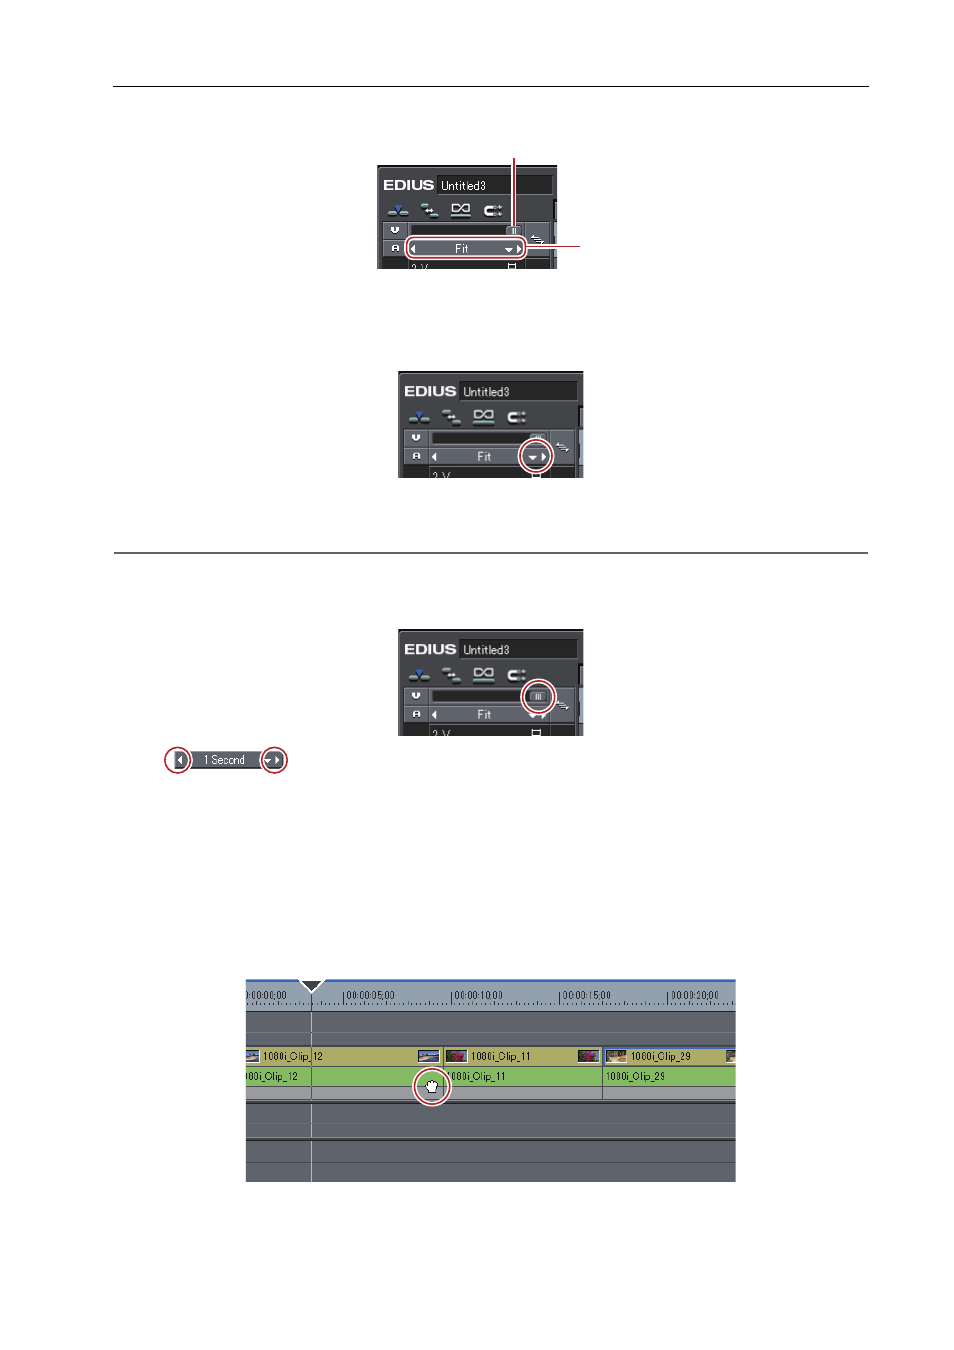
• Fit (The display unit is automatically adjusted to fit the display range of the timeline window.)
(1) Time scale controller
(2) Time Scale Settings
1 Click the list button at the time scale settings, and click the display unit.
Click [Fit] to adjust the time scale to display all clips on the timeline. Click [Undo] to return to the previously set display
unit.
2
Alternative
• Click the center of the time scale setting to switch the currently set display unit to [Fit].
• Drag the time scale controller. Move the slider to the left to reduce the display unit, or to the right to increase it. The
right end is [Fit].
• Click
. Click the left end to set a smaller display unit, or click the right end to set a larger display
unit.
3
•
If a clip is on the timeline, you can fine-adjust the time scale settings in the range [1 Frame] to [Fit] by dragging
the time scale controller. The scale is indicated as “----” during fine-adjustment.
Moving the Display Range
You can move the range currently displayed on the timeline window.
1 Right-drag with [Alt] on the keyboard held down.
(1)
(2)