Checking and changing the gain value of clips, Partially muting, Showing waveforms – Grass Valley EDIUS Pro v.7.20 User Manual
Page 421: P399
399
Volume/Pan Adjustment
EDIUS - Reference Manual
2 Click [Clip] on the menu bar, and click [Normalize].
The [Normalize] dialog box appears.
2
Alternative
• Right-click a clip and click [Normalize].
3 Enter the audio level to be used as reference, and click [OK].
The initial level setting will be the [Audio reference level] in the project setting.
When normalize is applied, an orange line will be displayed in the area below the audio part of the clip.
Checking and Changing the Gain Value of Clips
The gain value of clips can be checked and changed.
1 Select the clip for which the gain value will be confirmed or changed.
2 Click [Clip] on the menu bar, and click [Properties].
The [Properties] dialog box appears.
2
Alternative
• Right-click a clip and click [Properties].
3 Click the [Audio info] tab.
The gain value of the clip is displayed next to [Gain].
4 Enter a gain value, and click [OK].
3
•
The normalize gain value can also be confirmed in the detailed display of the bin and the [Information] palette.
• When a clip on which the gain value has been changed on the timeline is registered in the bin, the changed gain
value will be maintained.
• The change in gain will not be updated if, for example, you display the clip on the Player and remap it to the
timeline from the Player after changing the gain value of each clip on the timeline as the followings.
(1) For an audio 1ch and video 2ch clip, map the V channel and A1 channel to the 1VA track, and A2 channel to
the 1A track.
(2) Change the gain of the 1VA track clip to 5 dB, and the gain of the 1A track clip to 10 dB.
(3) Display the clip of the 1VA track on the Player with double-click.
(4) Place the clip on the Player again with the same mapping setting (mapping the V channel and A1 channel to
the 1VA track, and A2 channel to the 1A track).
At this time, the gain value of the clip placed in the 1VA track is 5 dB, but the change in the gain value of the clip
placed in the 1A track is not reflected, and it becomes 0 dB.
Partially Muting
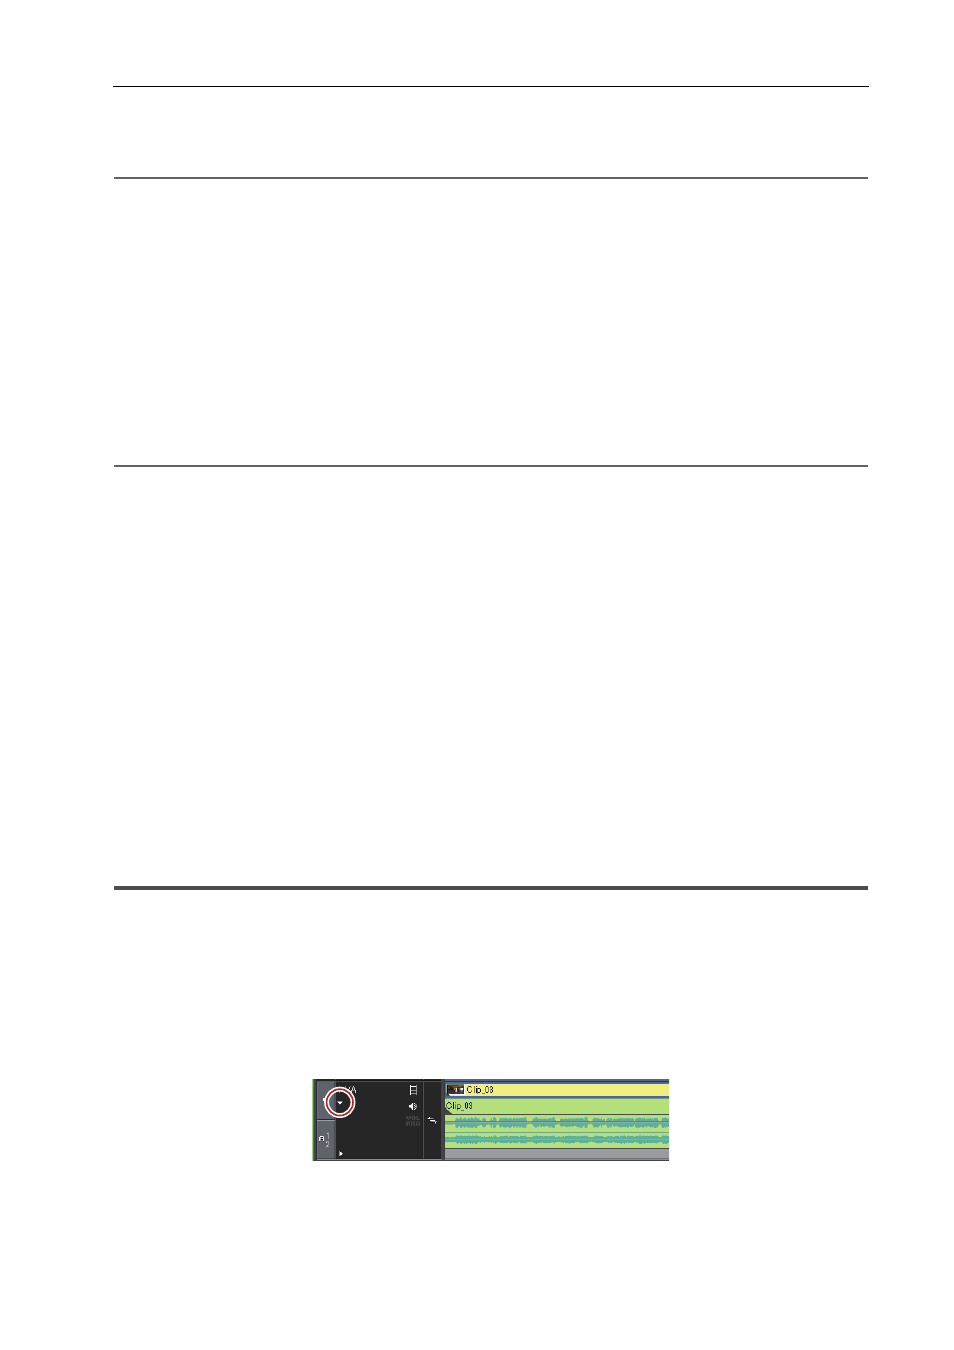
Showing Waveforms
To conceal noise, etc., operate while viewing the waveform.
1 Click [Audio] on the track panel.
The track is expanded and the audio rubber band and the waveform are displayed. For stereo audio, a waveform is
displayed in each channel. You can detect noise, etc. by reviewing the waveform range and the sound actually being
played back.
3
•
The waveform display can be changed from [Application] in [User Settings]
→ [Timeline].