Section 3: setup, 1 set up dakstats, Set up messaging – Daktronics StatVision for Baseball User Manual
Page 11: Sharing the daktronics folder, 2 set up data configuration, Section 3, Setup, Set up dakstats, Set up data configuration
Setup
7
Section 3:
Setup
After installing StatVision, four steps are necessary to set up the software for the first time:
1. Set Up DakStats – Specifies the messaging between StatVision and DakStats
®
Baseball.
2. Set Up Data Configuration – Specifies the location of the DakStats database.
3. Set Up Signs – Specifies which signs will be controlled by StatVision.
4. Set Up Sequences – Specifies sequences that StatVision will tell the display controller to play.
5. Game Day Setup – Describes setup steps to perform before each game.
3.1 Set Up DakStats
For StatVision to work correctly with DakStats Baseball, the user must set up messaging and
share the folder.
Set Up Messaging
1. In the DakStats Baseball program, go to Configure > Messaging.
2. Ensure Different Machine (IP Network Messaging) is selected if DakStats is on a
different computer than StatVision (most common).
3. Click OK.
Sharing the Daktronics Folder
If the DakStats and StatVision programs are on different computers, the directory where the
DakStats database is located must be shared:
1. Go to the computer with the DakStats program.
2. Browse to the C:\Daktronics directory.
3. Right-click the folder.
4. Select Sharing and Security.
5. Share the folder with full permissions.
*Note for Windows 7 users: After right-clicking the folder, select Properties, and click
on the Sharing tab. Click on Advanced Sharing, select Share this folder, and click OK.
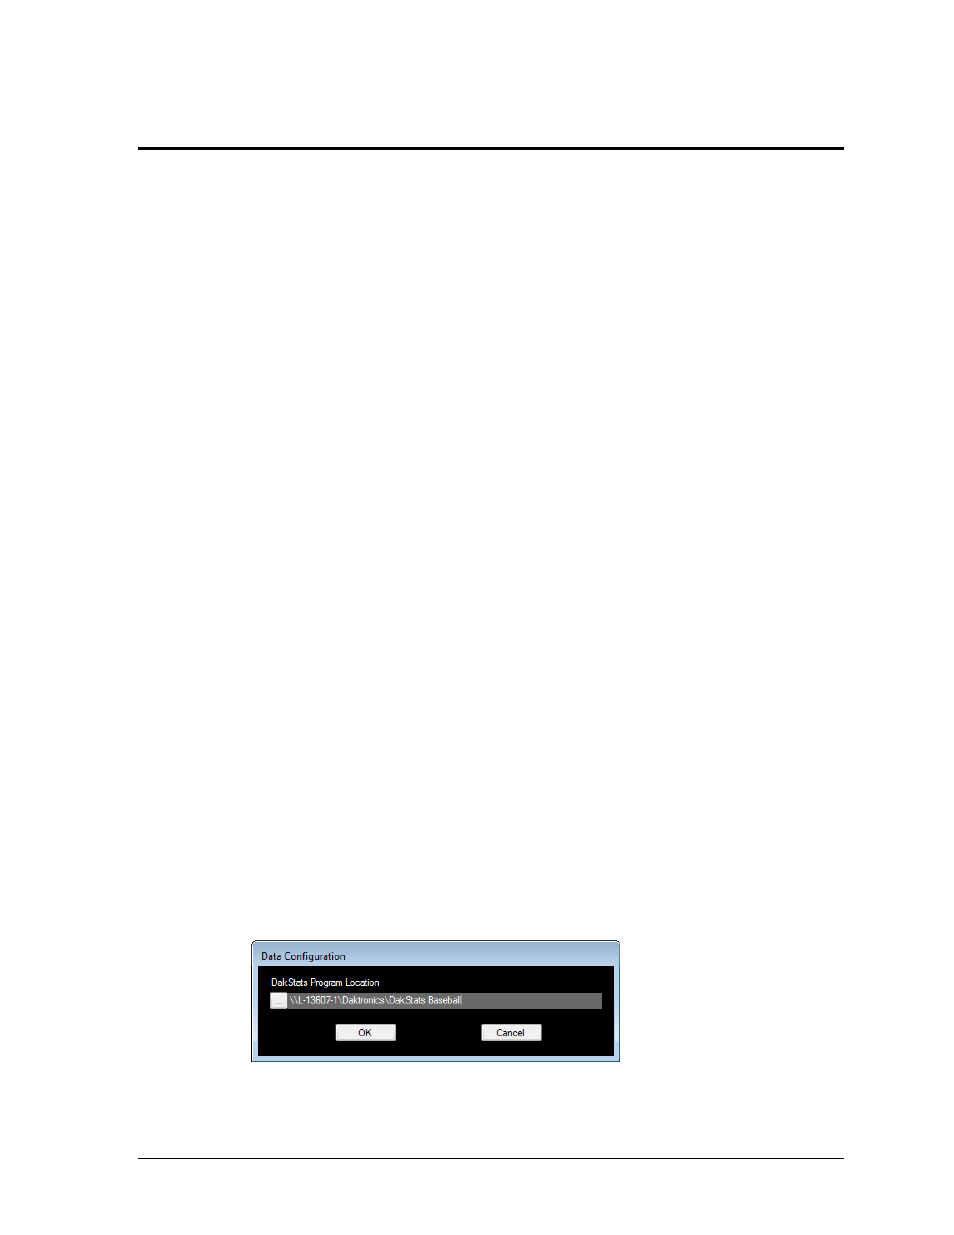
3.2 Set Up Data Configuration
Note: Open a demo game in DakStats before performing the following steps.
1. Open StatVision.
2. Go to Edit
> Data Configuration.
3. In the Data Configuration window (Figure 3), click the […] button.
4. Locate the “Baseball” folder within the “Daktronics” folder that was just shared on
the DakStats computer (Section 3.1).
5. Click OK to save the data configuration.
Figure 3:
Data Configuration