2 registration, 1 startup and windows® activation, 2 tricaster license and registration – NewTek TriCaster 40 User Manual
Page 10: Registration, Startup and windows® activation, Tricaster license and registration
8
2.2 REGISTRATION
2.2.1 STARTUP AND WINDOWS® ACTIVATION
Turn on the computer monitor, and push the Power switch on TriCaster’s faceplate. The Power LED will
illuminate, and the hard drive activity light should flicker as the device boots up. (If this does not happen, check
your connections and retry).
1. Click Next at lower right.
2. Choose your time zone.
3. Accept the license agreement.
4. Enter your 25-digit key (on some models, the sticker is on the bottom of the case).
5. Decline automatic updates (by clicking “not right now”).
6. Give TriCaster a distinct computer name for networking.
You can authorize your Windows installation by network or by telephone. If you have connected TriCaster to a
network (see Section 2.1.2) with Internet access, this provides the fastest method of activation.
1. Click ‘Obtain IP and DNS automatically’.
2. Agree to activate Windows. This activation is permanent, and you won’t see these screens again.
(Registration with Microsoft is optional).
3. Assign a name to the administrator account. You may type your name, company, or perhaps simply
“TriCaster”.
4. Click Finish, and TriCaster will re-start.
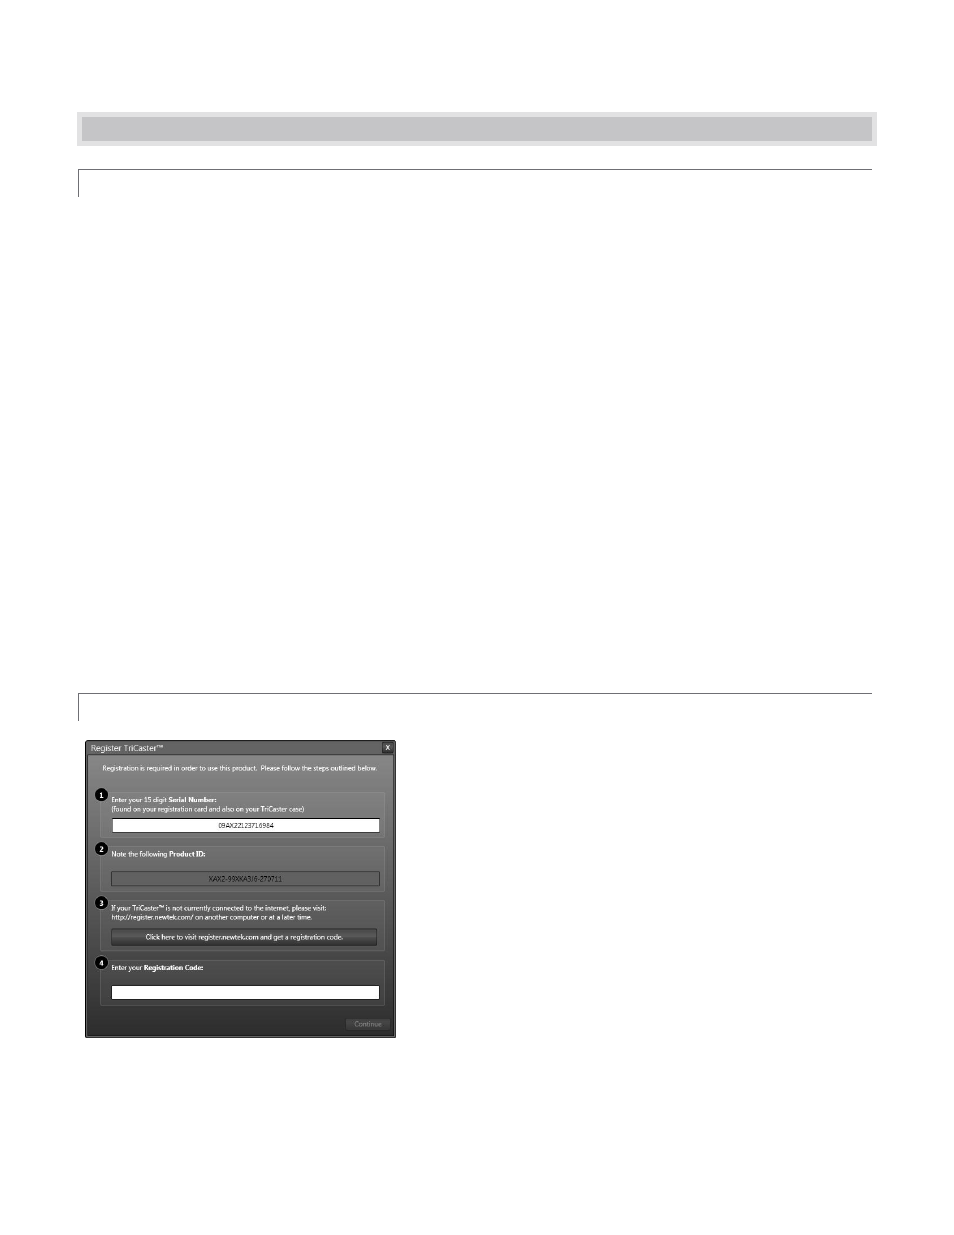
2.2.2 TRICASTER LICENSE AND REGISTRATION
On launch, TriCaster presents an End User License Agreement
dialog. After you accept this, the Registration dialog shown in
Figure 3 is presented.
If necessary, enter the unique TriCaster Serial Number and
Product ID for your system. TriCaster’s video output will show a
watermark until the system is registered and unlocked (by
entering the registration code).
Figure 3