2 hooking up midi – Teac US-428 User Manual
Page 21
21
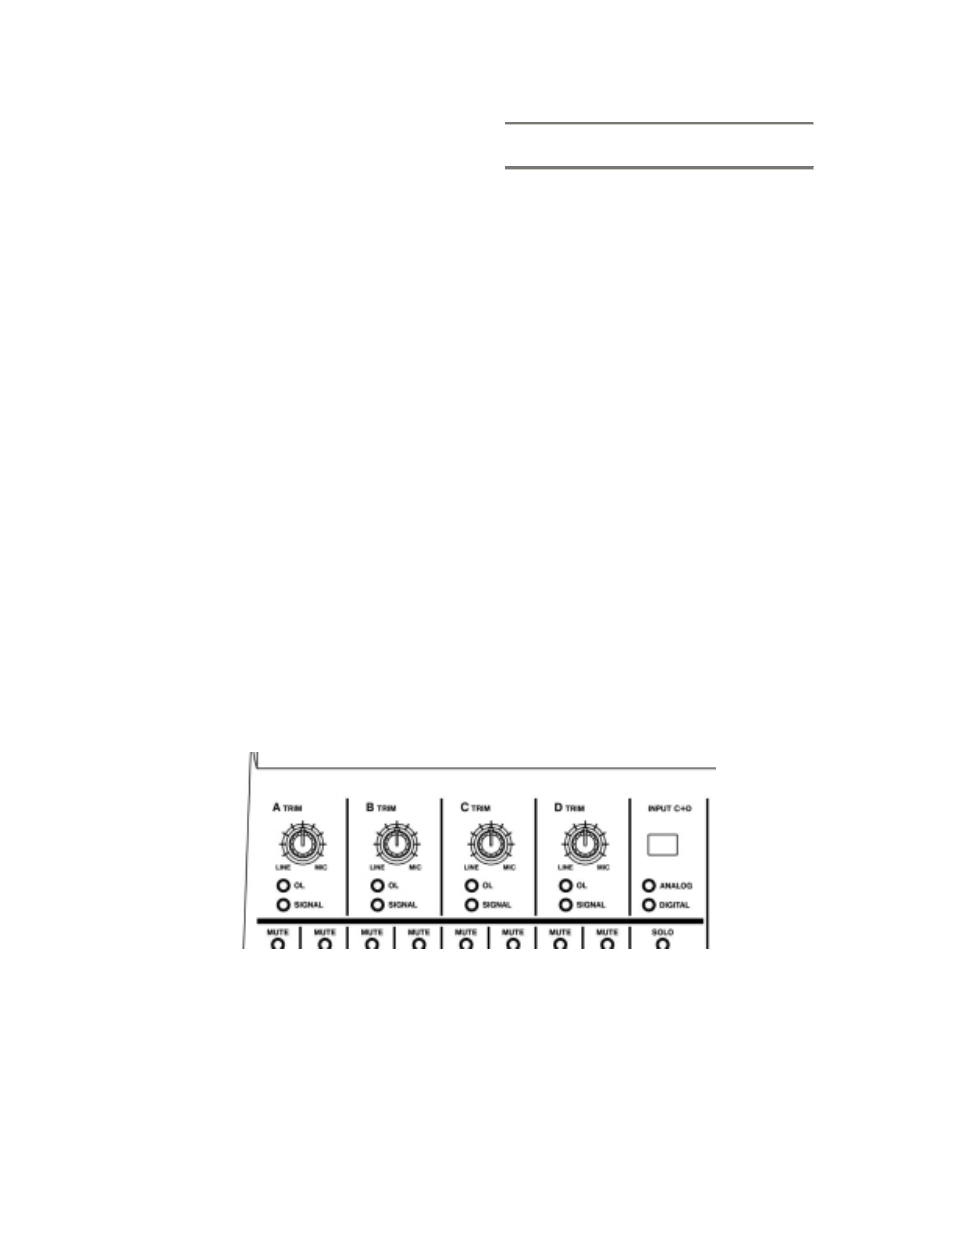
faders. To use digital audio input, switch
the INPUT C+D selector to Digital. The
INPUT C and D TRIM controls do not
affect digital input. Sampled audio from
the S/PDIF digital input is passed
directly to the application without
modification. To reduce the level of the
digital audio signal at inputs C and D,
you will need to reduce the output level
of your digital source.
A note about levels and gain structure
here. The TRIM controls directly affect
the input level at the A/D converters on
the US-428, so it’s advisable to use the
SIGNAL and OVER LEDs to help set
your levels. Unlike analog tape, when
recording digital audio, it’s important to
keep your input level close to 0dB, but
never to exceed it. If the input level is
too high, the audio signal will clip - not a
desirable sound. If the input level is too
low, then the dynamic range that the
US-428’s A/D’s are capable of is not
being used, and the signal will be closer
to the noise floor than it
needs to be. In either case, this can not
be fixed after the tracks have been
recorded, so it’s important to make this
adjustment carefully.
4.2 Hooking up MIDI
The two MIDI in and out jacks are
independent, giving you a total of 32
channels of MIDI I/O. Simply connect
the MIDI out of your keyboard or other
device to a MIDI in jack on the US-428,
and vice versa. If you’ve got a MIDI sync
box, you can dedicate one of the two
MIDI I/O’s to sending and receiving
MTC (MIDI Time Code). This allows you
to sync tracks from your MTC-capable
Portastudio, DTRS multitrack, or any
other machine that accepts time code
with your digital audio software, for
transferring tracks back and forth for
editing and processing.
Illustration 4.02 - Input trims and level indicator LED’s