Hookups and settings, Overview, Step 1: unpacking – Sony DAR-RD100 User Manual
Page 12: Overview step 1: unpacking, Inserting batteries into the remote
12
GB
Hookups and Settings
Overview
Complete the following steps to start using this
DVD recorder/home theatre system.
Steps 1 to 4 are for the speaker system; steps 5 and
6 for the recorder. After finishing all of the
hookups, connect the mains leads in step 7, and
start setting up the system in “Step 8: Initial
Setup.”
Notes
• Plug cords securely to prevent unwanted noise.
• See the instructions supplied with the components to be
connected.
• You cannot connect this recorder to a TV that does not
have a SCART or video input jack.
• Be sure to disconnect the mains lead of each
component before connecting.
Step 1: Unpacking
Check that you have the following items.
In DVD carton box:
• DVD recorder (1)
• TV aerial cable (1)
In main carton box:
• Active subwoofer (1)
• Centre unit (1)
• Speakers (4)
• AM loop aerial (1)
• FM wire aerial (1)
• Speaker cords (short × 2, long × 2)
• Optical digital cord (1)
• Remote commander (remote) (1)
• R6 (size AA) batteries (2)
• Foot pads*
• Operating Instructions (1)
• Hookup Guide (card) (1)
* Attach the pads to the bottom of the speakers.
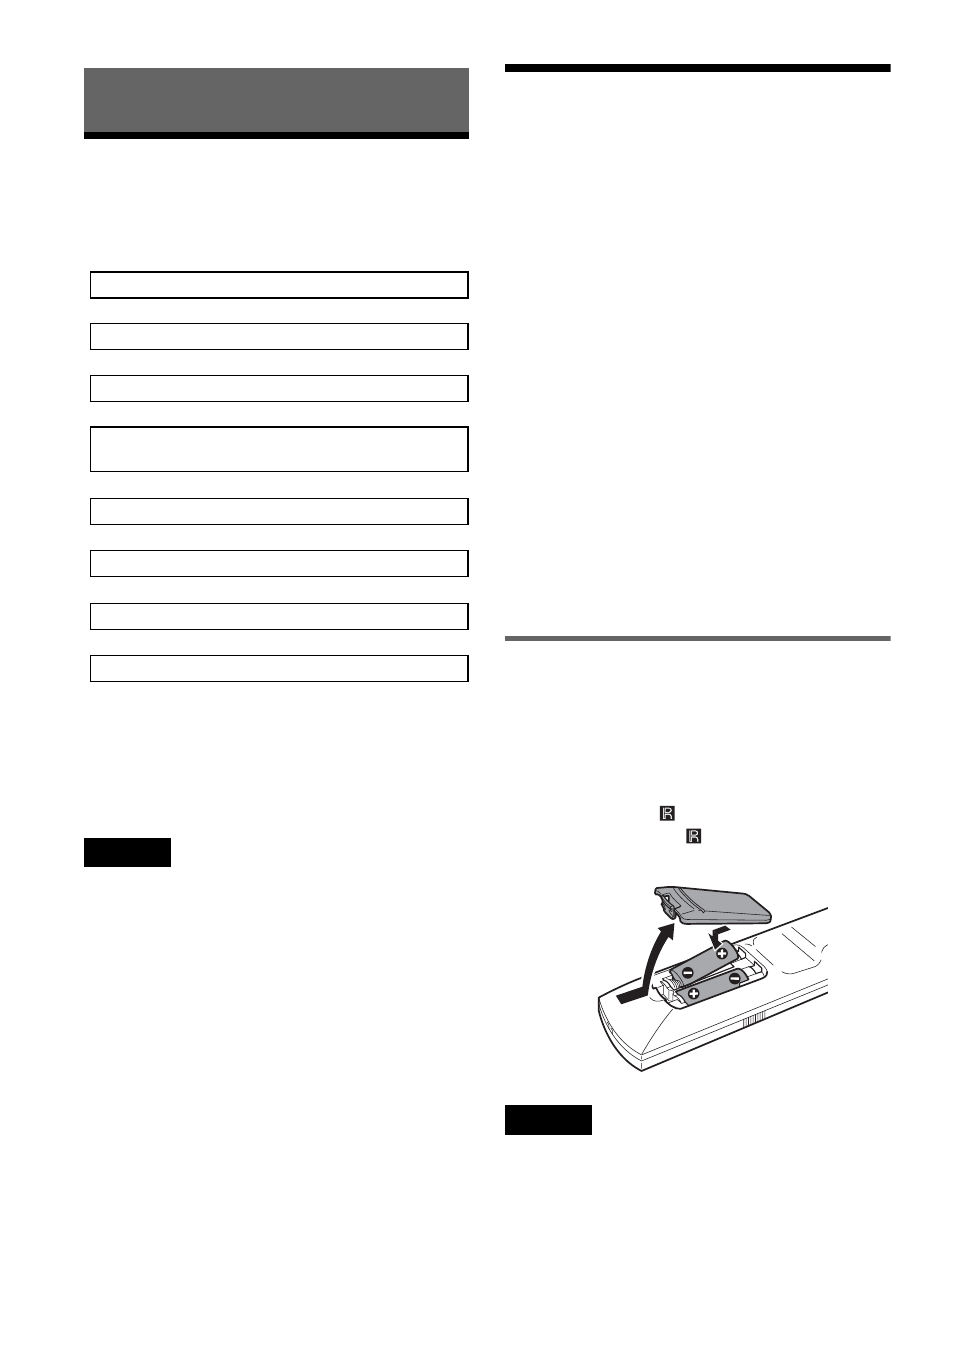
Inserting batteries into the remote
You can control the recorder and the speaker
system using the supplied remote. Insert two R6
(size AA) batteries by matching the
3
and
#
ends
on the batteries to the markings inside the
compartment.
Point the remote at
(remote sensor) on the
recorder. Or, point it at
on the centre unit when
operating the speaker system.
Notes
• If the supplied remote interferes your other Sony DVD
recorder or player, change the command mode number
for this recorder (page 99).
• If you are using a non Sony TV, set the code number
for the TV’s manufacturer (page 98).
• Use the batteries correctly to avoid possible leakage
and corrosion. Do not touch the liquid with bare hands
should leakage occur. Observe the following:
m
Step 1: Unpacking (page 12)
m
Step 2: Connecting the Speaker System (page 14)
m
Step 3: Connecting the FM/AM Aerials (page 17)
m
m
Step 6: Connecting the TV and Recorder (page 20)
m
Step 7: Connecting the Mains Leads (page 23)
Step 8: Initial Setup (page 28)
Step 4: Connecting the Speaker System and
Recorder (page 18)
m
Step 5: Connecting the TV Aerial (page 19)