Recording from connected equipment, Creating chapters in a title, Overwriting a recorded title – Sony DAR-RD100 User Manual
Page 49
49
GB
Rec
o
rd
in
g
number, etc., shown in the front panel display
(page 111).
Creating chapters in a title
The recorder automatically divides a recording (a
title) into chapters by inserting chapter marks at 5,
10, or 15-minute intervals during recording. Select
the interval, [5Min], [10Min], or [15Min] for
[Auto Chapter] in [Rec Setting] Setup (page 83).
z
Hint
You can create chapters manually when playing a
DVD+RW, DVD-RW (VR mode), or DVD+R
(page 68).
Overwriting a recorded title
You can use the Title List to make a new recording
over a title previously recorded on the disc. For
details about the Title List, see page 33.
1
Insert a DVD+RW.
2
Set the AMP/DVD switch to DVD.
3
Press PROG +/– or INPUT SELECT to select
a programme position or input source.
4
Press TITLE LIST to turn on the Title List.
5
Press
<
/
M
/
m
/
,
to select the title you
want to overwrite.
6
Press
z
REC.
Recording starts.
To stop recording
Press
x
. Note that it may take a few seconds for
recording to stop.
z
Hint
If you erase a title from a DVD+RW, it appears as
[Erased title] in the Title List. However, this will not
increase the remaining time on the disc. You can select
[Erased title] from the Title List and make a new
recording on top of it (page 65).
Notes
• A protected title cannot be overwritten (page 66).
• If the selected title is shorter than the new recording, or
less than ten seconds, the recorder automatically
overwrites the next title in the Title List. If you do not
want a title to be overwritten, protect the title (page 66).
Recording From Connected
Equipment
You can record from a connected VCR or similar
device. To connect a VCR or similar device, see
“Connecting a VCR or similar device” (page 24).
Use the DV IN jack on the front panel if the
equipment has a DV output jack (i.LINK jack).
1
Insert a recordable disc.
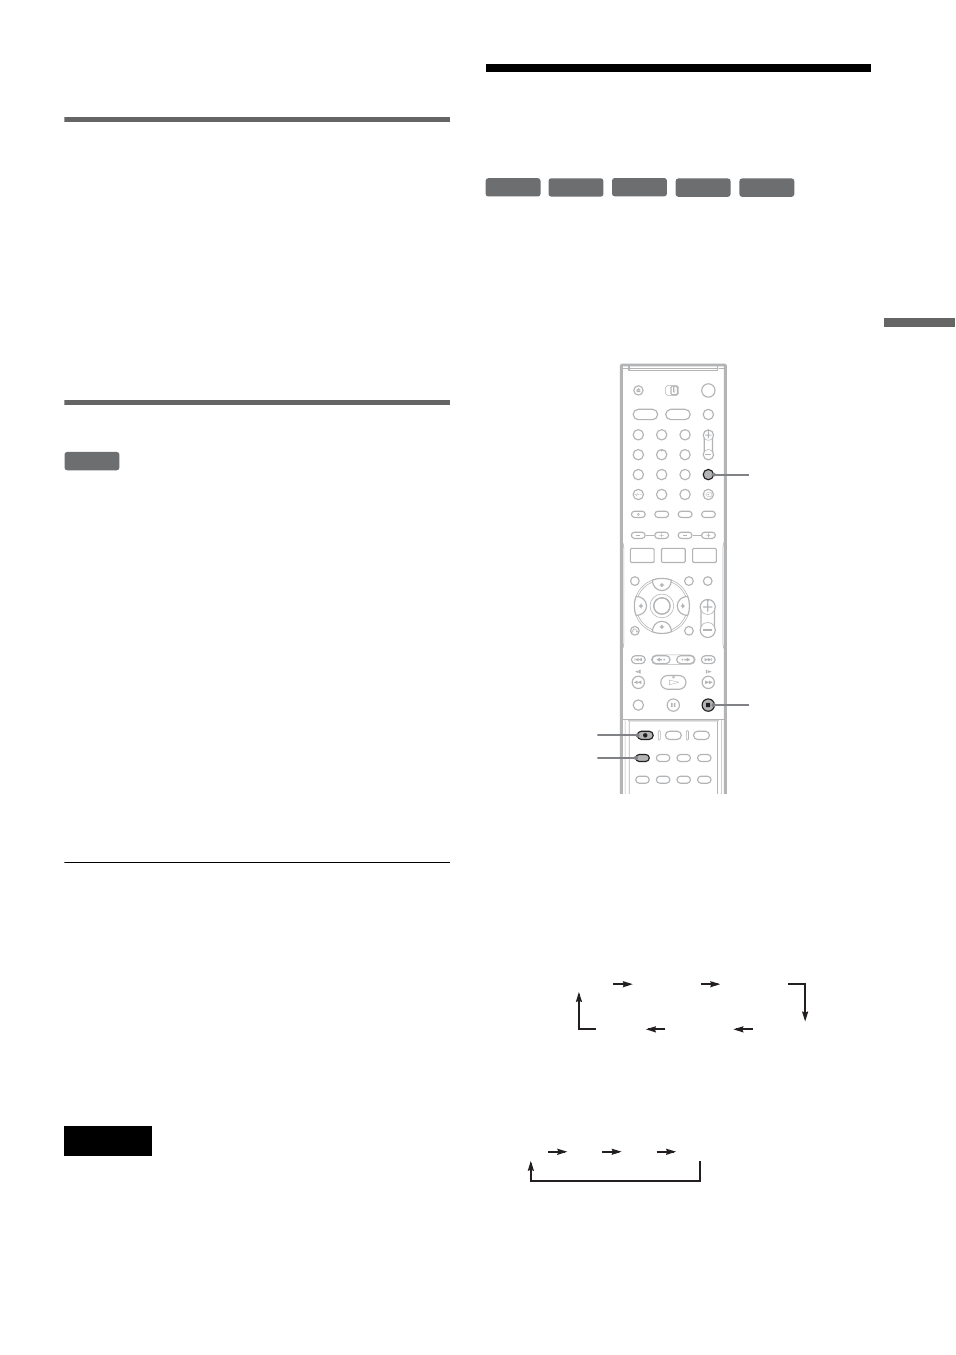
2
Press INPUT SELECT to select an input
source according to the connection you
made.
The front panel display changes as follows:
3
Press REC MODE repeatedly to select the
recording mode.
The recording mode changes as follows:
4
Insert the source tape into the connected
equipment and set to playback pause.
+
RW
-RW
VR
-RW
Video
+
RW
-
R
+
R
1
2
3
4
6
7
8
9
0
5
x
REC MODE
INPUT
SELECT
z
REC
LINE1
LINE2
LINE4
LINE3
DV
TV programme
position
HQ
SP
EP
SLP
,
continued