Labelling and protecting a disc, Labelling a disc, Insert a disc – Sony DAR-RD100 User Manual
Page 38: Select [disc info] and press, Select [disc name] and press, Select [finish] and press enter
38
GB
• To insert a space, select [Space] and press
ENTER.
• To insert a character, move the cursor to the
right of the position where you want to insert
the character. Select the character from the
character palette and press ENTER.
7
Repeat steps 5 and 6 to enter the
remaining characters.
• If you want to return to the Title List without
renaming the title, select [Cancel] and press
ENTER.
8
Select [Finish] and press ENTER.
To use the number buttons
You can also use the number buttons to enter
characters.
1
Select the row containing the character to be
input and press a number button.
Example: To input “MT”
Select the “K, L, M, N, O, P, Q, R, S, T” row.
Press the number 3 button, followed by the
number 0 button.
2
Select [Finish] and press ENTER.
Labelling and Protecting a
Disc
Labelling a disc
A disc is automatically labelled as its disc type.
You can change the disc name (up to 21 characters).
1
Insert a disc.
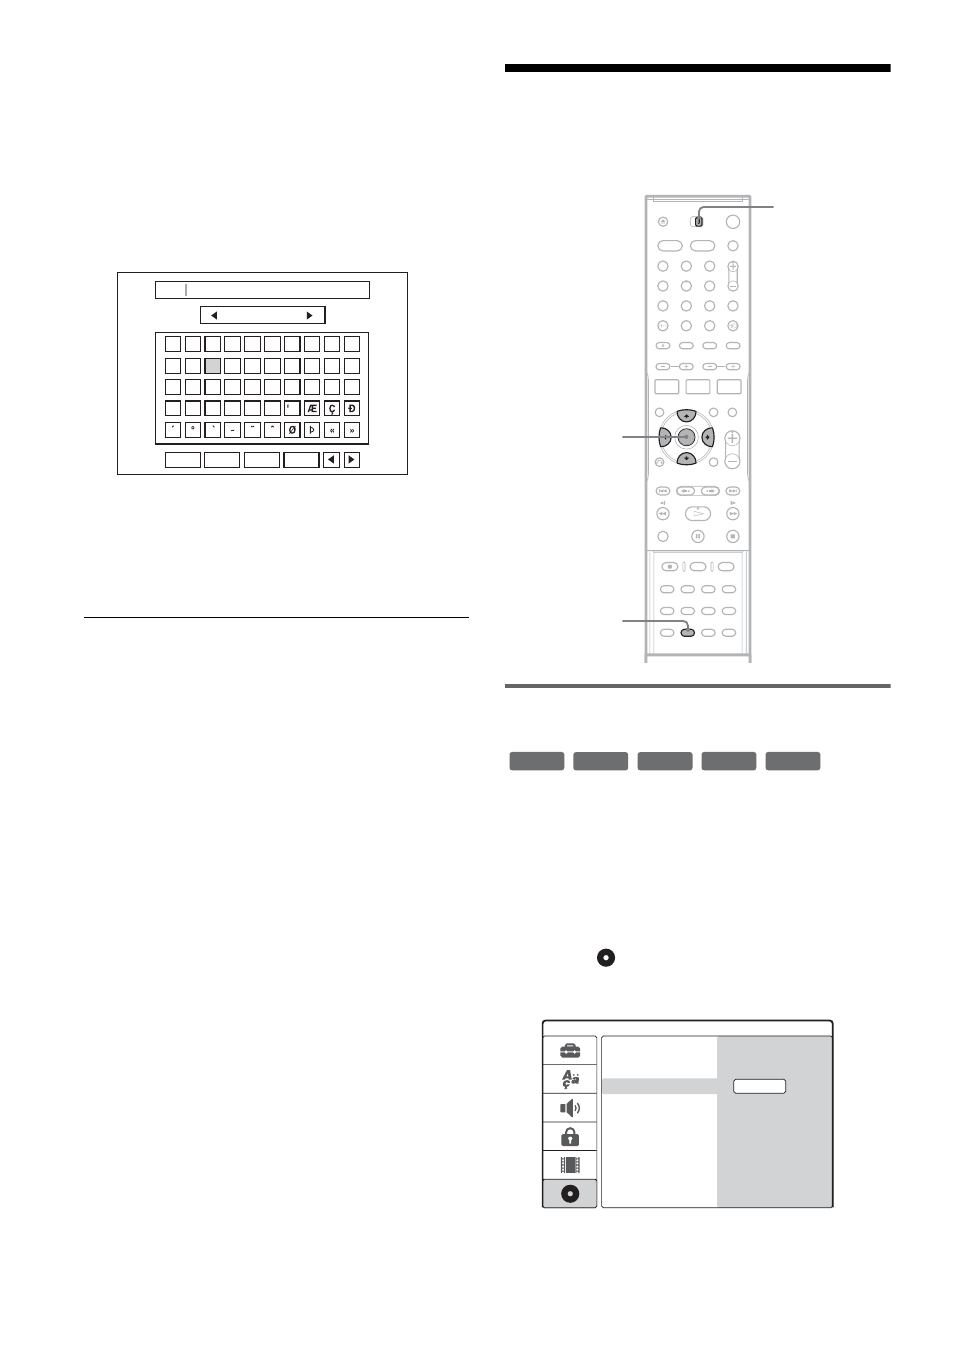
2
Set the AMP/DVD switch to DVD, and press
SET UP to turn on the Setup Display.
3
Select
[Disc Info] and press
,
.
4
Select [Disc Name] and press
,
.
0
1
2
3
4
5
6
7
8
9
A
B
C
D
E
F
G
H
I
J
K
L
M
N
O
P
Q
R
S
T
U
V
W
X
Y
Z
Upper Case
Space
Erase
ABC
Finish
Cancel
1
2
3
4
6
7
8
9
0
5
<
/
M
/
m
/
,
,
ENTER
SET UP
AMP/DVD
switch
+
RW
-RW
VR
-RW
Video
-
R
+
R
Format DVD
Disc Info
Finalize
Disc Name
Protect
Edit