Casella CEL CEL-440 User Manual
Page 23
A Calibration screen is displayed at the end of the start up
sequence and this will be the normal entry to the calibration check.
However, after making changes to the instrument configuration as
described above, or after performing some other operation, the
Calibration screen can be obtained via the Calibration option on the Main
menu followed by the Microphone Option on the Calibration Menu.
When the Calibration screen shows a “Scale ... ” line instead of
“Last Cal”, the last calibration was performed via line input. Use the
Calibration and Microphone options as described above.
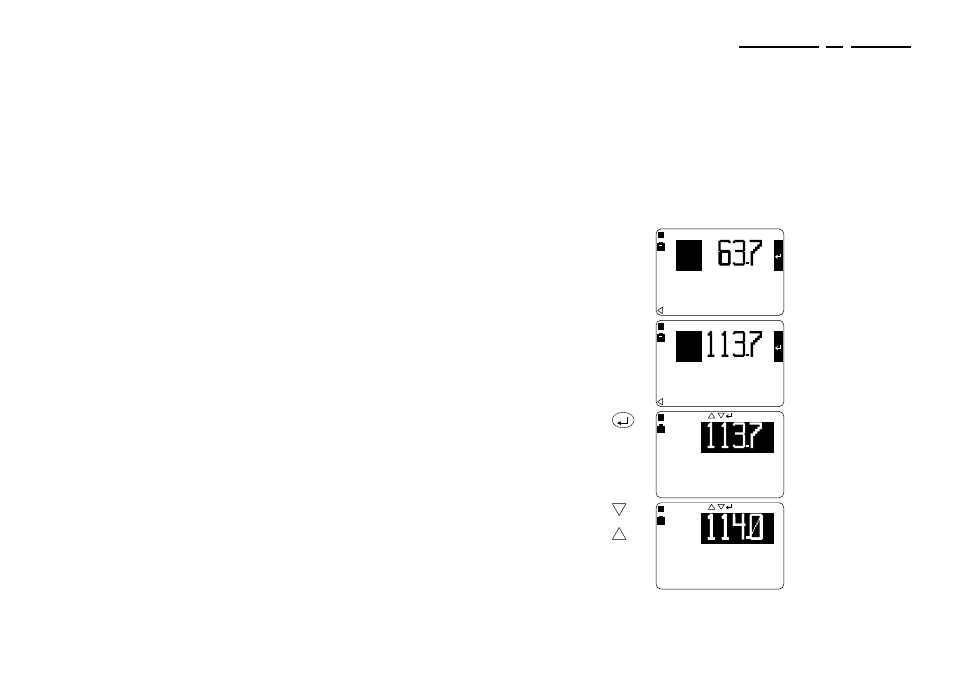
Calibrate the instrument as follows.
Operation
Press
Display Shows
Comments
1. Start with
the
Last Cal.
screen
This is the Calibration Check
screen.
It shows the current sound
level and details of the last
calibration.
2. Switch the
Calibrator
ON
This is the level produced by
the calibrator.
The Calibration levels for the
CEL Type 1 and Type 2
microphones and for Free
Field and Random response
are shown in Table 1.
3. When the
level
shown is
incorrect
for the
current
microphone
and
response
This enables the quick edit
function.
4. Adjust the
display to
show the
correct
level for
the
microphone
and
response
and
More than one key press
may be required to give a
visible change in level.
c-01
dB
Ø9Jan98 12.22
Last Cal.
L
ZF
c-02
dB
Ø9Jan98 12.22
Last Cal.
L
ZF
Ø9Jan98 12.22
Last Cal.
L
ZF
c-03
dB
c-04
dB
Ø9Jan98 12.22
Last Cal.
L
ZF
CEL-440/480 Operators Handbook - Page 23
Preliminary Operations