CONTA-CLIP CONTA-Sign 4.3 User Manual
Page 14
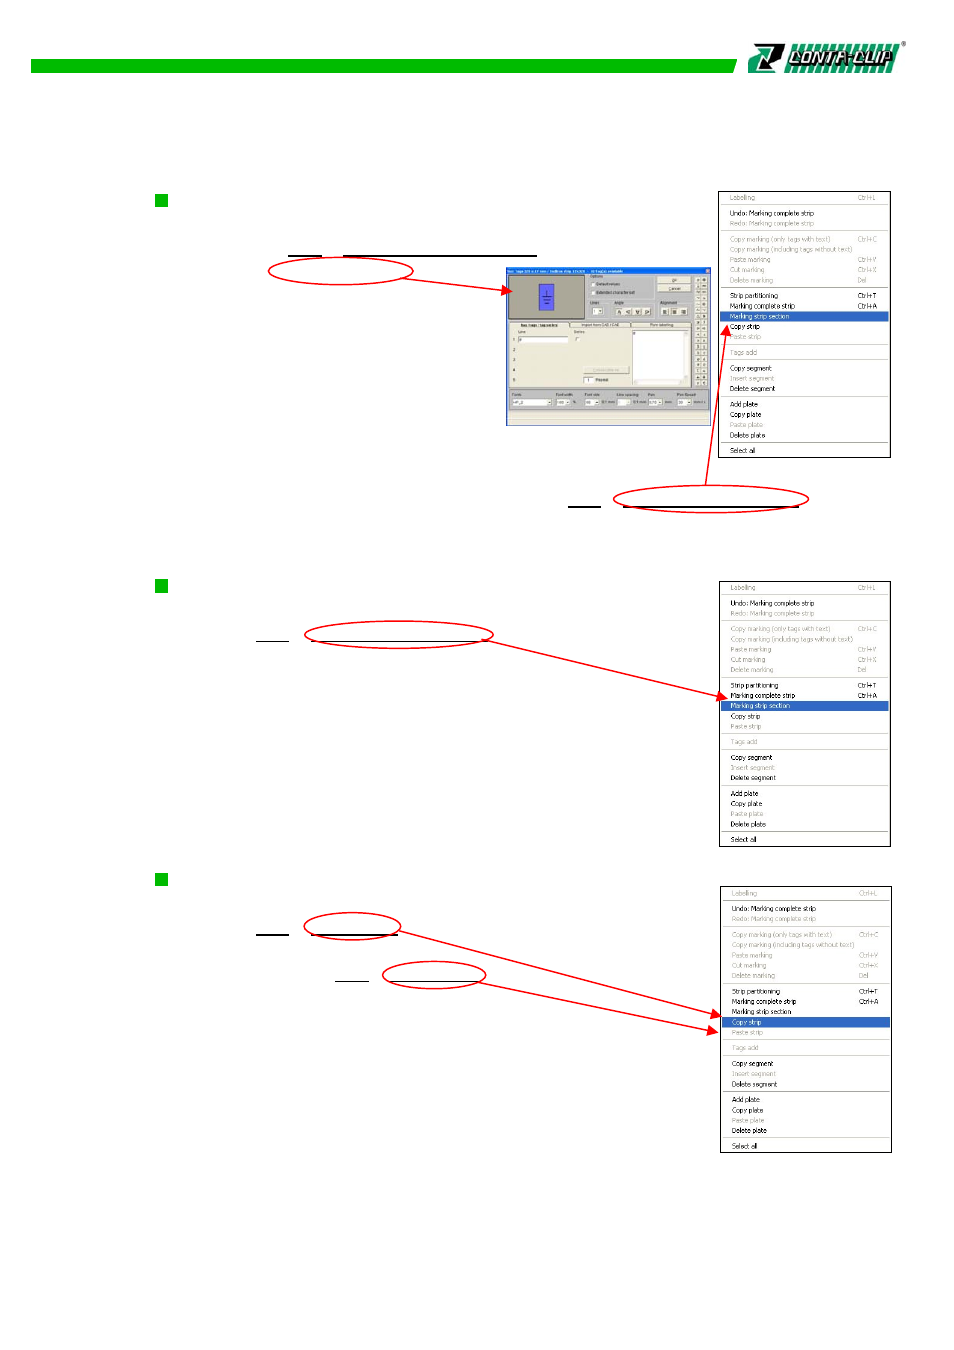
Marking complete strip
Mark-out the required strip by clicking.
Via the menu > Edit > Marking complete strip you
can get to the labeling window in which
you can select the type of marking. This
function allows you to carry out marking
in multiple and serial mode in various
element-widths.
Note: The space available for marking is
calculated on the lowest element-width. Should you request
an individual marking on the various element-widths, please choose this
marking possibility over the menu by selecting > Edit > Marking strip section
Marking strip section
Mark-out the strip section you want to work on by clicking.
Via menu > Edit > Marking strip section you can open the labeling
window and can select the print. This function
allows you to completely utilize the available element-width.
Note: Cut markings can be added to the print output. The settings
are made in the print output menu (see chapter “Printing Tags”).
Copy strip / Insert strip
Mark-out the strip you wish to copy by clicking.
Via menu > Edit > Copy strip you can prepare the copy process.
Now click to the strip onto which you want the data to be
inserted. Via menu > Edit > Paste strip the data will be inserted.
13