Remote operation, Changing the remote operation settings – Audioscan Verifit 2 User Manual
Page 118
Verifit
®
User's Guide Version 4.2 © June 2015
(a) Simply enable [Auto].
(b) Click [Test settings] to test your settings.
(c) If the test is successful, your Verifit network address will be displayed (e.g., 172.30.1.44).
(d) Click
to continue.
Large, institutional computer networks sometimes use static address assignment. Ask your network
administrator for help in performing the following steps.
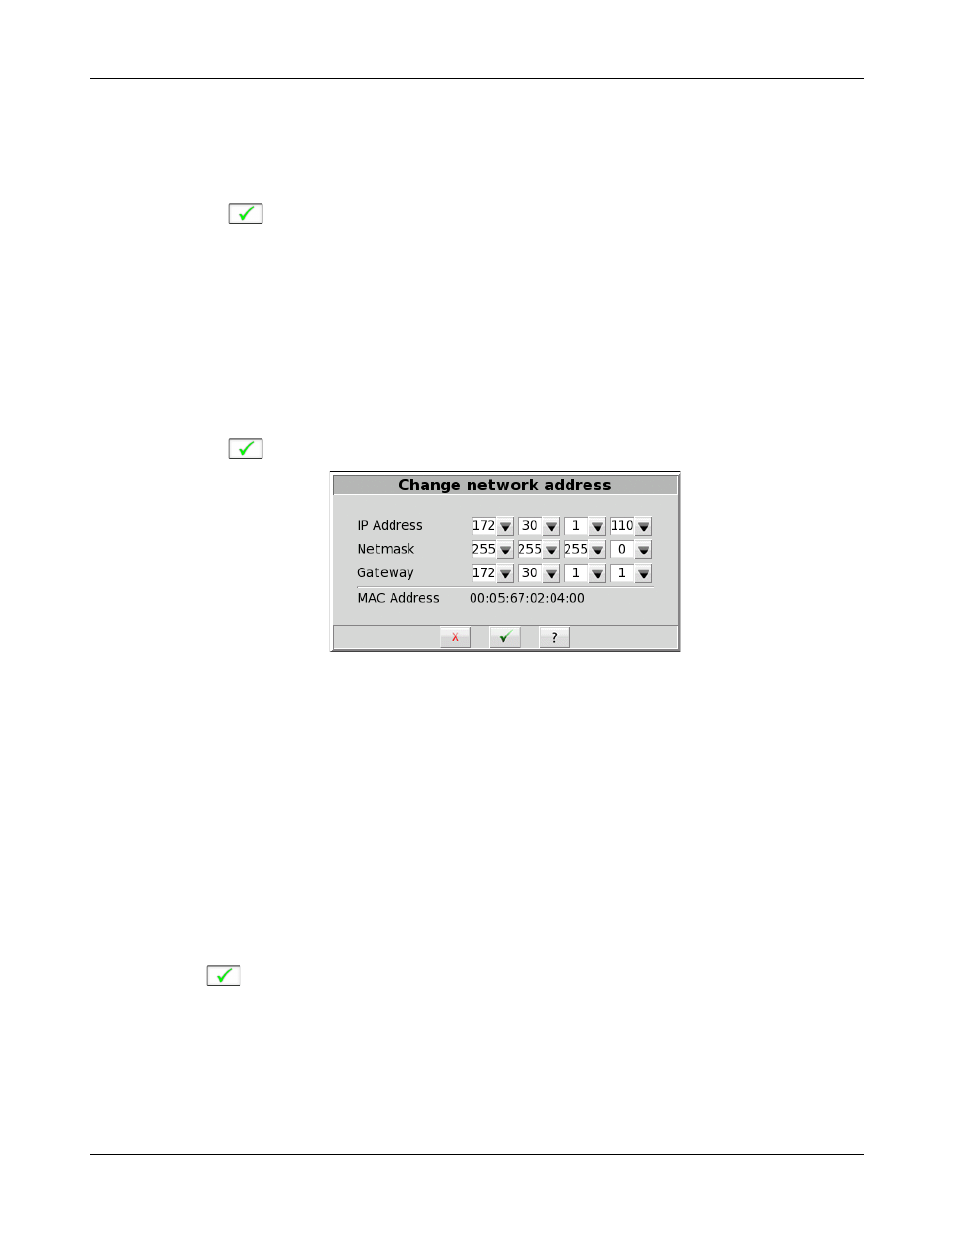
7. To assign a static network address:
(a) Disable Auto (DHCP).
(b) Click the [Change] button.
(c) Enter the network address details in the Change network address poster.
(d) Click
to apply your changes.
Remote Operation
Once your Verifit is connected to a network, you can control it from any Windows PC using the Audioscan
Remote application, available at no cost from software update download page at www.audioscan.com. Remote
operation works over both wired and wireless networks.
Changing the Remote Operation settings
Remote Operation is on by default. The default password is audioscan. The default port is 5900. You can
change any of these settings through the Remote Operation poster.
1. Click Remote Operation [Change].
2. Click [Off] or [On] to turn Remote Operation off or on.
3. Type a password in the [Password] field.
4. Click
to apply your settings to the remote operation service.
118