Session setup – Audioscan Verifit 2 User Manual
Page 132
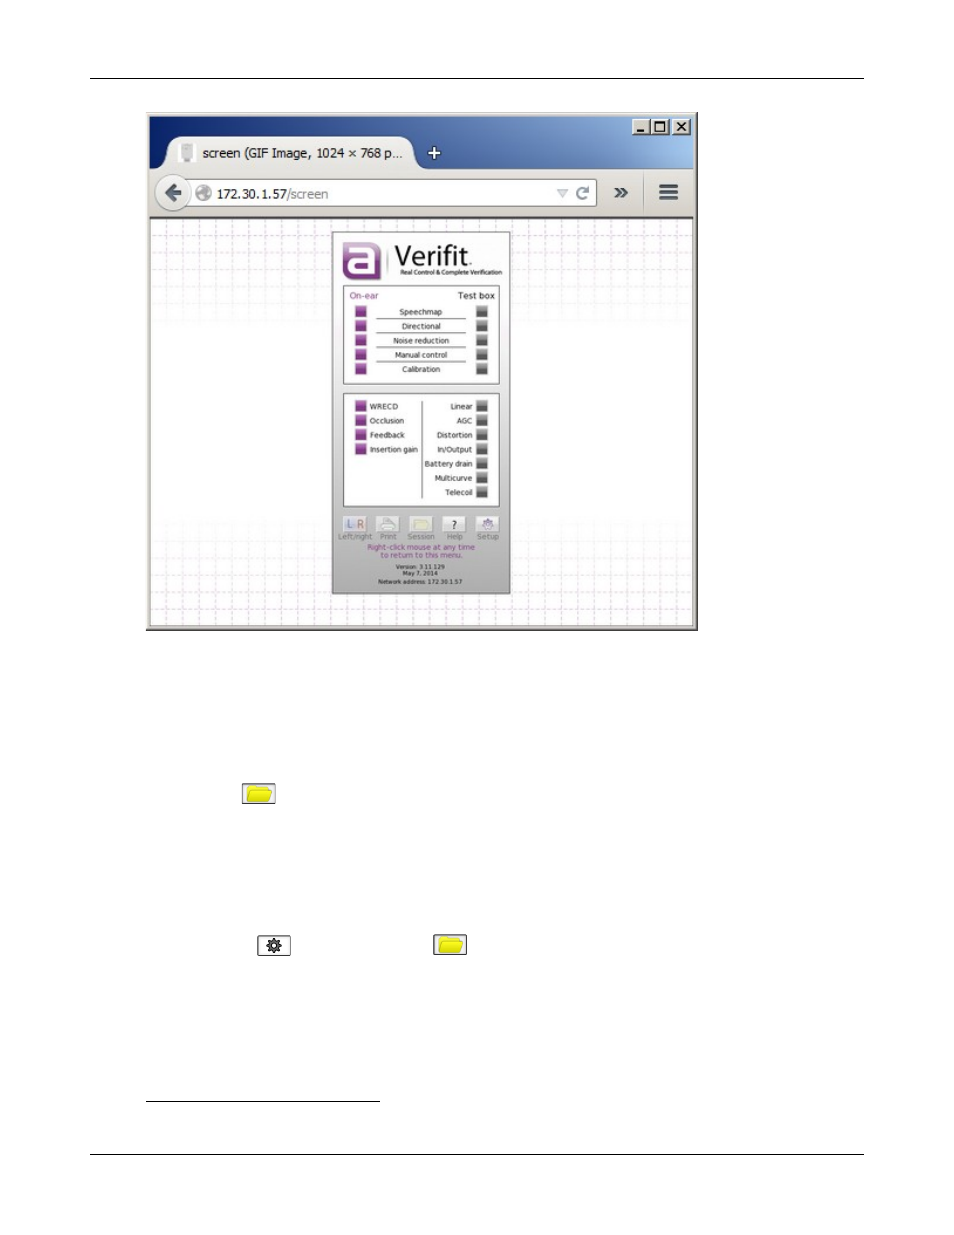
Verifit
®
User's Guide Version 4.2 © June 2015
Session setup
The Verifit itself does not store data. All entered and measured data are lost when you turn the Verifit off. Also,
each time you change clients you need to erase the Verifit's session data, so that the data and test results do not
become mixed or confused among different clients or hearing instruments. The Session features allow you to
erase data conveniently without turning the Verifit off. The Session features also allow you to store data
permanently in Session files which you can later restore to the Verifit. To access the Session features, click the
Session button
and select one of the erasure or storage options.
You can store the Verifit data in session files on a USB drive or on a Windows shared folder. You can later
restore the session files to the same Verifit or to other Audioscan equipment. Since the files use an XML data
format. you can also view session file contents through a web browser, and you can load them in a spreadsheet
program such as Microsoft Excel.
To enable and configure file-based data exchange:
1. Click [Setup]
, then select [Session]
.
2. Click [Enable file based data exchange].
3. Click the storage file location [USB drive or Windows share].
Storing session files on a USB drive requires that you simply insert the drive into any of the Verifit's USB ports.
Storing session files on a Windows shared folder requires that your Verifit be connected to the local area
network, and that you create a shared folder to store the files on one of your computers. See the section above,
Windows-shared printers and folders, for instructions about setting up a Windows-shared folder.
132