Configuring the sign parameters -4, A basic message -4 – Daktronics Venus 1500 Ver 1.x User Manual
Page 15
Getting Started – Example
3-4
3.5
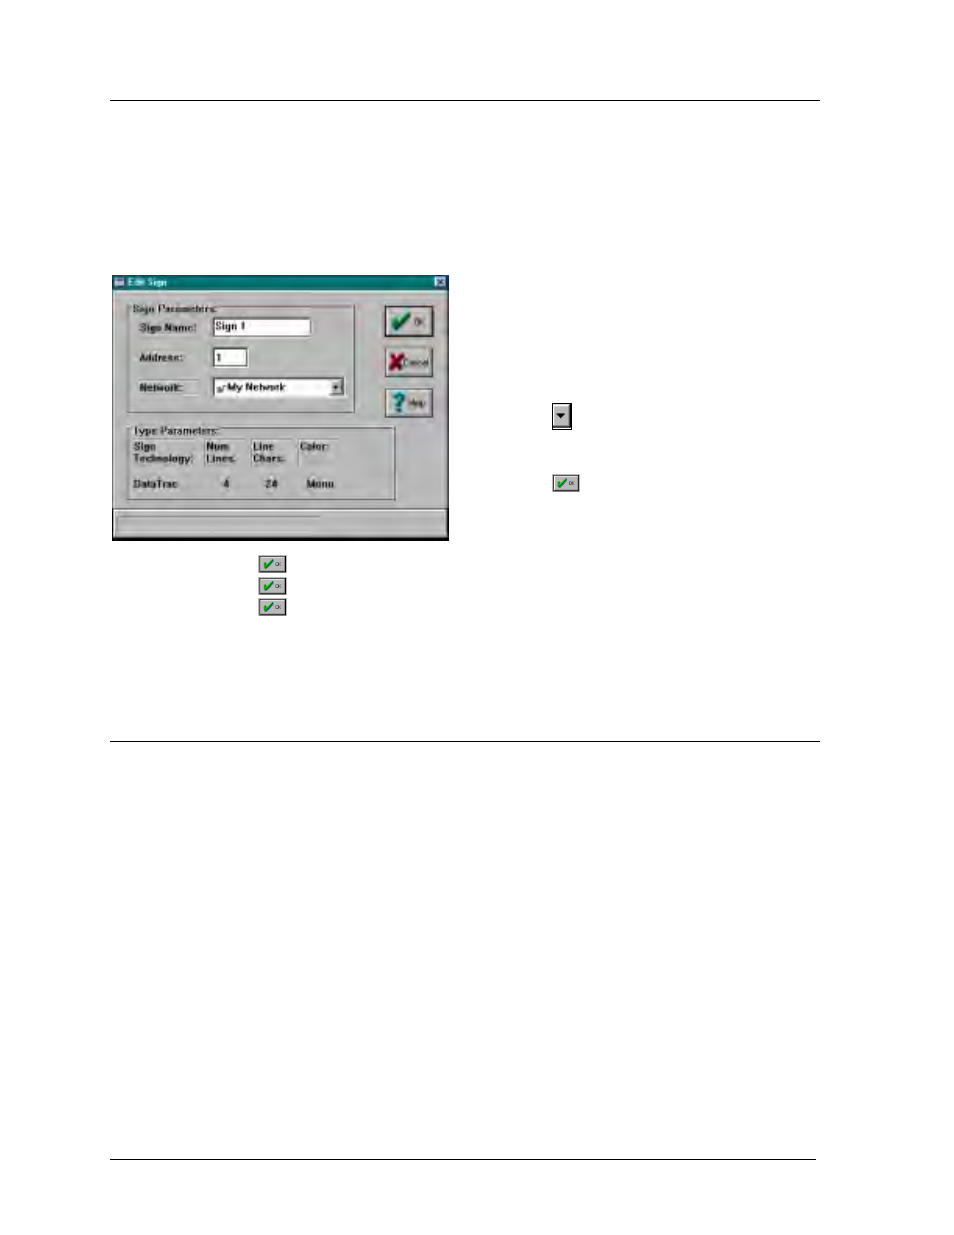
Configuring the Sign Parameters
Before a sign can receive information from the Venus 1500 software, its address must be
identified. The sign address is a number in the range 1 - 240 that identifies a sign. Each sign
must have a unique address. We will assume for the example that the sign is connected to the
PC with an address of one (1).
Once the sign type is configured (refer to Section 3.4), click on [
ADD SIGN
]. The Edit Sign
window will automatically appear, allowing the first sign to be added.
1. Enter a name for the sign in the Sign Name
box. For our example we will use “Sign 1.”
2. Enter the sign’s communication address in the
Address box. Refer to the sign’s installation
manual to determine the proper address. We
will assume that the sign has an address of “1.”
3. Click on
to activate the listing of configured
networks. Select “My Network” from the
Network list.
4. Click on
. The new sign’s name should
appear in the Configured Groups and Signs
list.
5. Click on
to return to the Edit Sign Types screen.
6. Click on
to return to the Configure Venus 1500 screen.
7. Click on
to return to the main Venus 1500 window.
We now have configured a network, sign type and sign. The next step is to create a message to
display on the new sign.
3.6
A Basic Message
For the first message we will keep things very simple. Click on [
MESSAGE
] from the main
screen or select Message from the Edit menu. The main Edit Message window will appear.
When messages are created, they are stored on the PC’s hard disk. The messages may be
organized into groups called libraries. Please note that the word DEFAULT is highlighted in
the Libraries list. The user can create other libraries (refer to Section 5.1). For this example,
the message will be stored in this default library.