Remove sign type -6, Edit signs -6, Add sign -6 – Daktronics Venus 1500 Ver 1.x User Manual
Page 23
Configuration
4-6
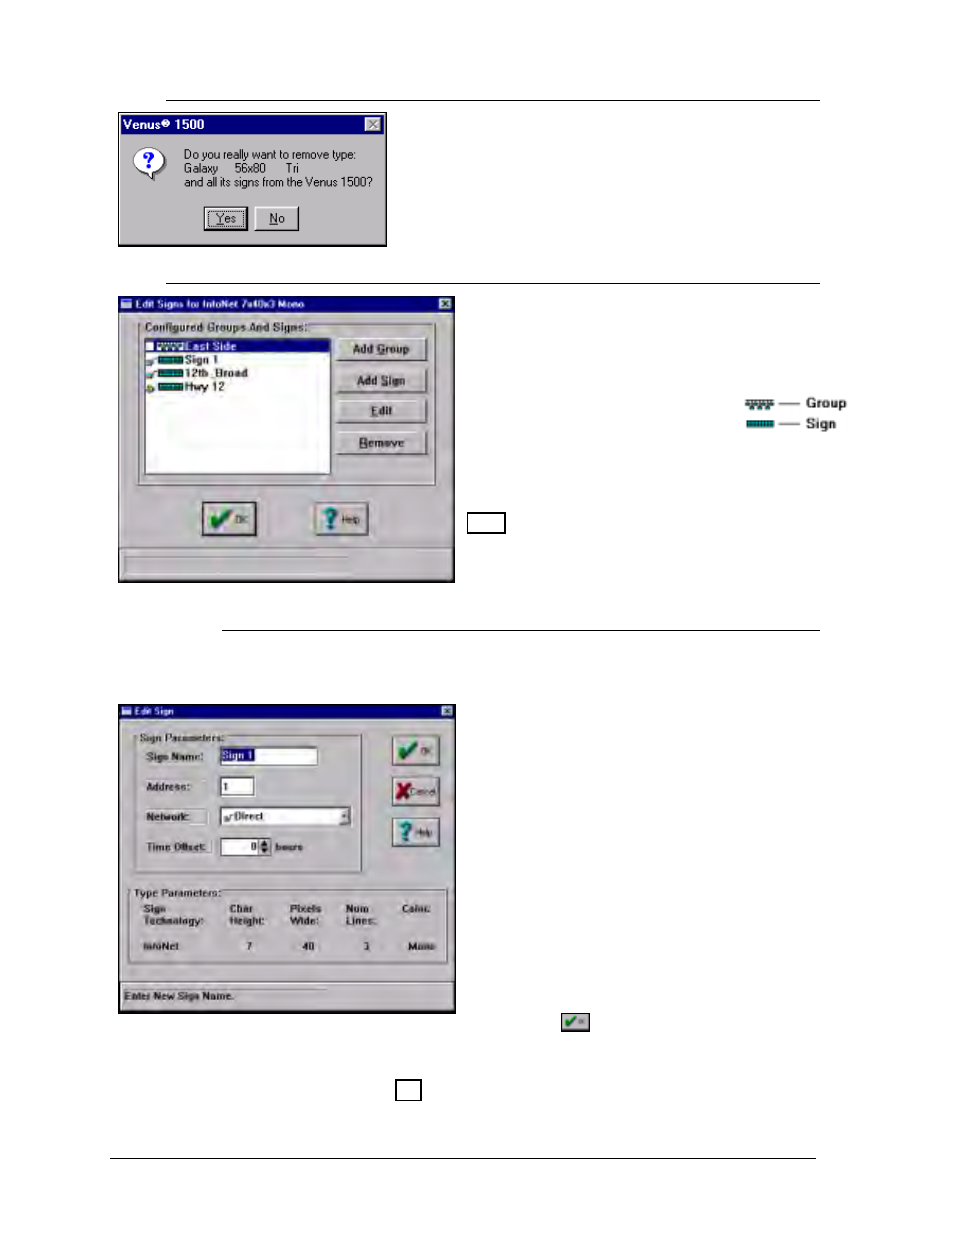
4.2.2 Remove Sign Type
To delete a sign type from the system, highlight the desired
sign type and click on [
REMOVE TYPE
] or press <
ALT
><
Y
>.
Three windows will appear to confirm the deletion.
4.2.3 Edit
Signs
Clicking on [
EDIT SIGNS
] or pressing <
ALT
><
E
>
will bring up a window for adding a group, adding
a sign, editing a sign or removing a sign or group.
The symbols next to the name
indicate visually whether it is a group
or a sign.
m
Note: A network must be created before a sign
can be added to the Venus 1500. Refer to Section
4.1.1.
4.2.3.1 Add Sign
Clicking on [
ADD SIGN
] (pressing <
ALT
><
S
>) creates a new sign under the
chosen sign type.
To add a sign:
1. Enter a name for the sign. It can be a number
or a brief description of its location.
2. Enter the sign’s network address. (The address
of the sign appears as part of the boot up
initialization information. Refer to the sign’s
maintenance and troubleshooting manual for
more information.)
3. Specify the network the sign is located on.
4. Set the Time Offset if necessary. The offset is
an adjustment from the current time setting on
the PC running the Venus 1500 software. An
offset is advised if you are operating a sign
located in another time zone. The time may be
adjusted by up to
?23 hours.
5. Click on
to save the sign.
If a network is not configured, no selections will be available for network.
Refer to Section 4.1 for instructions on configuring networks.
m
Note: A sign cannot be programmed if a network is not configured.