Daktronics Venus 1500 Ver 1.x User Manual
Page 74
Appendix C:
Counters & Timers
C-7
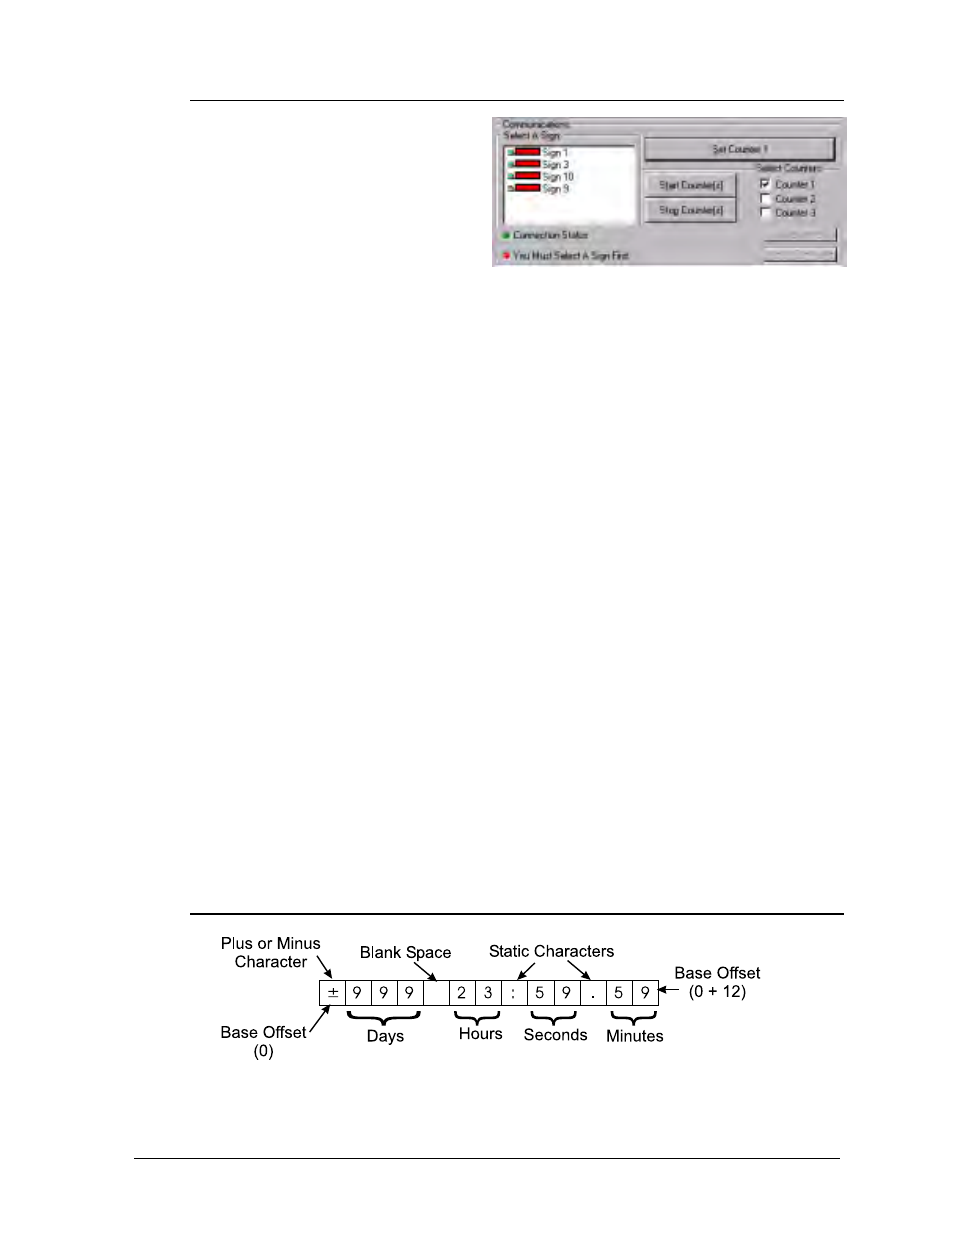
C.6.5 Communications
Like a message, the timer’s
information must be sent to the
sign location before it will appear
on the sign. When multiple
timers (Counters 1, 2 and 3) are
being used, configuration
information for each timer is
individually sent.
m
Note: Connection status information can be found near the bottom of the dialog
box. As you download timer information and communicate with the signs, keep watch
on these indicators, as they will alert you to any errors that may occur and provide
feedback on the communication status. Once a connection with the sign(s) is
established, two additional buttons, [
DISCONNECT
] and [
ABORT COMMAND
], are
enabled.
The list of signs for the current sign type is listed in the Communications box under
Select A Sign.
1. Highlight the sign(s) to display the current counter file.
2. Click on [
SET COUNTER 1
]. The Venus 1500 software will send Timer 1’s
configuration information to the sign(s).
3. Repeat the previous steps for Timers 2 and 3 if they will also be used.
When you are ready to start running the timer:
1. Select the signs to run the timer file.
2. Select timer(s) to run from the Select Counters box.
m
Note: Selecting more than
one timer will run them simultaneously.
3. Click on [
START COUNTER(S)
].
To stop a timer:
1. Select the sign(s) to stop running the timer.
2. Select timer(s) to stop from the Select Counters box.
3. Click on [
STOP COUNTER(S)
].
C.6.6 Timer RTD Map