Setting up the feed, They printer’s feed systems is adjusted as follows – Rena Envelope Imager CS User Manual
Page 11
SECTION 2
INSTALLING THE PRINTER
Setting up the Feed
They printer’s feed systems is adjusted as follows:
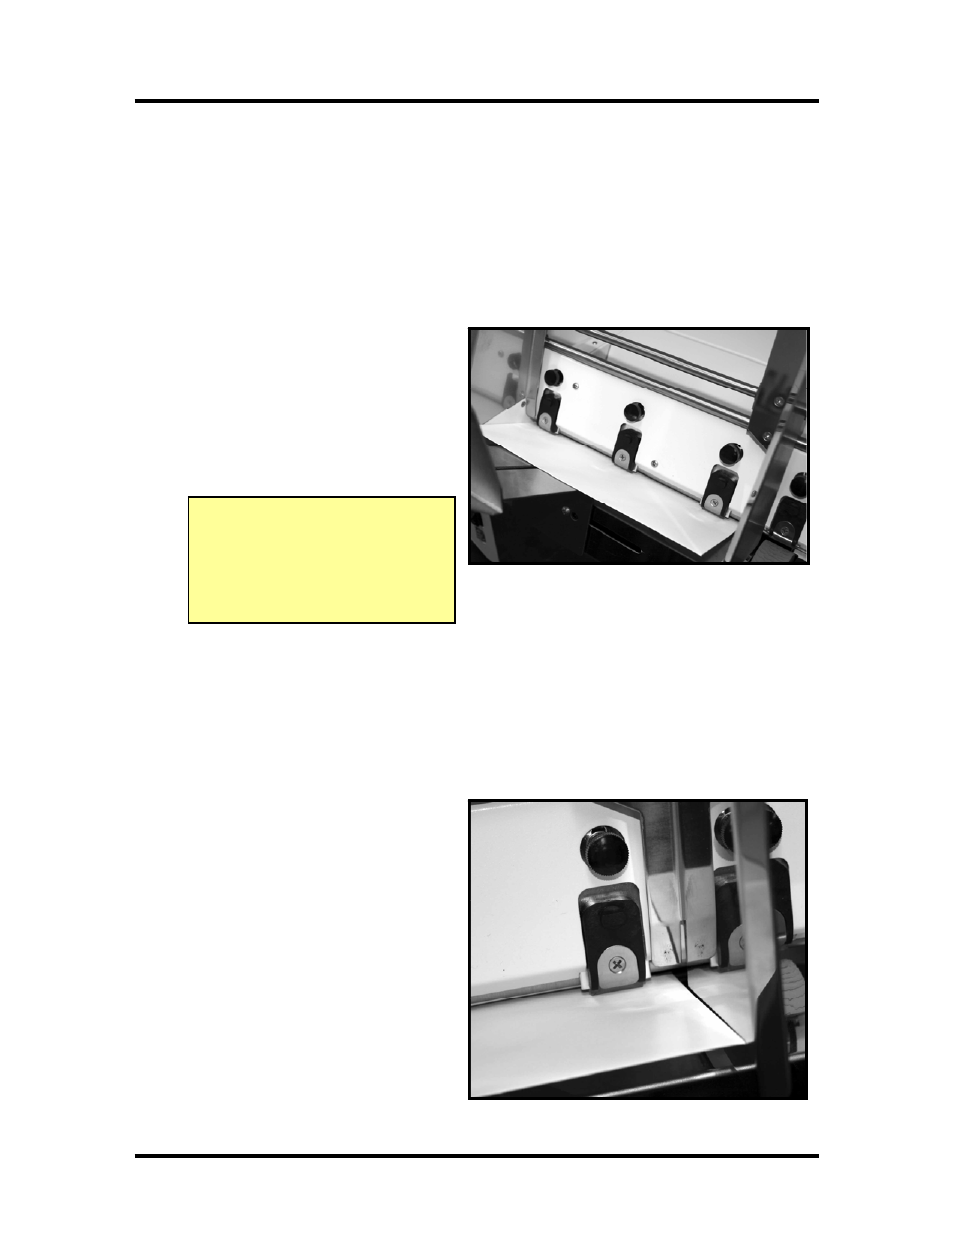
1. Move the adjustable side guide so that the locking screws on the sheet separator
assembly are accessible.
2. Loosen the locking screw and raise the separator, then tighten the locking screw to
hold the separator in the up position. Repeat this step for all separators.
3.
Place a single piece of media
under the separators and against
the fixed side guide.
On the separators that have media
beneath them; loosen the separator
locking screws, and let the
separators drop onto the media.
Then tighten the locking screws.
Tip: Media skewing issues can sometimes be reduced by experimenting with the combination of
separators being used. For example if you are noticing that the leading edge of the media
intermittently catches on a certain separator (edge folds up at separation point); try lifting this
separator. Example: When using #10 envelopes that are warped, you may find that the system
feeds better when using only the center separator or when using only the outside separators.
See Appendix B “Envelope Feed Kit” for information on an optional kit to aid in feeding #9 and
#10 envelopes.
IMPORTANT
Be sure that unused separators are
locked in their raised position. If not,
they will rub on the feed rollers,
causing transport problems and
damage to the rollers and separators.
4. Position the adjustable side guide
so that it about 1/32-inch from the
sides of the media. Tighten the
locking screw on the side guide.
5. If not already present place a
single piece of media into the feed
area so it is starting to feed under
the separators. Then place
additional media into the feed area;
making sure the media stack is
fanned so the bottom piece is
closest to the separation point.
7