Section 2 – installing the printer, Choose a location for the printer, Unpack and assemble the printer – Rena Envelope Imager CS User Manual
Page 7: Install the inkjet cartridges, Set up the feed on the printer, Plug in the printer and connect it to the computer, Install the printer driver, Choosing a location, Unpacking and setup
SECTION 2
INSTALLING THE PRINTER
Section 2 – Installing the Printer
Before using the Envelope Imager CS printer the following must be done:
• Choose a location for the printer
• Unpack and assemble the printer.
• Install the Inkjet Cartridges
• Set up the feed on the printer
• Plug in the printer and connect it to the computer
• Install the Printer Driver.
Choosing a Location
The Envelope Imager CS should be placed on a sturdy worktable or cabinet at least 9
inches from any walls. Protect the Envelope Imager CS from excessive heat, dust,
and moisture – avoid placing it in direct sunlight.
Unpacking and Setup
Remove the Printer and its parts from the carton. Save the packing material. Remove
all packing tape. The screws that attach the various parts of the guides to the printer
are under the tape in their respective positions.
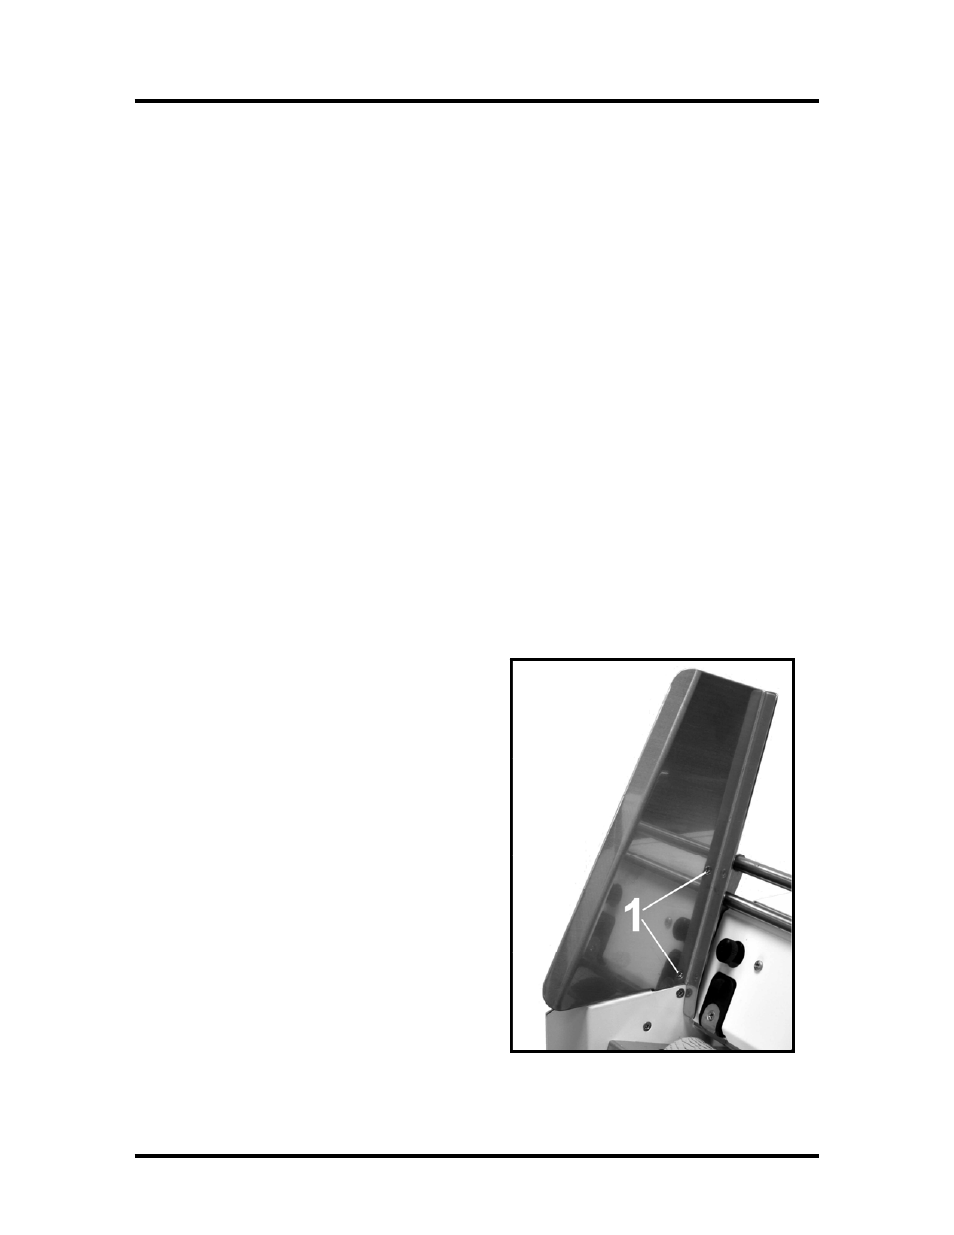
Begin by installing the Fixed Side Guide. It is
held in place by two screws [1]:
3