Rena Envelope Imager CS User Manual
Page 12
SECTION 2
INSTALLING THE PRINTER
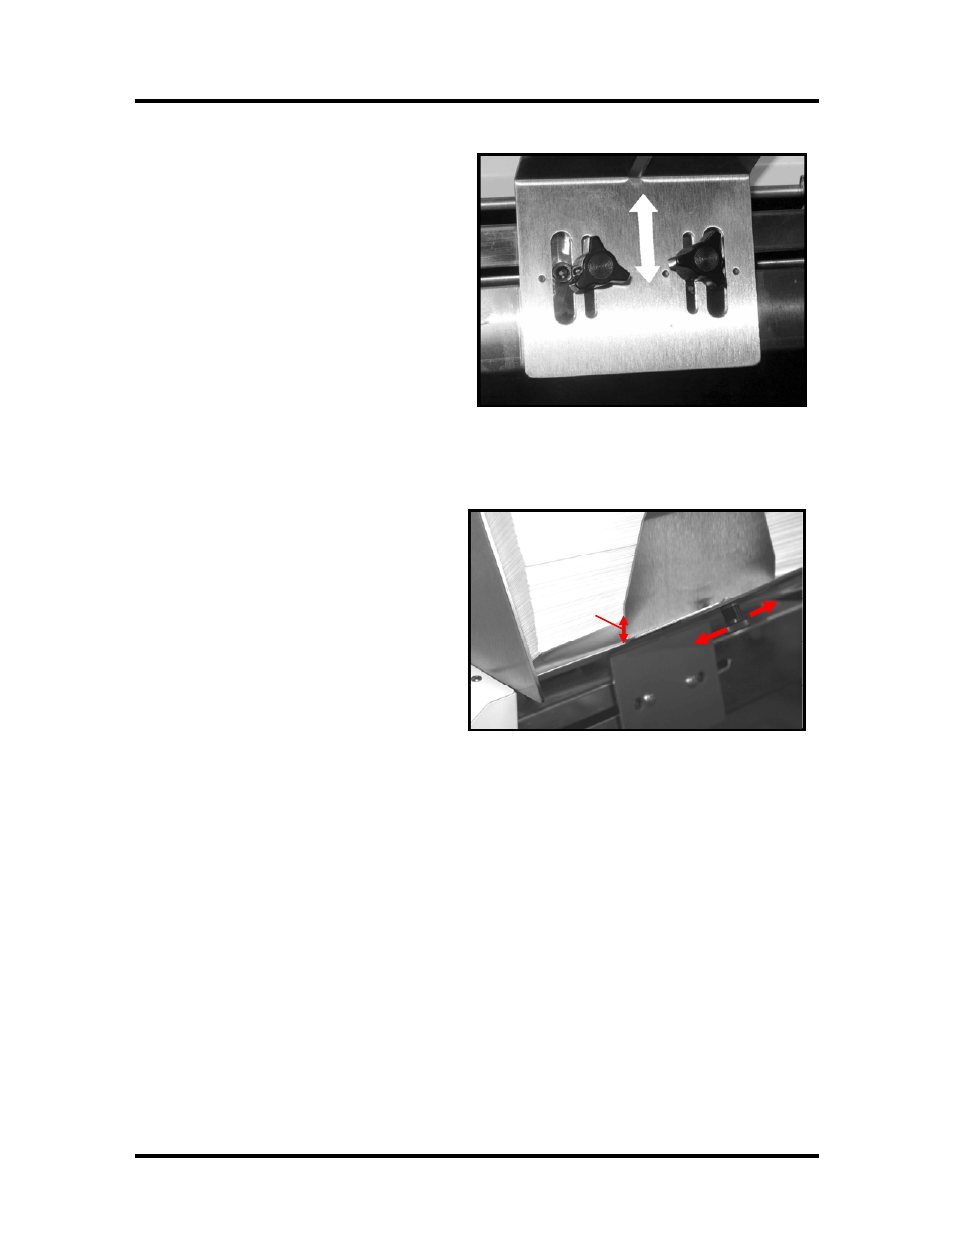
6. The rear paper support is adjustable
by loosening the two locking knobs
and raising it up or down.
Start with the rear paper support in
the center position (knobs aligned
with small reference holes).
If you experience feeding problems;
raise or lower the rear paper
support, to obtain the best angle of
contact between the media and the
feed rollers/separators.
Tip: Media that has a warped leading edge (front edge is not flat) may feed better at a higher rear
paper support angle. Lifting the trailing edge (back end) of the media tends to force the warped
leading edge (front end) closer to the feed rollers and media separation point.
7. Adjust the rear paper guide by
loosening the locking screw and
position the guide so that the back
edge of the media is raised
approximately 1/2-inch above the
rear paper support.
½”
8. The same procedure is used for
other media sizes and types.
NOTE: The amount of media that can be stacked on the printer is determined by the
weight of the material. The feeder may not feed larger and heavier media when the
stack is full. If this is the case reduce the amount of media in the stack until the feeder
functions properly.
See Appendix B “Envelope Feed Kit” for information on an optional kit to aid in
feeding #9 and #10 envelopes.
As with all paper feeding devices; media type and condition will have a great effect on
how reliable and straight the media feeds through the system. You may find some
materials to be unsuitable for this system.
8