Adjusting the input video, Video input/output settings – Roland V-60HD Multi-Format HD Video Switcher and UVC-01 USB Video Capture Kit User Manual
Page 14
14
Video Input/Output Settings
Adjusting the Input Video
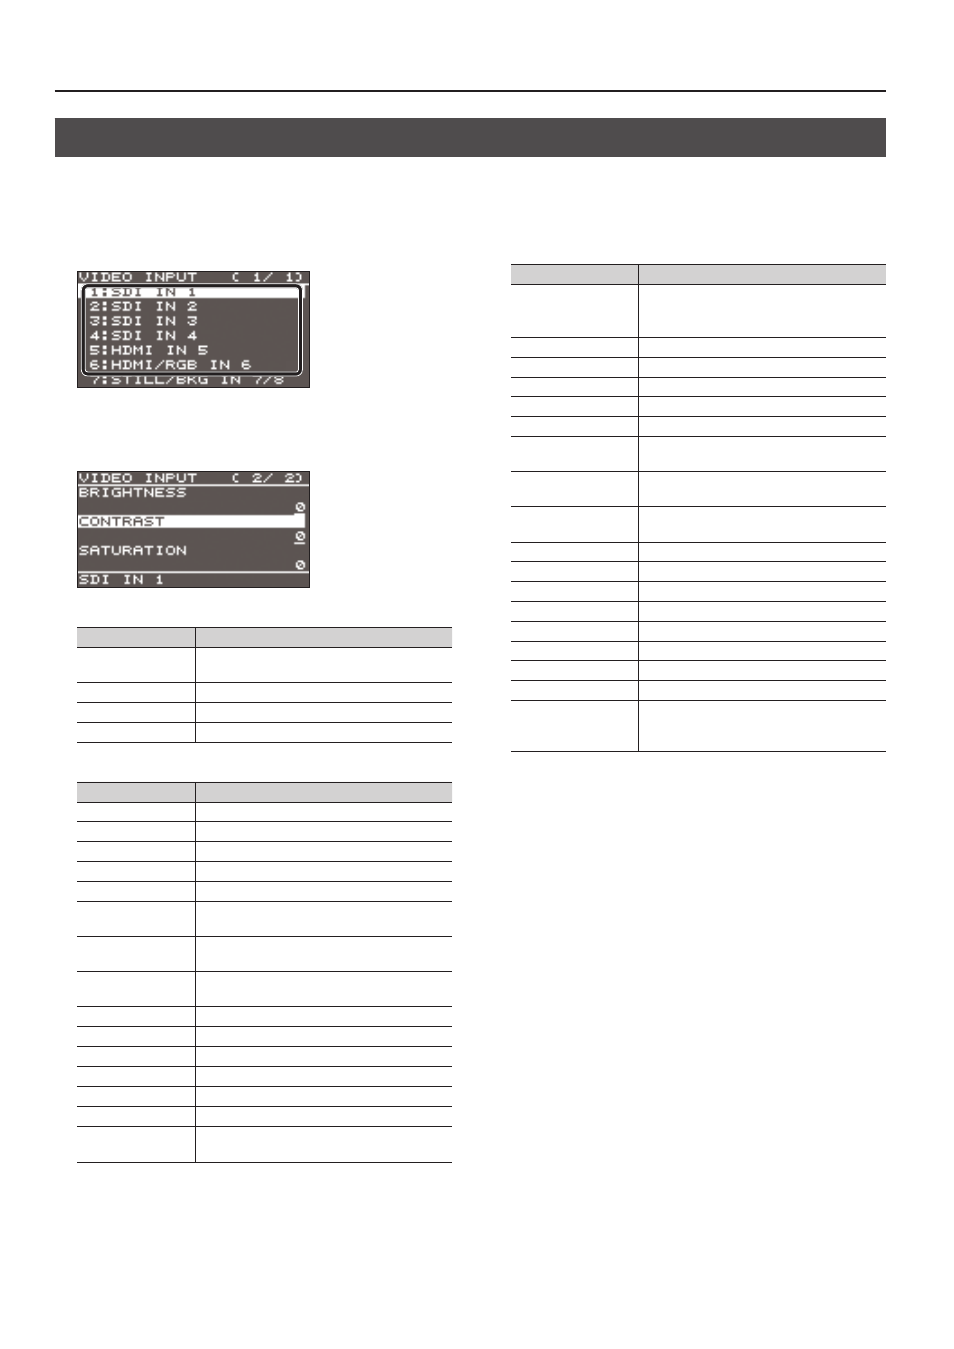
This adjusts the image quality of the video input via the respective connectors. For HDMI IN and RGB/COMPONENT IN connectors, you can also
adjust the scaling.
1.
Select the [MENU] button
0
“VIDEO INPUT”
0
the input
video.
A menu for the selected input video appears.
2.
Select a menu item, then use the [VALUE] knob to adjust the
input video.
SDI IN 1–4:
SDI IN 1–4 connectors
Menu item
Explanation
H FLIP
Setting this to “ON” flips the output video
horizontally.
BRIGHTNESS
This adjusts the brightness.
CONTRAST
This adjusts the contrast.
SATURATION
This adjusts the saturation.
HDMI IN 5:
HDMI IN 5 connector
Menu item
Explanation
FLICKER FILTER
Setting this to “ON” reduces flicker.
ZOOM
This adjusts the zoom ratio.
SCALING TYPE
This sets the scaling type.
MANUAL SIZE H (*1)
This adjusts the horizontal size.
MANUAL SIZE V (*1)
This adjusts the vertical size.
POSITION H
This adjusts the display position in the
horizontal direction.
POSITION V
This adjusts the display position in the vertical
direction.
H FLIP
Setting this to “ON” flips the output video
horizontally.
BRIGHTNESS
This adjusts the brightness.
CONTRAST
This adjusts the contrast.
SATURATION
This adjusts the saturation.
RED
This adjusts the red level.
GREEN
This adjusts the green level.
BLUE
This adjusts the blue level.
EDID
This sets the input format (EDID) for the HDMI
IN 5 connector (p. 12).
(*1) This is available when “SCALING TYPE” is set to “MANUAL.”
HDMI/RGB IN 6:
HDMI IN 6 connector (*2)
RGB/COMPONENT IN 6 connector (*2)
Menu item
Explanation
AUTO SAMPLING (*3)
This automatically adjusts the image quality.
* Depending on the video, adjusting the
image quality might not be possible.
FLICKER FILTER
Setting this to “ON” reduces flicker.
ZOOM
This adjusts the zoom ratio.
SCALING TYPE
This sets the scaling type.
MANUAL SIZE H (*4)
This adjusts the horizontal size.
MANUAL SIZE V (*4)
This adjusts the vertical size.
POSITION H
This adjusts the display position in the
horizontal direction.
POSITION V
This adjusts the display position in the
vertical direction.
H FLIP
Setting this to “ON” flips the output video
horizontally.
BRIGHTNESS
This adjusts the brightness.
CONTRAST
This adjusts the contrast.
SATURATION
This adjusts the saturation.
RED
This adjusts the red level.
GREEN
This adjusts the green level.
BLUE
This adjusts the blue level.
FREQUENCY (*3)
This adjusts the input frequency.
PHASE (*3)
This adjusts the phase.
EDID
This sets the input format (EDID) of the
HDMI IN 6 connector or RGB/COMPONENT
IN 6 connector (p. 12).
(*2) The settings on the HDMI/RGB IN 6 menu change in tandem
with the assignment made using “INPUT 6 ASSIGN” (p. 13). You
can make separate individual settings for the respective menu
items for the HDMI IN 6 connector and the RGB/COMPONENT IN
6 connector.
(*3) This is effective when “INPUT 6 ASSIGN” (p. 13) is set to “RGB/
COMPONENT.”
(*4) This is available when “SCALING TYPE” is set to “MANUAL.”
3.
Press the [VALUE] knob to apply the setting.
4.
Press the [MENU] button to quit the menu.